Please share with your friends!
I came up with the idea for apple stamping because it’s Fall and apple season. I also needed a gift idea for Annie to give her grandpa.
Annie is three, and she loves apples! So does her grandpa. For as long as I can remember when I was a kid, dad collected apple figurines.
Whenever we traveled, we would be on the lookout for any apples in the gift shops. We’d get him a decorative apple figure, usually made out of wood, ceramic or crystal.
For his birthday month, I thought it would be a cute idea for Annie to create an apple-themed gift to give to her grandpa for his birthday!
A few weeks ago we tried leaf printing with paint, which Annie loved! So why not try a different variation: apple stamping with paint!
Have you tried apple stamping with paint with your little one? Find out how we did it and how we made it into a really cool gift.
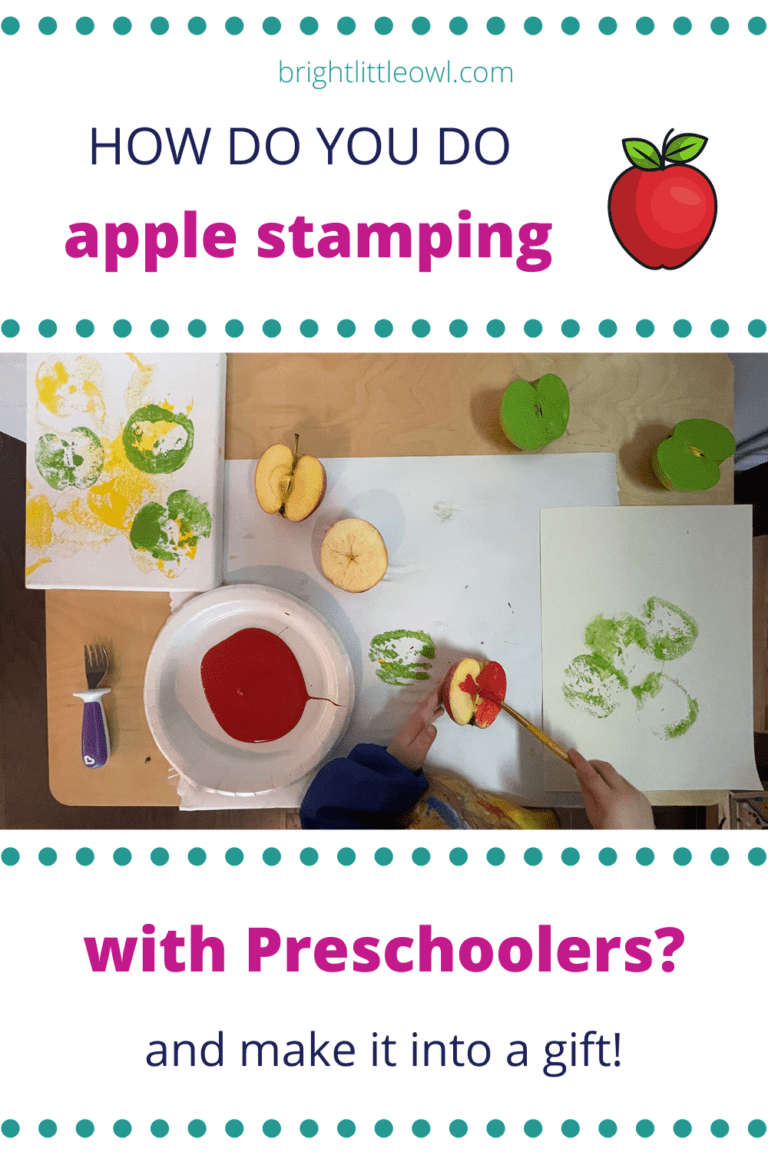
How do you do apple stamping with preschoolers?
Apple stamping is a great opportunity to talk about apples and parts of an apple with your preschooler.
Learning about apples in the Fall was always a favorite of mine when I was a Montessori teacher. Just talking about apples while doing this activity could be a fun introduction to Botany!
I’m from New York, so I love apple picking. I grew up about an hour and a half north of New York City so we lived in apple country. I remember going on a field trip to go apple picking with the children in my class while we were learning about apples. We all enjoyed it so much!
Now we live in the Triangle area of North Carolina, where we are raising Annie, so there are a few apple orchards here but they’re a bit far. We didn’t get the chance to visit them this year, but one day we will!
We had some apples in our refrigerator for a while, so they weren’t perfect on the outside. They had some bumps, bruises and tears, so we decided to use these for apple stamping.
When you first look at the apples you can talk about them:
- Where do apples come from?
- How did they get from the apple tree to my hand?
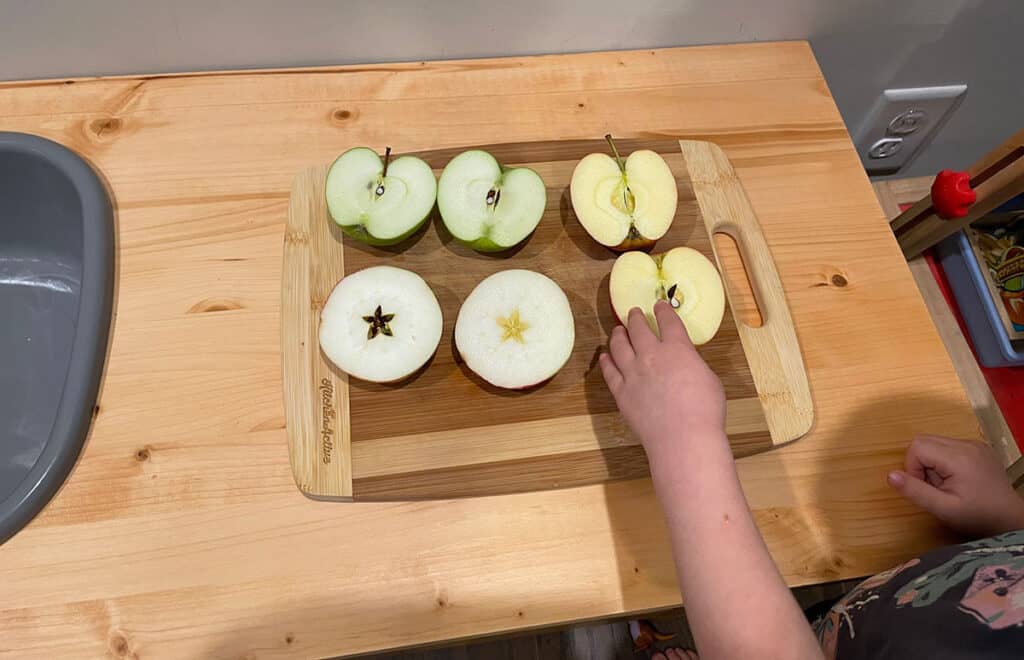
When you cut the apples in half you can talk about the parts of the apple. Often you’d see parts of an apple three-part cards in the Montessori classroom:
- The whole apple, which is a type of fruit
- stem
- skin
- flesh
- core
- seeds
From there, you can take a look at the seeds and talk about them. You can explain that these seeds could be planted into the ground with water and sun to grow more apple trees!
You could talk about things you can do with apples. You can cut them up to eat as a snack, or you can make other things with apples:
- apple sauce
- juice
- cider
- apple crisp
- cakes or muffins
- apple pie – Thanksgiving is coming up soon, and this is a popular dessert
You can also cut apples in half and make them into stamps to make art!
How to do the apple stamping
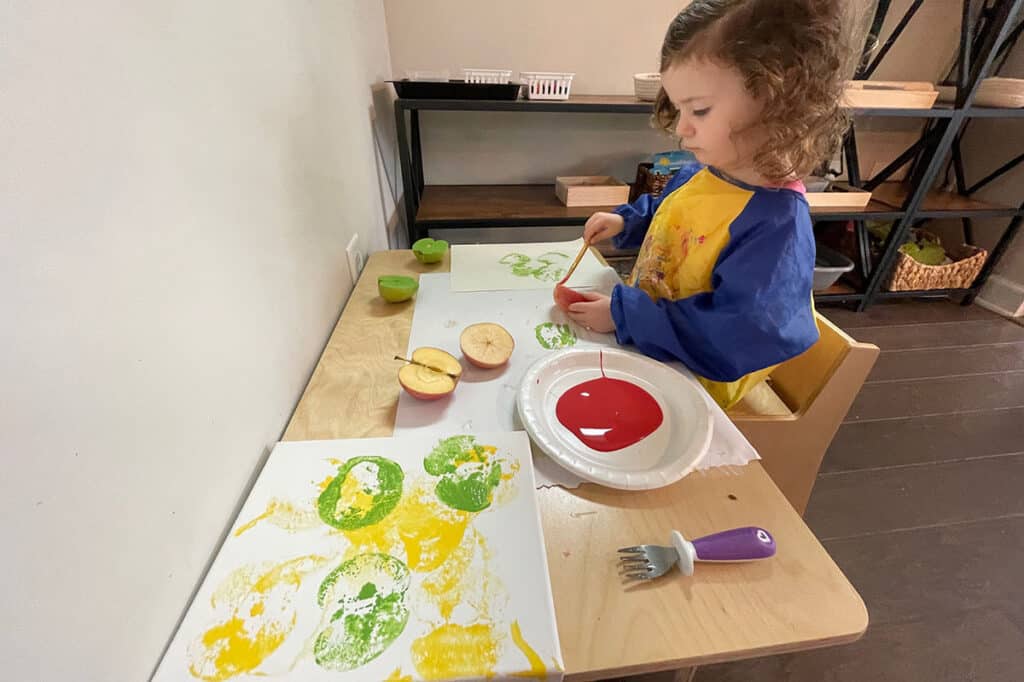
What you will need:
Paint. Since this would be a gift, we used acrylic paint in apple colors; yellow, green, and red. You can also use tempera paint.
Apples. Cut them in half in different ways; vertically and horizontally. We used up what ever apples we had in the refrigerator that were on their way out.
Canvas. We wanted to make this a gift so we used a canvas. We used an 8″ x 10″ canvas but you can use any size you want. Canvas is optional. You can also use thick paper, if you prefer.
Paper plates. We used these to put the paint in for easy clean up.
Paintbrushes. You can use the paintbrush to coat the entire inside surface of the apple with paint. You could also dip the apples into the paint on the paper plate, but be careful not to put too much paint on the plate. It might transfer too much paint to the apple surface and create a blob instead of a crisp, stamped edge.
Small baby fork. We stabbed the fork into the apple to use as a stamp handle. This is optional but I found that it was easier for small hands to hold the apple.
Large paper or drop cloth: We used a large piece of rolled paper to cover the table for easier clean-up.
Paper towels or wipes. We used baby wipes for quick clean up on fingers, on the table or anywhere else. You could also use damp paper towels. They are great to have on hand while painting.
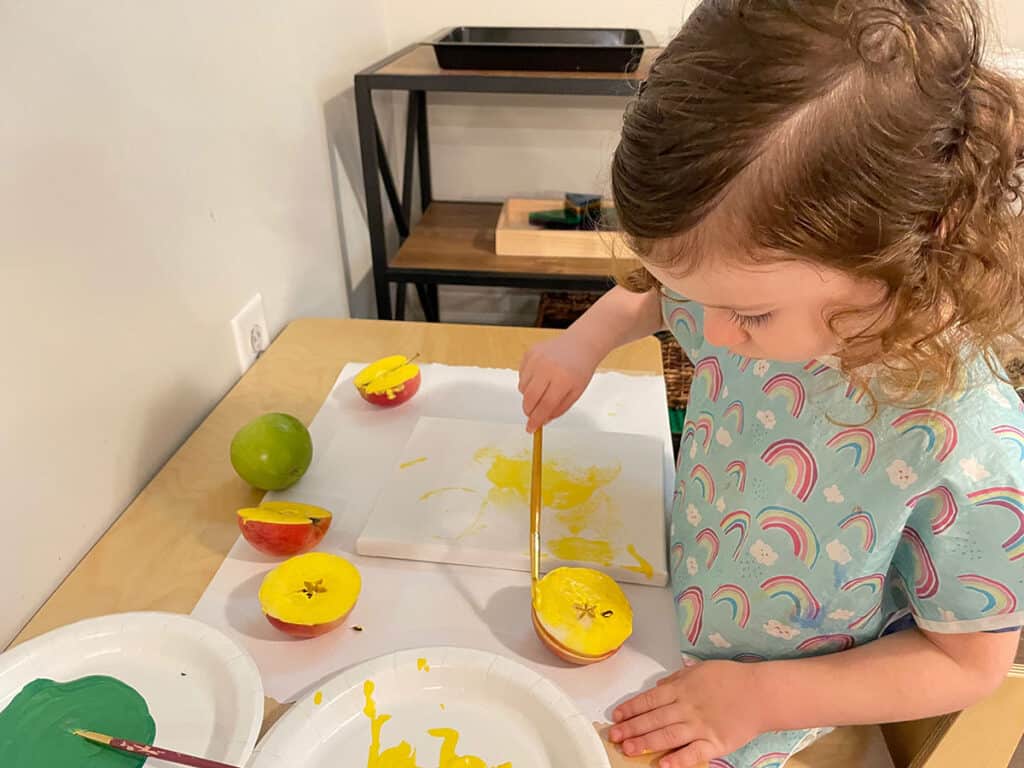
Start with yellow paint
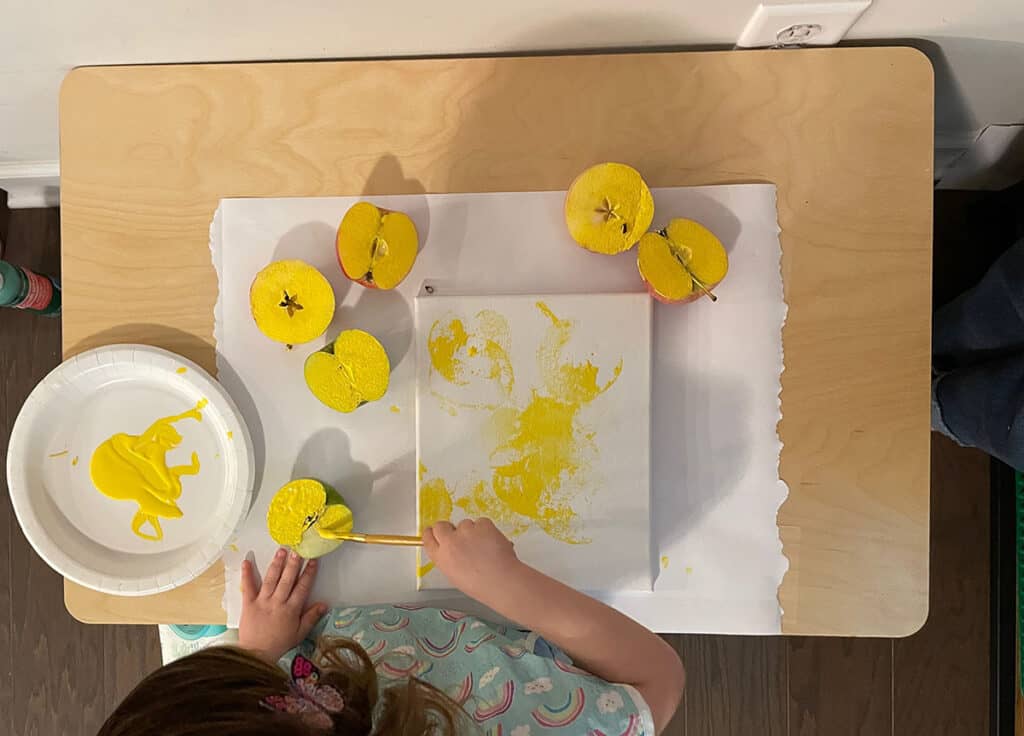
We started with the lightest color, yellow. I just let Annie explore with this. She loves painting things and stamping. With the yellow, you can’t go wrong because it’s a light color. It made a really nice abstract background for the final piece.
We took a break and let the yellow paint completely dry. Annie painted all of the apples yellow, as you can see. We washed off the apples to get them ready for the next color.
Next use green paint
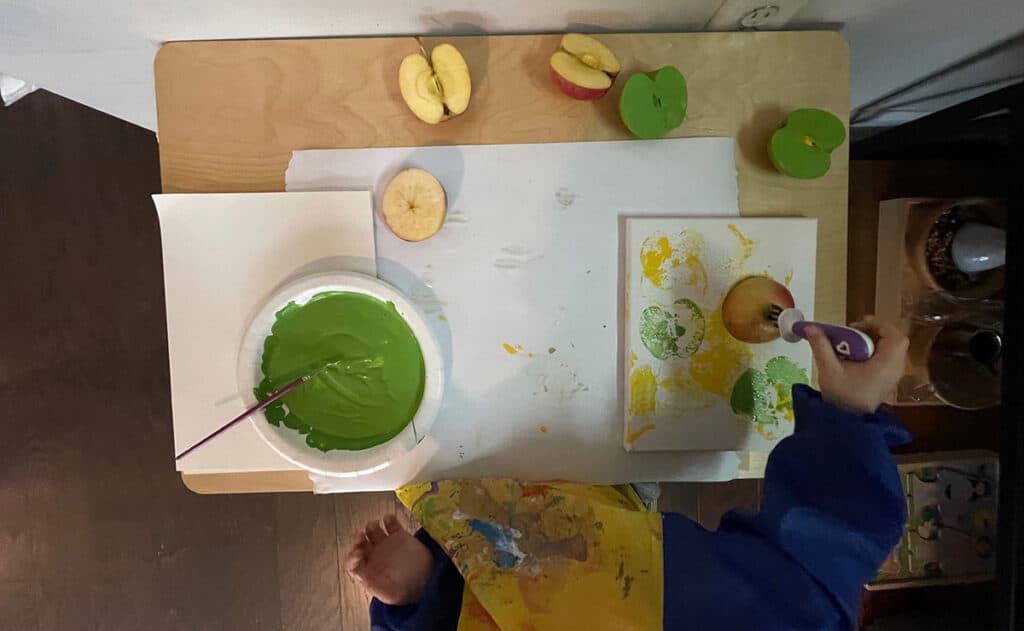
After the yellow paint dried, we used green paint, the next lightest color. I mixed green with a little bit of yellow and a touch of white paint to get a brighter granny smith apple green color.
At this point, I also thought about using something as a stamp handle because I noticed that the apples where hard for Annie to pick up and stamp, while she was stamping the yellow.
I found Annie’s old baby fork which was perfect because it made the perfect handle. All you have to do is stab the baby fork into the back of the apple!
Red paint is last
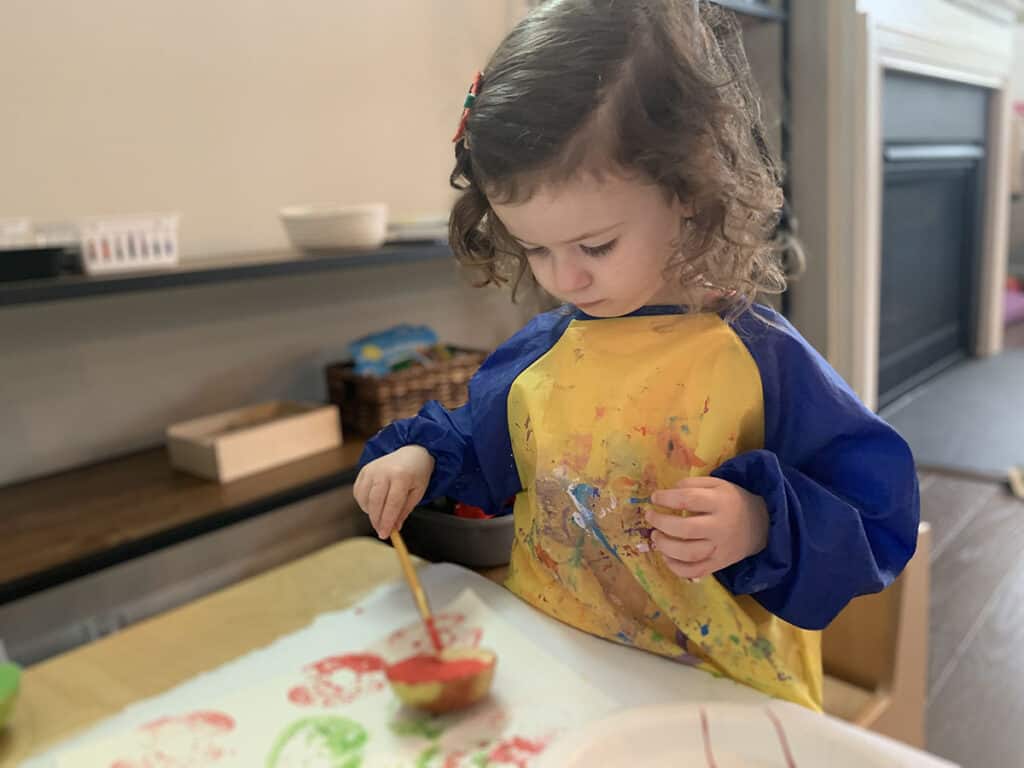
We didn’t let the green paint completely dry this time. But you could. It seemed just fine to go ahead and stamp the red painted apples in the empty areas of the canvas.
We also had a piece of water color paper on the side that we used as a practice for stamping the apples. Annie loved exploring freely on the paper!
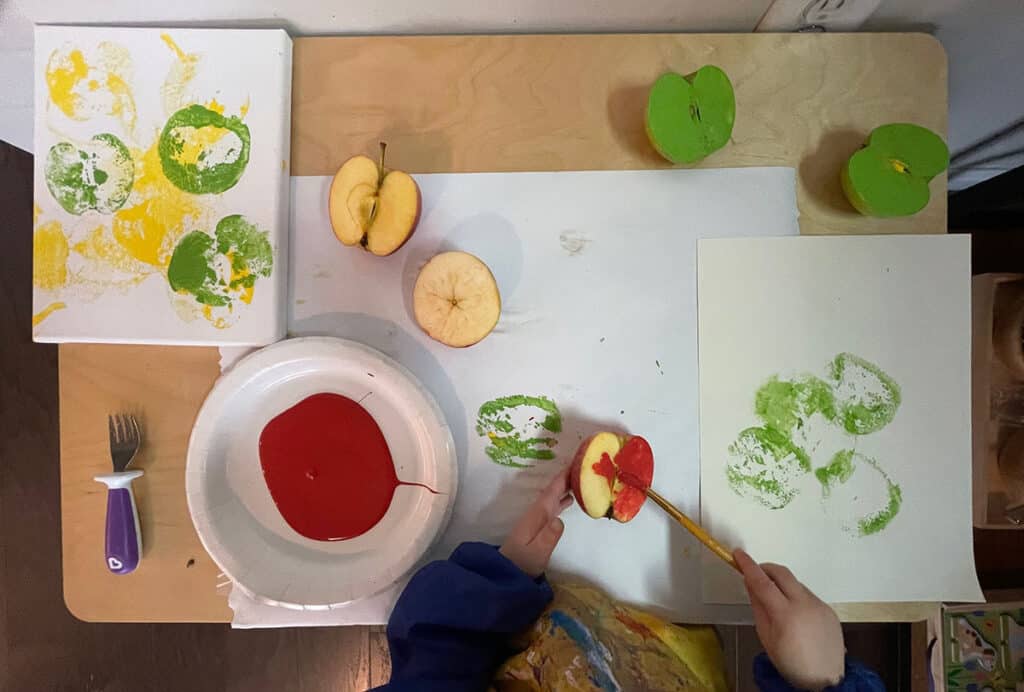
At this point, I helped Annie with the placement of the red paint on the canvas we would give as the gift. But you can also let your child explore freely with this, depending on how much help your child needs.
You can let your child be as independent as she wants to be here. Follow the lead of your child.
I find that with the youngest children, they need help with art projects. The children become more independent as they get older.
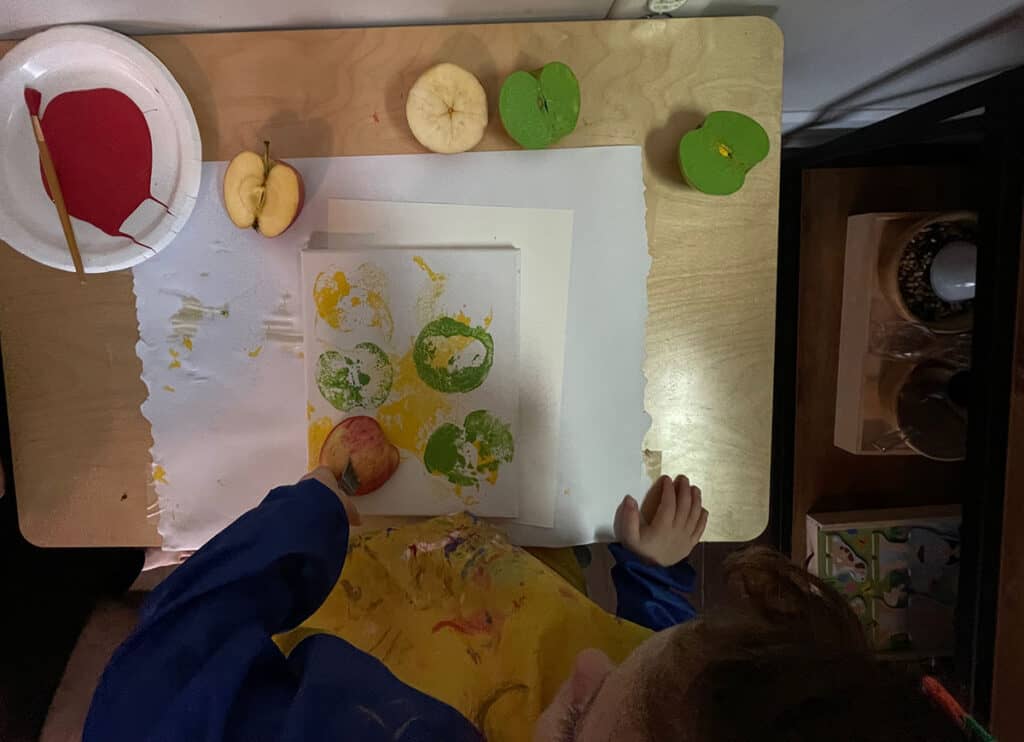
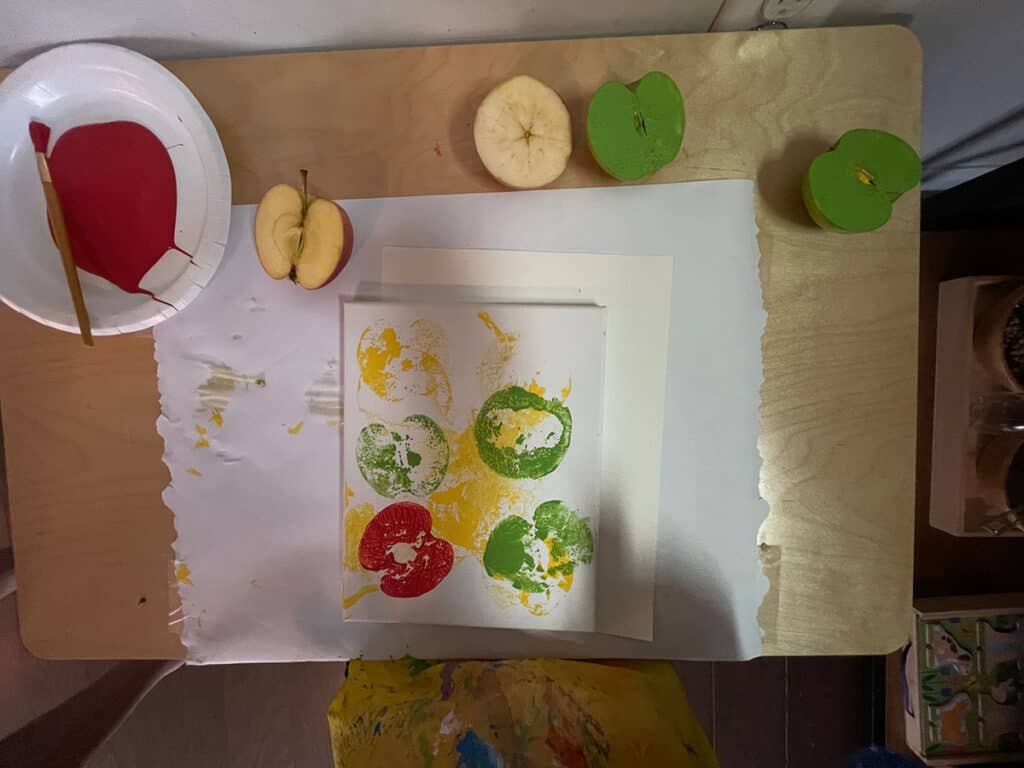
The final apple stamping gift
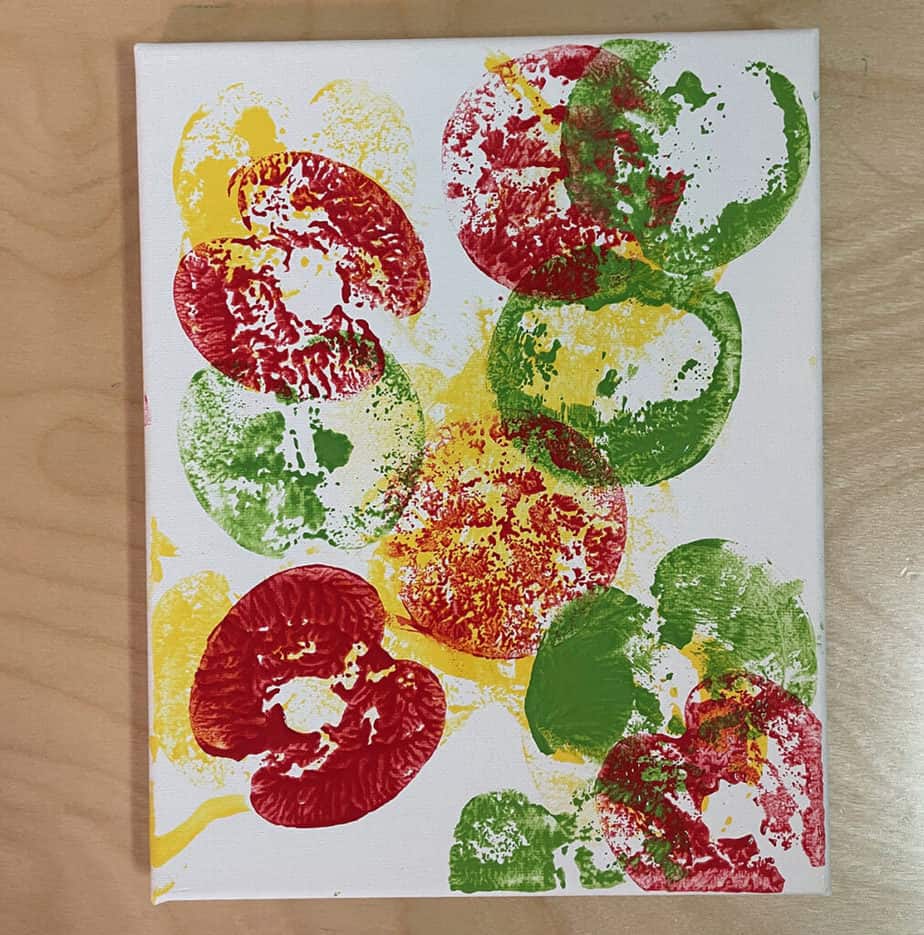
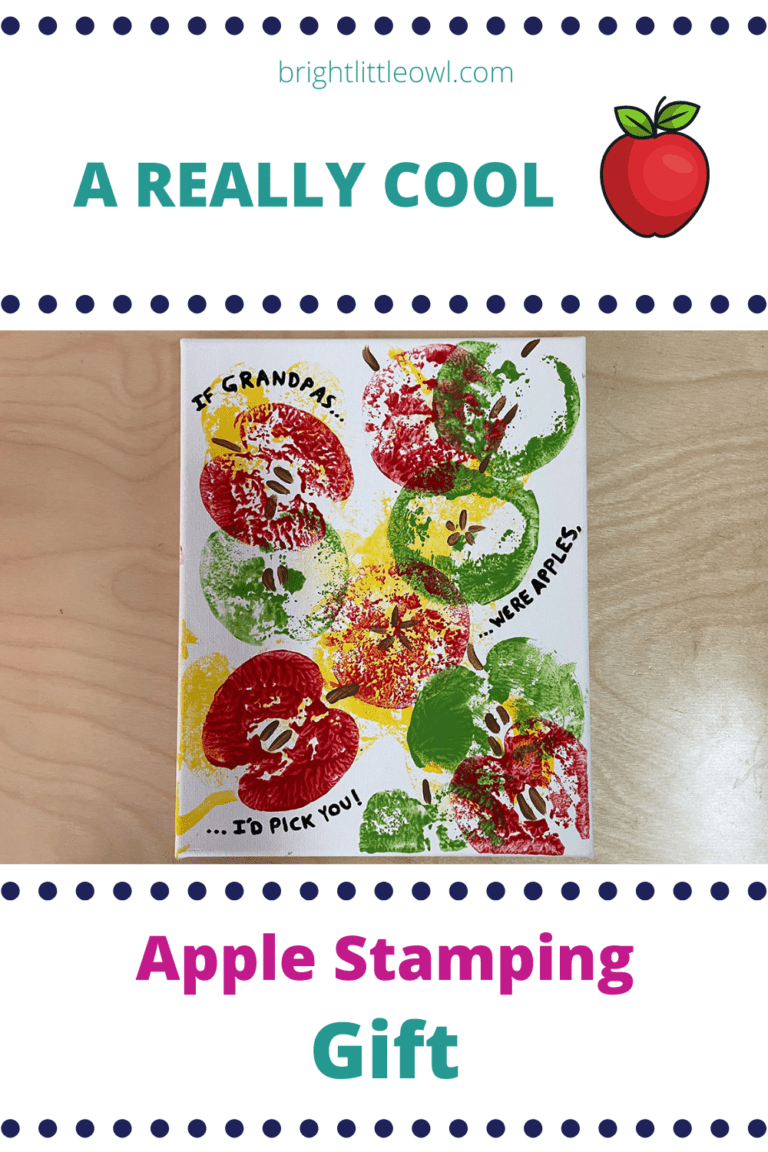
We love how the final apple stamping canvas turned out! The picture above is the final apple stamping art piece, and it could be left as is. You don’t have to do any more to it. This is how Annie made it.
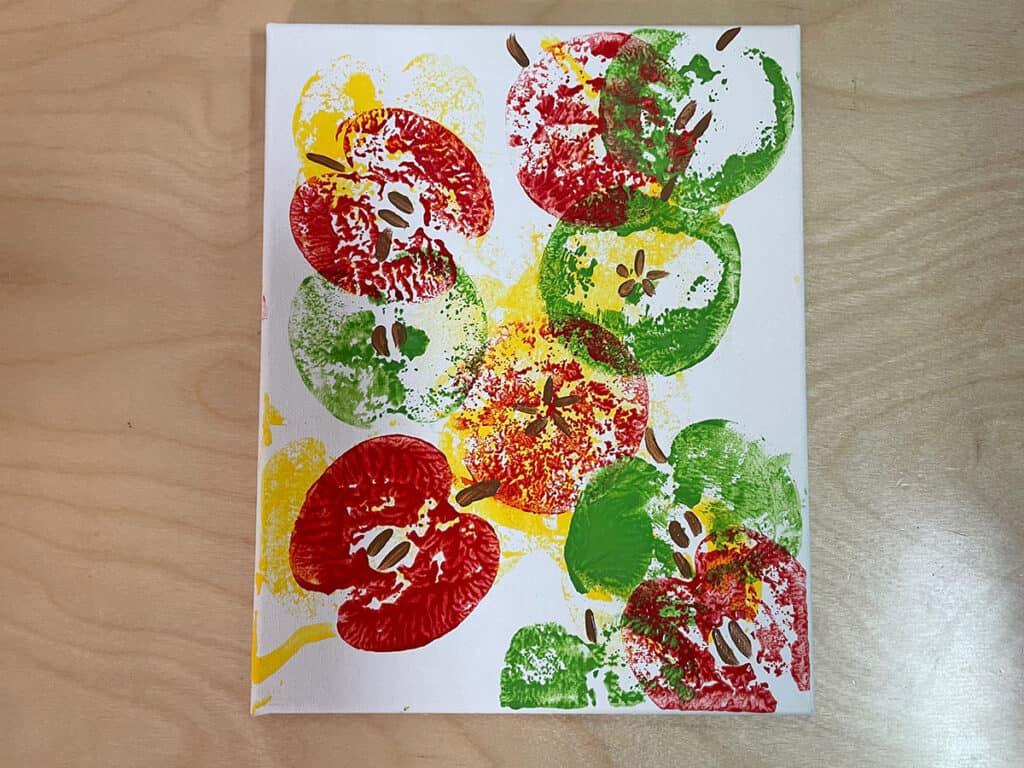
But, I thought it would be really cute if we added stems and seeds with brown paint. I simply mixed the left over green and red paint to make brown. No need to let that red and green paint go to waste! I used a fine tipped paint brush to draw the brown seeds and brown stems.
If you have an older child, you could have your child do this as well.
Another idea is to collect the seeds and stems from the apples you cut in half. You could glue the seeds and stems on to the painting.
You could leave the painting like this as shown above with the stems and seeds and you don’t have to do any more to it.
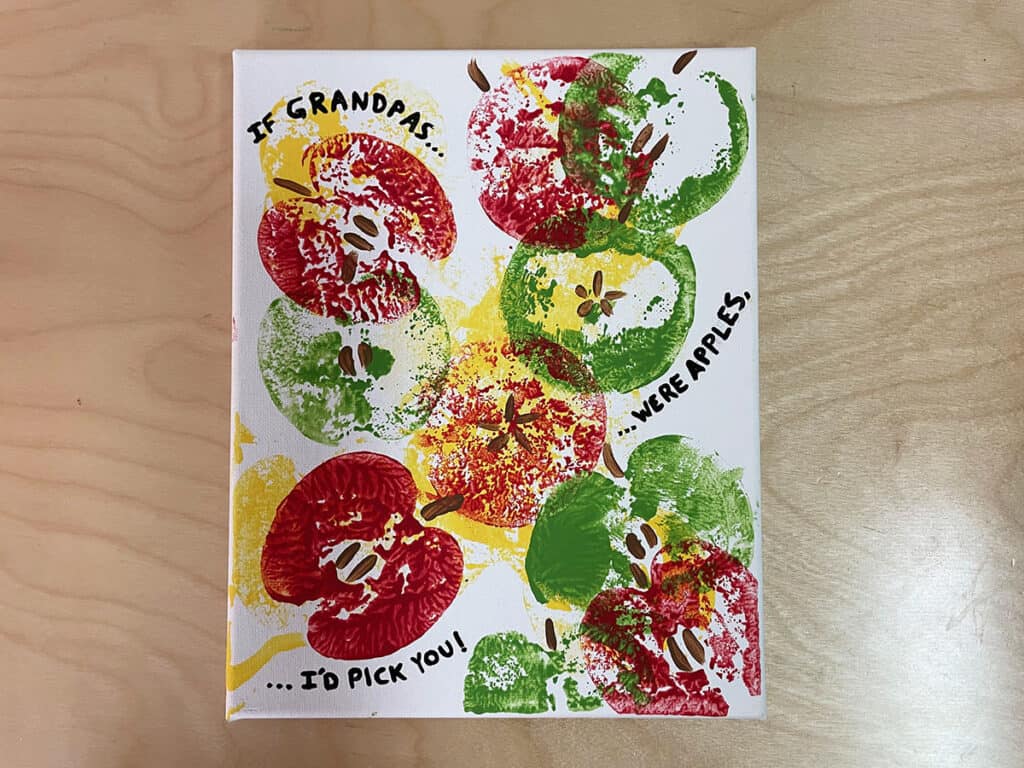
But, I found a really cute phrase, and with black paint and a fine point paintbrush, I wrote, “If Grandpas were apples, I’d pick you!” This gift could be for anyone, so you could change the wording to grandmas, dads, moms, teachers, aunts, uncles, and so on.
Writing a phrase is optional, but I wanted to share what we did, if you’d like to try it, too! If you do plan to add a phrase, consider leaving some spaces clear of stampings for the white canvas to show through. It really makes the phrase stand out.
Annie gave it to her grandpa for his birthday and he absolutely loved it!
Concluding Thoughts
I really hope you have fun with this one! This was definitely an evolving work that started with simple stampings, but ended up being a pretty nice work of art. Annie’s grandpa even said that it was so nice, he wouldn’t be shocked to see something like this hanging in an antique store!
You can also experiment with other fruits as well. I can see oranges, lemons, and limes with orange, yellow, and green paints be a really nice variation on this theme. Given the season, we went with apples, but let your imagination run away on this one and you’ll be surprised what the final product will be.
Like most art, less is more so try to let some of that canvas or paper show through so the stampings really make a nice impression and stand out. Try this one out and leave a comment below on how it worked for you and your child!
More Resources
If you liked this Fall themed activity, you’ll enjoy my previous two posts:
7 Montessori Fall Activities that are Fun and Easy to Set Up
7 Awesome Leaf Activities for Preschoolers Plus a Printable
You can also download the Fall-themed cutting strip printable by signing up for the Resources Library, below!

What a fun project. I never realized how pretty the inside of an apple actually is.
This is so creative! And what a thoughtful gift idea for grandpa!! My kids are teens so I won’t be doing this, unless I decided to do it by myself!!
I love the saying on this craft! The layers of colours really lets your little one have lots of fun with the stamping!
such a fun colorful gift that will be loved..
I love this activity. She did an amazing job! The end result was so perfect.
What an absoutely adorable kid craft idea that can be turned into a beautiful work of art to gift to loved ones. I like that you suggested having a scratch piece of paper on the side for them to practice on as well! Can’t wait to try this one with my grandkids!
I wonder how will the finish product look like. It is not just creative, but awesome! I also like how you put texts on it. This will make a great grandpa gift!
Both informative and creative way to let kids learn more about the apple. I loce the final output. It looked so brightly full or colors.
I think apple stamping is one of the most funnest things to have my kids do during the fall. That’s a really cool idea to glue the seeds and stem on the painting. I have never thought of that!