For the summer, we will take a break from the Montessori Language sequence and try a fun parts of a butterfly activity!
I have a strong memory of going on a job interview for a Montessori teaching job in 2010. To prepare for the interview, they asked that I bring in a homemade activity and bring it with me present to the children.
I decided to make my own parts of a flower-felt puzzle activity.
It was Spring in Manhattan, New York, and flowers were blooming everywhere. While walking to the school that morning, I bought a flower from one of those street florists. I’m pretty sure that flower made the whole activity!
For one thing, the Montessori method is all about the children exploring hands-on with the real thing first. Secondly, holding that flower to school boosted my confidence and happiness.
I showed the flower to the children, passed it around so they could hold it, and presented my parts of a flower felt puzzle lesson.
For the record, I got the teaching job! I also still have that flower-felt puzzle I made all those years ago, which has inspired me to make a butterfly version.
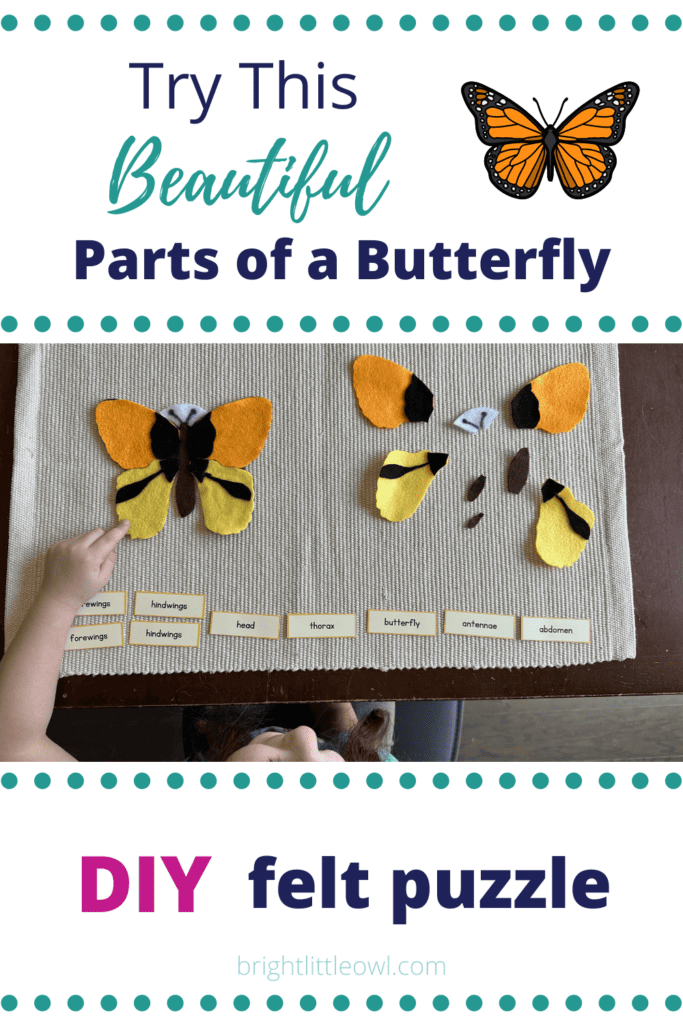
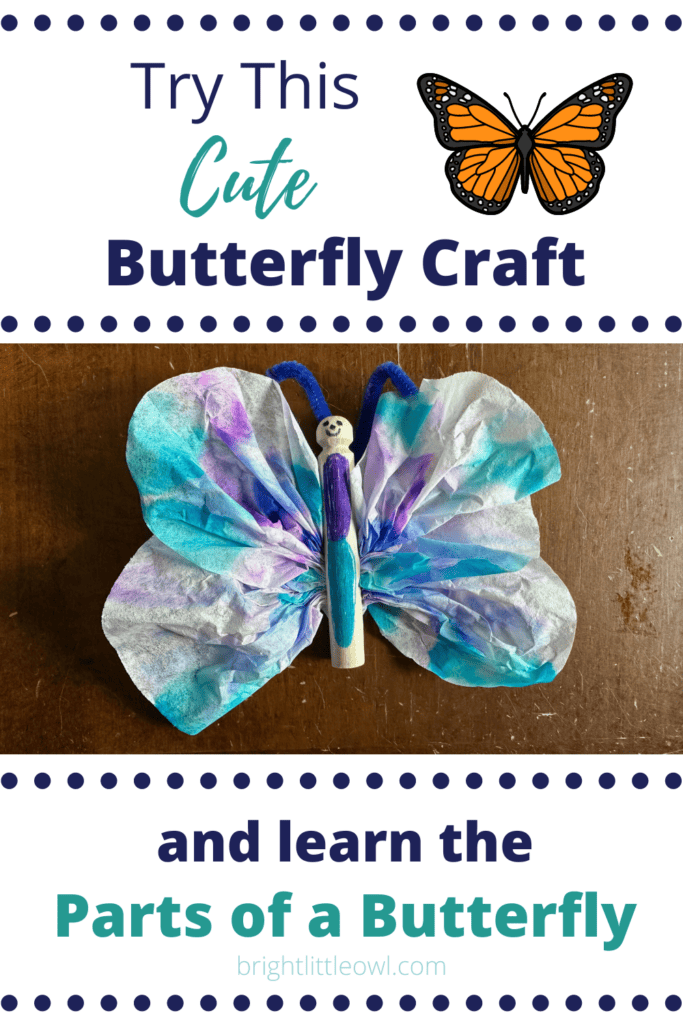
In this post, I will share a DIY parts of a butterfly felt puzzle I made recently for my almost five-year-old daughter, Annie. I’ll also share a butterfly craft idea you can make so that you have a hands-on butterfly to hold while learning the parts.
In This Post
Why are parts of a whole and classification activities important?
There is a lot of overlap in curriculum activities in the Montessori early childhood environment (3-6 year-olds).
We incorporate science, language, practical life, sensorial, and art for parts of a whole activities; for example, in parts of a flower or parts of a butterfly.
In language and science, we are practicing classification skills, or classifying objects under the same category.
There are so many “parts of” ideas and topics that you can explore and expand on. In this post, we are focusing on the parts of a butterfly, and we’ll explore different activities that go along with that.
Often in Montessori, when we do a “parts of“topic, there is a wooden puzzle; where each piece is a part, there are labels to name the parts, and there are also 3-part cards that go with it.
The purpose of the parts of a whole activity is to learn the scientific names of all the parts. Young children love animals, trees, and flowers and love learning about the names and parts.
With parts of a whole and classification activities, your child is also developing the following:
order, concentration, and fine motor skills with the puzzle pieces
Tip: If your child is interested in butterflies, the Smithsonian website has a page with an extensive collection of pictures of butterflies with their scientific names. Also, Butterfly Conservation has a great resource page about butterfly parts with a short video.
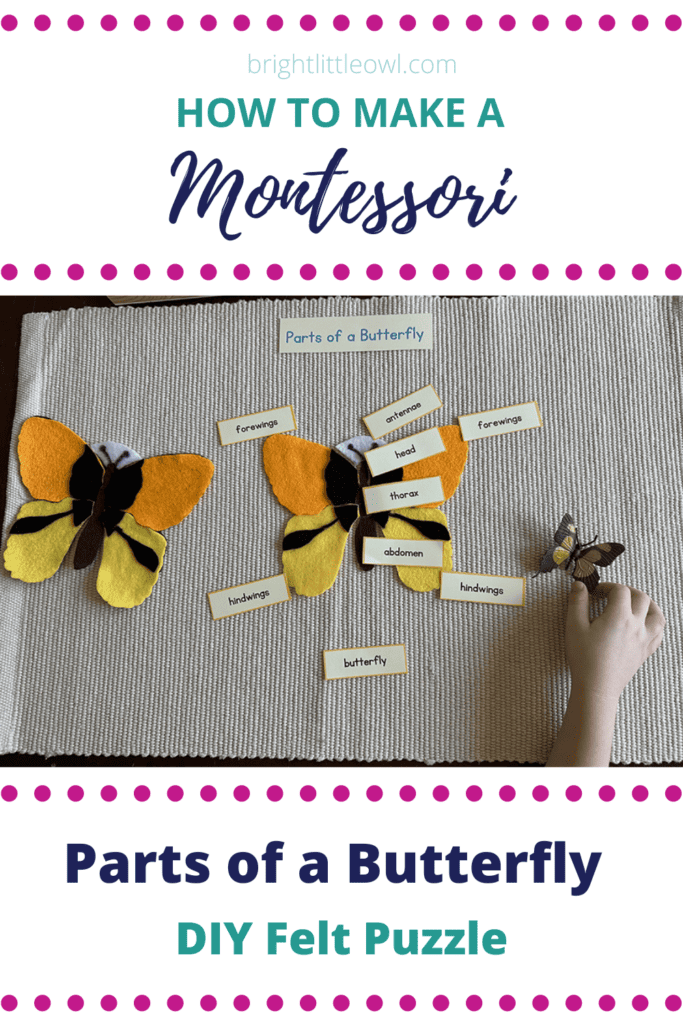
Parts of a butterfly DIY felt puzzle
There are wooden puzzles and three-part cards that can be used to go with the “parts-of” activities. Typically, a Montessori classroom has wooden puzzles for parts of a flower, leaf, tree, frog, bird, horse, and fish. Additionally, there is a white control error sheet to place the puzzle pieces.
Parts of a Butterfly is not usually in the original Montessori science “parts of” puzzle collection. But you can find one from Alison’s Montessori, which is the one that inspired my DIY butterfly puzzle!
Montessori wooden puzzles can be expensive. Making your own puzzle is a great alternative.
I took a screenshot of their website’s black and white control card to print, cut out, and create a felt puzzle template.
You can use this as a template or search online for your favorite butterfly shape.
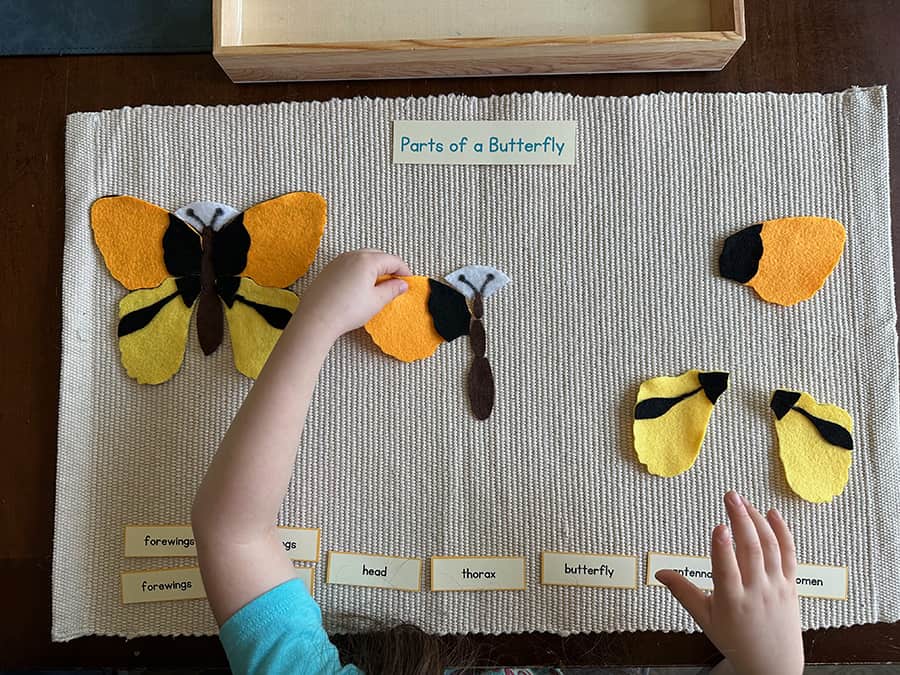
Putting felt puzzle pieces together
I decided to make parts of a butterfly puzzle out of felt. Making activities out of felt is simple and inexpensive!
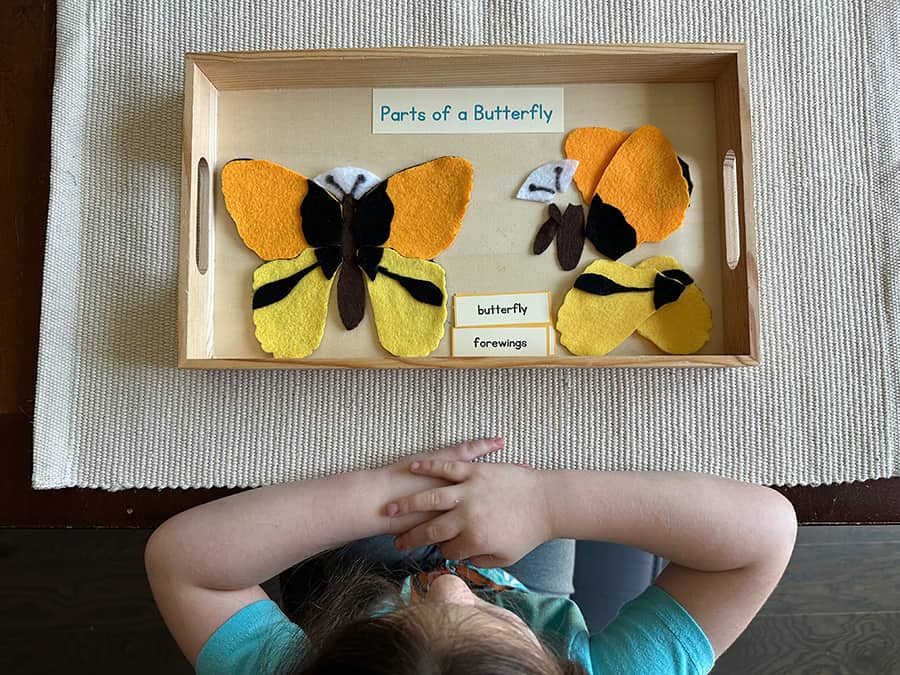
I made two copies of the butterfly felt puzzle; in one, I glued together the pieces on a whole butterfly shape on brown felt to use as a control of error, and in one copy, I kept the felt pieces separate to be the puzzle.
Control of error is a Montessori term, meaning that the activity is self-correcting; the adult is not correcting the child.
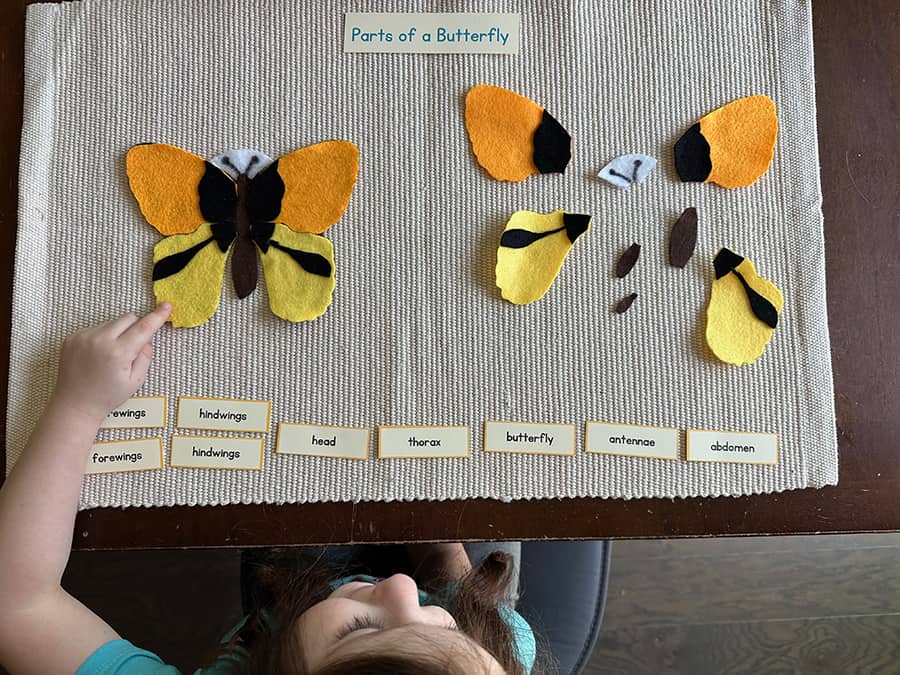
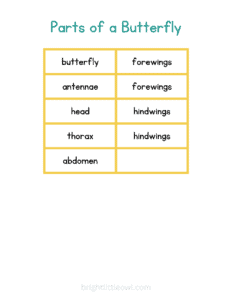
Next, I created labels for the butterfly parts and printed them out on card stock:
butterfly
forewings
hindwings
antennae
head
thorax
abdomen
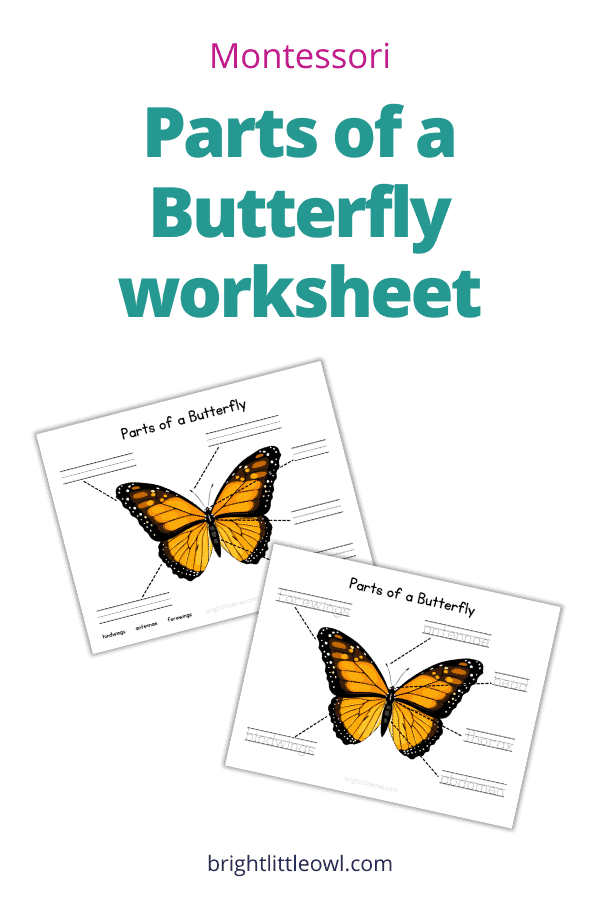
* If you’d like to download the Parts of Butterfly labels, three-part cards, and worksheet I made, sign up for the Resources Library at the bottom of this post. If you’re a subscriber, check my newest email for the updated password.
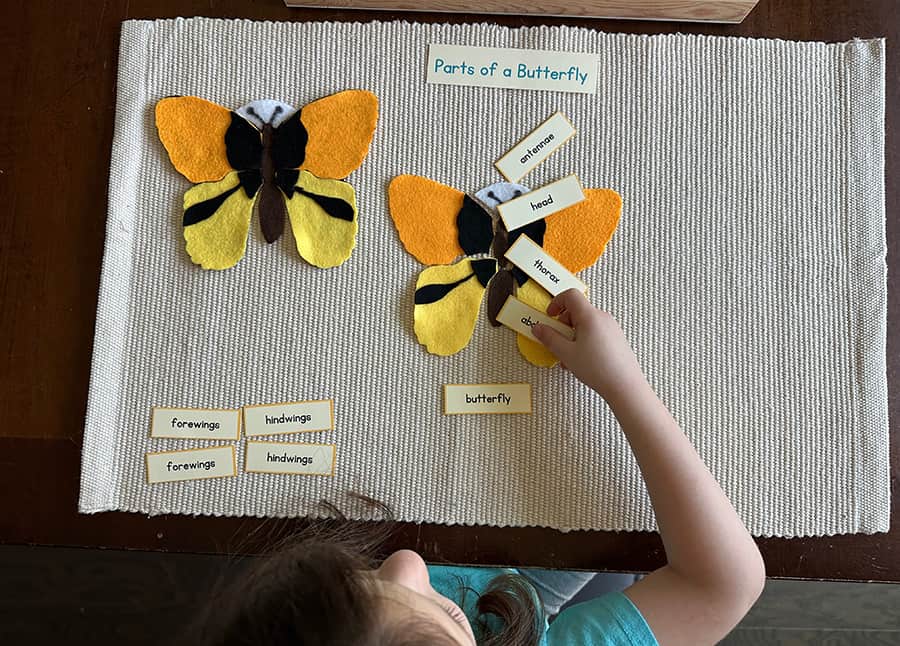
placing the labels on the butterfly parts
Tip: You could use a miniature butterfly toy as a control of error and talk about the different butterfly parts while doing the puzzle.
If you don’t have a butterfly figure or toy, you can make one! See the next section below for a butterfly craft idea.
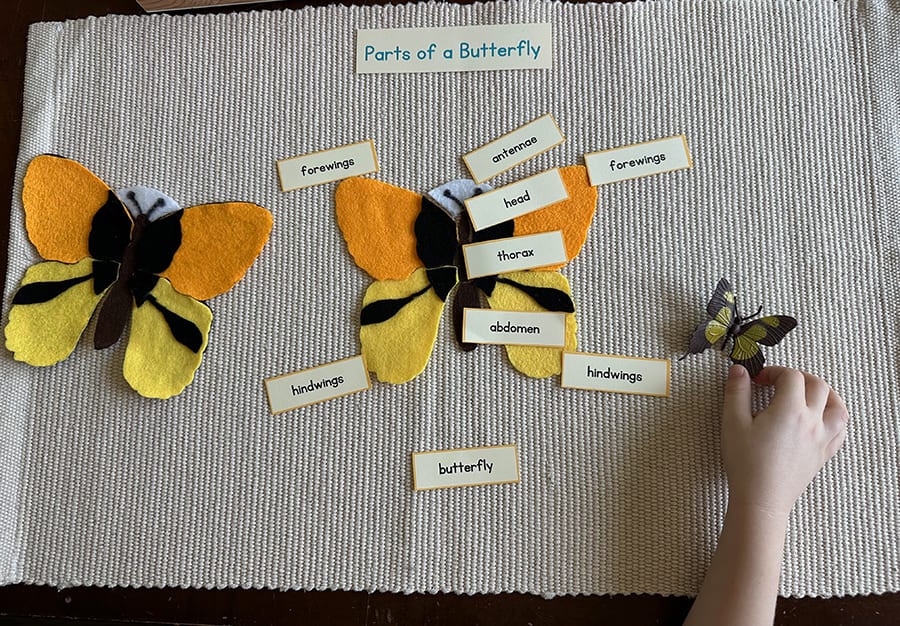
Completed puzzle with labels and a butterfly figure
Make your own butterfly: a clothespin and coffee filter craft
Butterfly clothespin craft - with 2 coffee filters
When I was a Montessori teacher, in the Spring, we would have a color-mixing activity with colored water in medicine droppers. We dripped the primary-colored water to make secondary colors on the coffee filters.
The teachers tried to figure out what to do with those colored and dried coffee filters. One idea we had was tomake flowers with coffee filters.
But we also used them as butterfly wings for a clothespin craft!
The only downside to dripping colored water on the coffee filter is that the colors come out very light and pale. Also, we found that the colors come out very light if you use watercolor paint.
At home, my daughter, Annie, tried colored markers, and the colors became more vibrant.
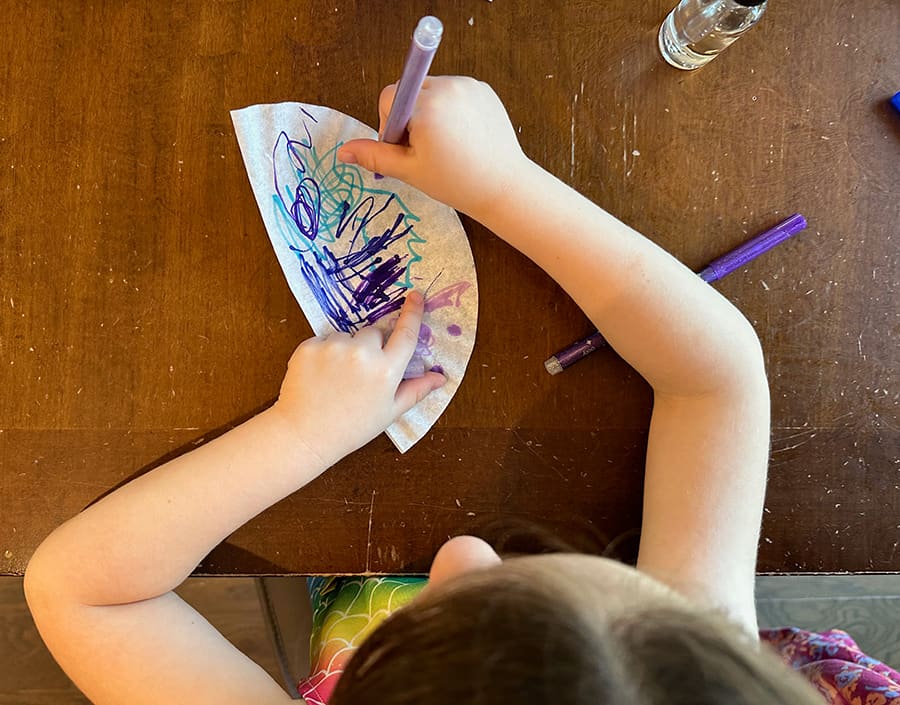
Fold a coffee filter in half and color with markers
First, we folded the coffee filter in half and colored it with markers on one half of the coffee filter. We folded it in half to get the symmetry effect. We talked about how butterfly wings are symmetrical.
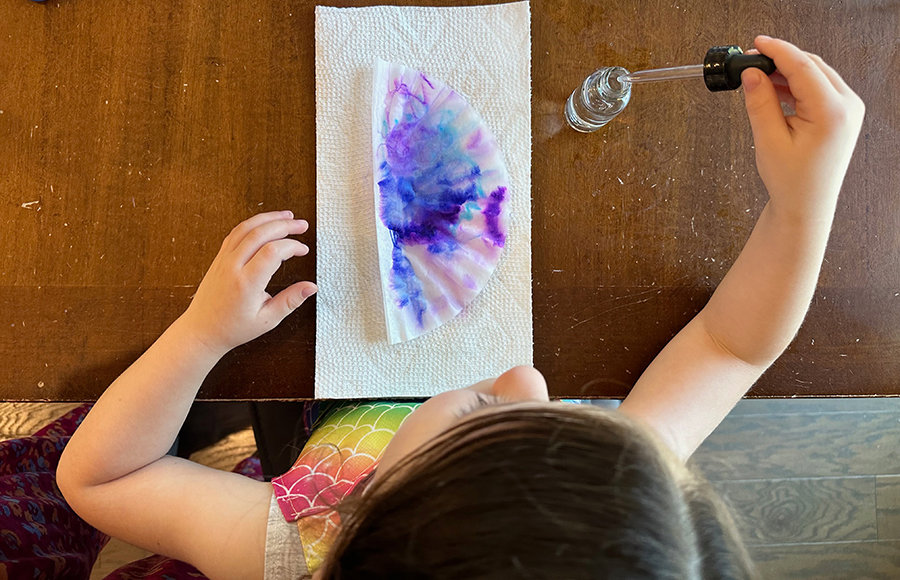
drip water with a medicine dropper on coffee filter
Next, we dripped water on the coffee filter. The bonus is that using a medicine dropper is a great practical life activity that helps with fine motor control. Be sure to thoroughly saturate the filter so the marker seeps through to the other half of the coffee filter.
Open coffee filter and see symmetry design
Open the coffee filter and place it on a plate or flat surface to let it dry. See the symmetrical pattern, just like butterfly wings!
decorate a clothespin: head and body
While the coffee filter is drying, decorate the clothespin. We used the “doll pin” style clothespin. You could also use the basic style rectangular clothespin with the hinge, which works just as well. Be sure to draw the head, the thorax, and the abdomen.
Note: If you’re using a rectangular hinge clothespin or a doll pin clothespin, you can make two coffee filters; one for the top two forewings and one for the bottom two hindwings. However, with the “doll pin” clothespin, it is tight to fit the pipe cleaner and two coffee filters, but it can work!
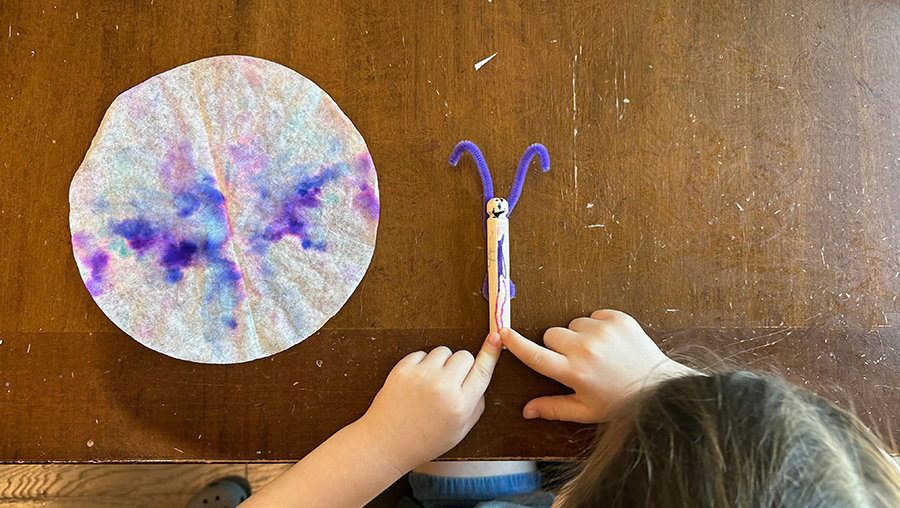
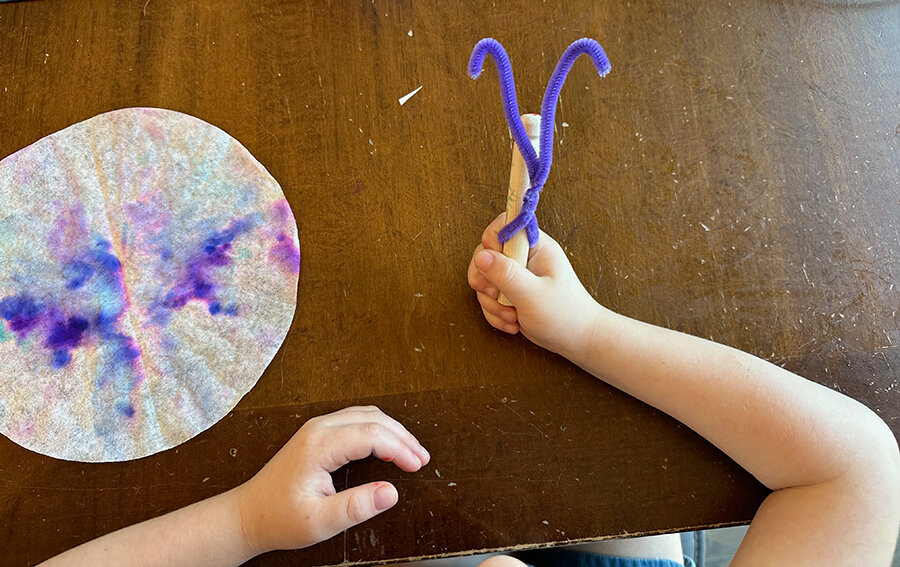
twist a pipe cleaner around the clothespin for the antennae
Next, we twisted a pipe cleaner around the clothespin, sliding it into the slit and making an “X” in the back. We curled the tops of the antennae.
Note: If you have a rectangular hinge clothespin, experiment with the pipe cleaner to see the best way to attach it with the clip to stay secure.
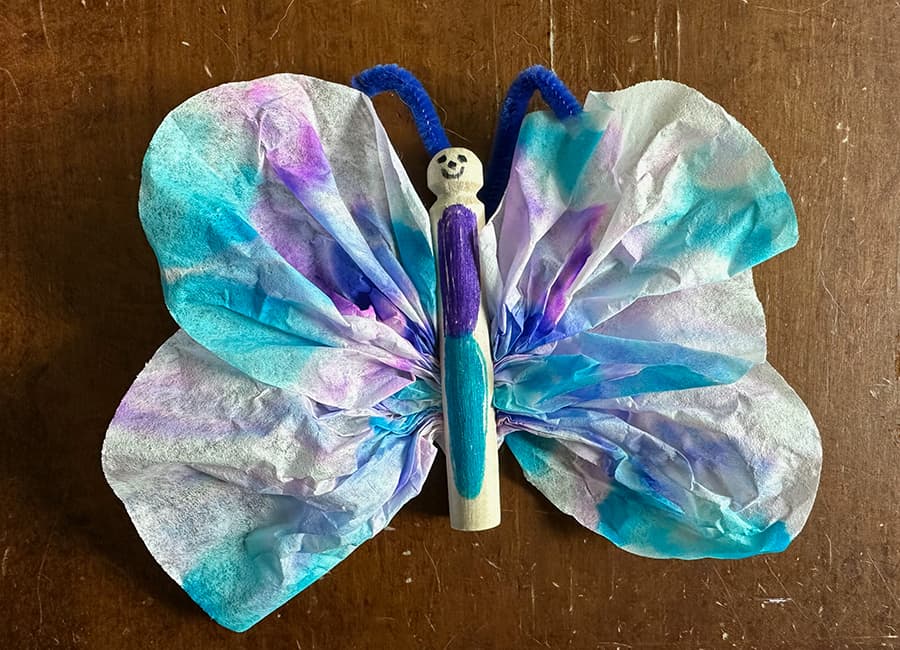
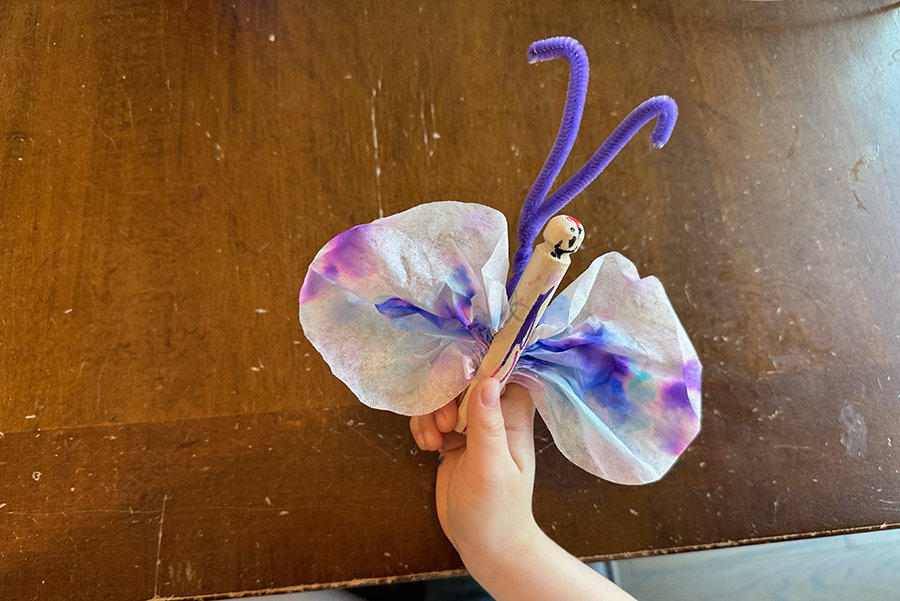
make your butterfly wings - this one has 1 coffee filter
When the coffee filters are completely dry, evenly slide them into the slit of the doll clothespin to keep the symmetry of the wings even.
We used one coffee filter for Annie’s butterfly, which still looks really cute.
If you have the rectangular hinge clothespin, fold the dried coffee filters like a fan, pin them in the center, and clasp them down with the clothespin.
You can use your butterfly craft as a hands-on object to learn the butterfly parts!
Note: if you want to use your butterfly to label the butterfly parts, it would be best to use two coffee filters. This way, you have one for the forewings and one for the hindwings. The picture below has two coffee filters.
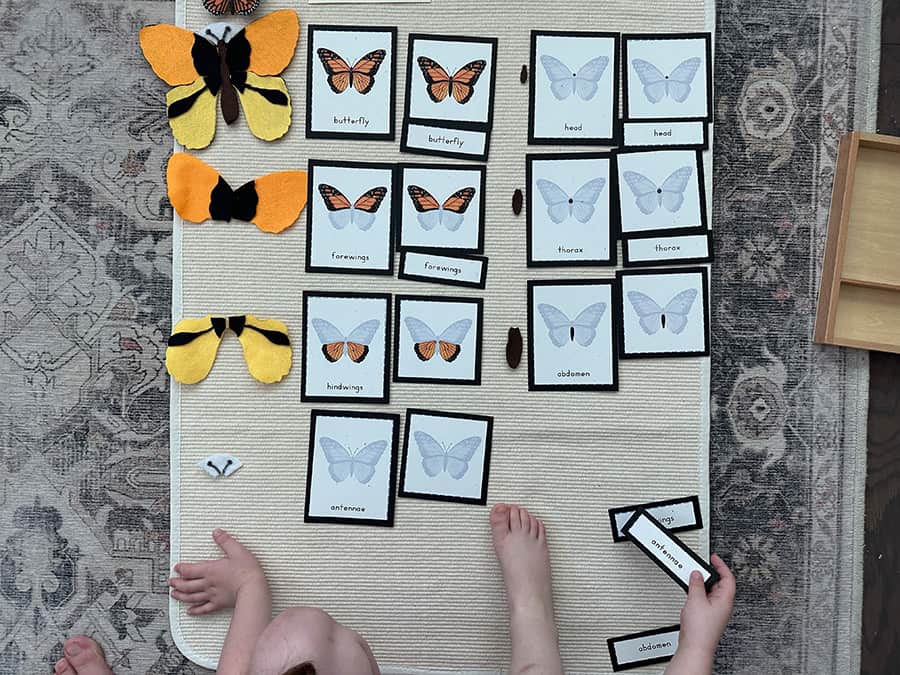
matching labels to the butterfly parts
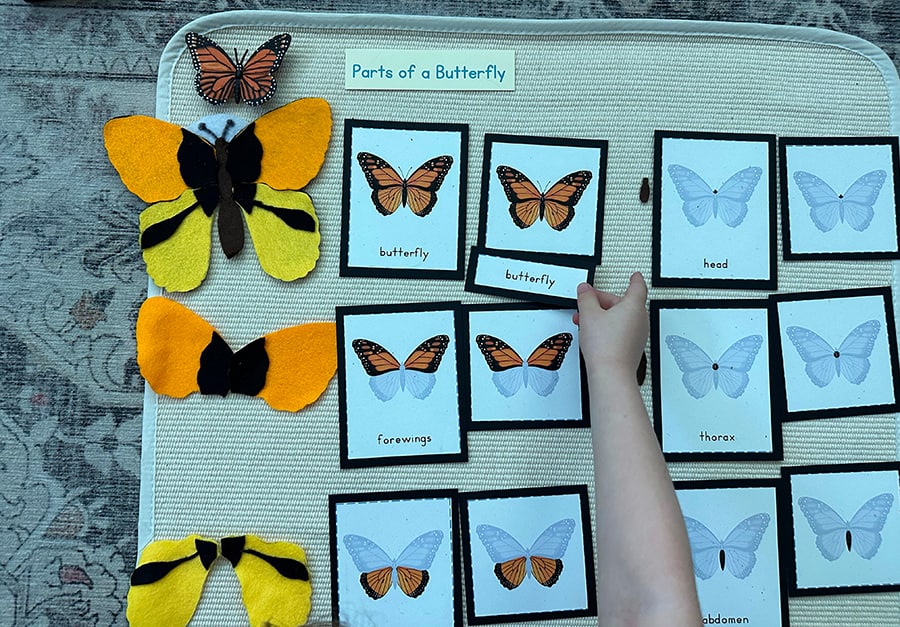
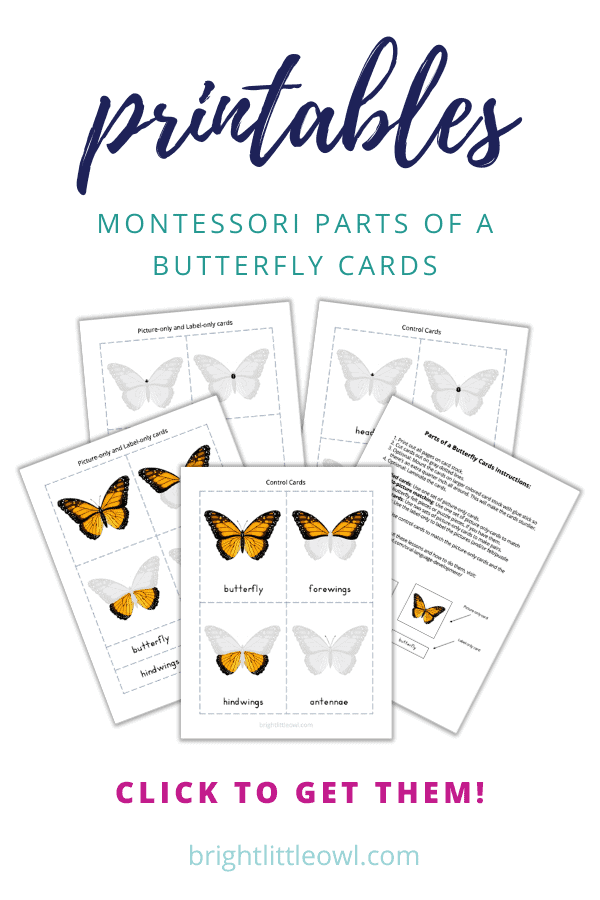
Bonus: 3-part cards for the butterfly parts
Matching three part cards and puzzle pieces
Three-part cards, also known as: classification, nomenclature, or vocabulary enrichment cards, are wonderful for learning the butterfly parts. You can traditionally use the cards, like I explain step-by-step in my blog post:
You can also match the puzzle pieces to the cards. This is wonderful because your child gets the hands-on feel of the butterfly part in her hands first and then matches the cards.
* If you’d like to download the Butterfly parts labels, three-part cards, and worksheet I made, sign up for the Resources Library at the bottom of this post. If you’re a subscriber, check my newest email for the updated password.
Concluding Thoughts about Parts of a Butterfly
Annie loved the butterfly felt puzzle as well as learning the names of the butterfly parts. She was super excited about the clothespin craft, which brought the whole butterfly lesson to life.
It wasn’t exactly the flower lesson I described with the real flower at my teaching job interview all those years ago.
But, it is another example of how bringing something to hold in your hand to go with the lesson sparks interest and happiness.
I have found that children love to explore and talk about plants and animals. Finding inspiring and hands-on ways to learn new vocabulary or scientific terms brings out the love of learning.
Have you tried making a felt puzzle or a butterfly clothespin craft and how did it go? Leave a comment below!
* If you’d like to download the Butterfly parts labels, three-part cards, and worksheet I made, sign up for the Resources Library below. If you’re a subscriber, check my newest email for the updated password.
Such a fun activity! I am sure kids enjoy touching it and learning without much thinking. I didn’t actually know about all these parts so thank you for educating me as well.
That sounds like a really fun activity! Making hands-on activities is such a great way to engage children and help them learn. I love how you incorporated a real flower into your parts of a flower-felt puzzle activity – it’s so important for children to have that tactile experience. Your butterfly puzzle sounds like it will be just as engaging and I’m sure my daughter will love it. Thanks for sharing your experience and ideas!
Nnniiiccceeeee….this is a lovely looking puzzle! For a long time, I’ve only pieced together puzzles of words. I look forward to arranging animals and their shapes now.
I love the idea! Thanks for sharing this beautiful butterfly crafts. I’m excited to do this with my daughter, it’s very important so their skills and creativity could improve more.
I really enjoyed the beautiful parts of a butterfly DIY puzzle and craft. It’s a creative and educational activity that helps children learn about the different parts of a butterfly while having fun. The instructions were clear, and the end result was delightful. Great job!
What a cute activity and a great way to teach it. I’ll have to keep this in mind when I am coming up with activities for our scouts as so many of the adventures are based around the outdoors.
What a great learning activity this is and awesome to have all the instructions on how to create it. My daughter loved doing puzzles when she was a toddler; this would have been something I would have definitely created for her to do.


Such a fun activity! I am sure kids enjoy touching it and learning without much thinking. I didn’t actually know about all these parts so thank you for educating me as well.
Such great suggestions. I used to love making crafts with coffee filters as a kid.
oh my! such a pretty and cool plus fun way to learn about the butterfly..
As a parent, we all need the free resources for the summer break! Great and fun activity here.
It’s beautiful. Its also amazing that you made your own parts of the flower-felt puzzle activity.
What a really nice craft! My kids are going to love this! Thanks for sharing this with us
Kids will have a lot of fun using this wonderful learning tool. Kids will definitely enjoy about the parts of the butterfly.
That sounds like a really fun activity! Making hands-on activities is such a great way to engage children and help them learn. I love how you incorporated a real flower into your parts of a flower-felt puzzle activity – it’s so important for children to have that tactile experience. Your butterfly puzzle sounds like it will be just as engaging and I’m sure my daughter will love it. Thanks for sharing your experience and ideas!
Nnniiiccceeeee….this is a lovely looking puzzle! For a long time, I’ve only pieced together puzzles of words. I look forward to arranging animals and their shapes now.
I love the idea! Thanks for sharing this beautiful butterfly crafts. I’m excited to do this with my daughter, it’s very important so their skills and creativity could improve more.
What a cute craft! I love the process of using ink like that. Such a lovely idea for putting together a craft butterfly.
I really enjoyed the beautiful parts of a butterfly DIY puzzle and craft. It’s a creative and educational activity that helps children learn about the different parts of a butterfly while having fun. The instructions were clear, and the end result was delightful. Great job!
What a wonderful learning tool for kids. The butterfly came out wonderful and it’s such a great teaching tool and craft all in one great activity!
What a cute activity and a great way to teach it. I’ll have to keep this in mind when I am coming up with activities for our scouts as so many of the adventures are based around the outdoors.
This is such a great craft to make learning fun for the kids. I know mine would have loved this when they were younger.
What a great learning activity this is and awesome to have all the instructions on how to create it. My daughter loved doing puzzles when she was a toddler; this would have been something I would have definitely created for her to do.