Please share with your friends!
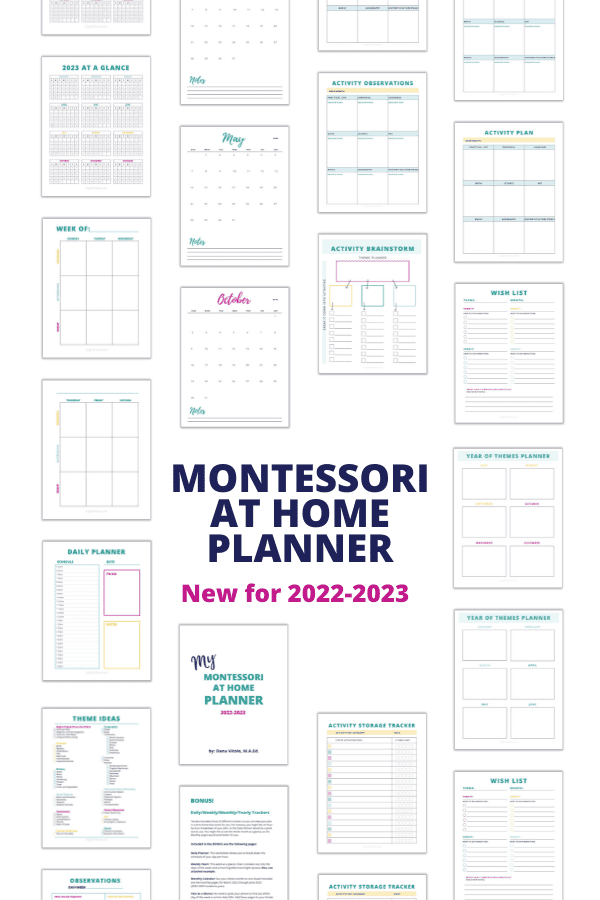
Montessori at-home and homeschool planner has been updated for 2022-2023!
To download it, go to the bottom of this post and sign up for the Resource Library!
"If you don't know where you're going, you might wind up someplace else."
Yogi Berra
In This Post
Why you need a Montessori at-home or homeschool planner
I don’t need to write that down and I don’t need an at-home homeschool planner. That’s just an extra step and I don’t have the time. I know everything in my head. I can remember everything and I do a good job of implementing the plans I keep in my head.
But now my child is getting a little bit older and her collection of activities and toys is growing. I feel like it’s getting out of hand. I have a ton of ideas in my head but now I don’t know where to begin.
Sound familiar?
I have struggled with this, too; both as a Montessori 3-6 classroom teacher, and as a mother of a young child. Yogi Berra was always great at turning a phrase, but there is sage advice in his quote above. It’s best to have a plan otherwise you risk ending up away from your end goal.
This isn’t necessarily a bad thing in Montessori at-at home or homeschooling, which can be very relaxed and open-ended. But it’s useful to write down ideas, observations, and your child’s interests so you know where to go with it, and for your own sanity!
I recently started to think about my experience as a classroom teacher and the benefits of having a plan and record-keeping system. I always had a plan and a record-keeping system as a teacher, but there were times when I would just keep a bulk of ideas and observations in my head.
In the classroom, when I had a system that worked and stuck with it, I noticed a huge difference. I found that it is best to have some sort of plan for the year, month, week, and day, and to keep records of what actually happened.
But what about if you’re implementing Montessori at home? Do you need a planner? My daughter is three, and I have discovered, that yes, it is super helpful to have an at-home planner.
When you have a plan and write it down in a planner, it helps you to:
- get everything out of your head
- brainstorm ideas on paper
- come up with totally new ideas
- follow through and complete the tasks
- keep track of everything you have in storage
- get the best use of everything you have in storage
- know what to keep or purge in storage
- list what you need to find, buy, or make
- have a better idea of what your child can work on next
- reduce stress

New Planner for 2022-2023!
Note: To Download the Montessori at-home and homeschool planner, sign up for the Resources Library at the bottom of this page!
My experience as a Montessori at home mom
I set up a Montessori Toy Shelf and started a toy rotation and storage system when my daughter was seven months old. It has been a wonderful journey but there has been a learning curve.
After my daughter turned two years old, I found that her collection of toys and activities where growing faster. This is even more true now that she’s three!
She was mastering activities quickly and growing bored of toys quickly. This is continuing at a rapid rate as she grows. It came to a point that if I didn’t get on top of it quick, it would continue to get overwhelming.
So I started to write down lists and plans as I emptied out the her storage closet. I felt like I was getting somewhere, like I was able to get my head around it all. I decided to pull together an at-home planner and I’m glad I did.
If you’re looking to organize your space, storage closet, and ideas for themes and activities for the year, you’re in the right place!
Here are the 7 steps to setting up an at-home or Homeschool Planner that works!
Step 1: Organize your storage
Organize your storage system and write down ALL of the activities. Yes, write down ALL of the activities you have already. Go through your storage closet and your child’s activity shelf, including the shelves with all of her books.
List all of the items you have in separate categories, for example:
- puzzles
- building blocks/legos
- books
- art supplies, play dough
- practical life and kitchen supplies
- sensorial and sensory bin objects
- science
- language (cards, objects, letters)
- math (counting, numbers)
- different themes (gardening, flowers, ocean animals, and so on)
You could color code the different categories you have and put everything in separate clear bins with labels.
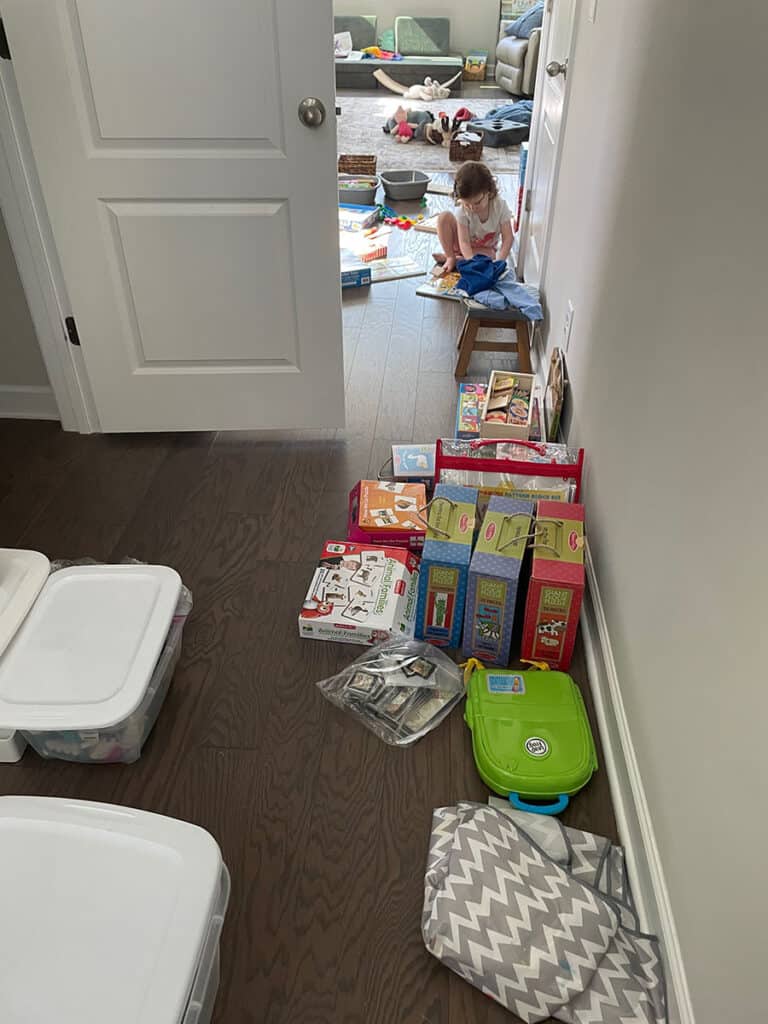
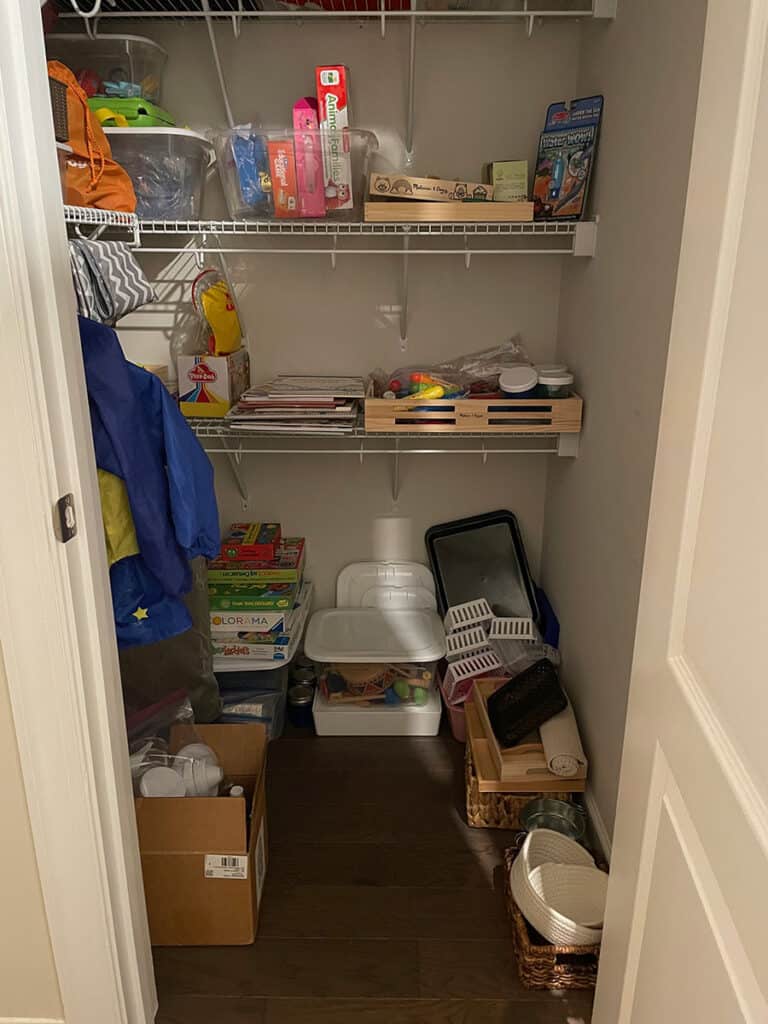
Tip: Involve your child! While you’re taking everything out of the closet and off the shelves to declutter and organize, observe what your child gravitates towards. Ask your child what she likes or doesn’t like. This will give you clues as to what to work on next, or what you can purge (toss, recycle, donate, sell).
Step 2: Plan Monthly Themes
Write down your plan and themes for each month for the upcoming months/year. Think about the calendar year and what you’d like to work on with your child for the months coming up or for the whole year.
What does your child like? Ask her! What questions is she asking you? What is the season and what holiday comes up during that month?
Spread out your child’s favorite themes into the different months so you have enough time to work on all different types of activities for that theme. This can be a relaxed schedule.
Your child’s interests may change from month to month. That’s expected and okay, and you could always have backup plans for other themes.
You could ask your child what she wants to do! You can give choices, for example, you could ask her, would you rather learn about ocean animals or transportation vehicles? You could switch themes or find a subtopic or a specific animal (dolphin) or type of vehicle (boats) that interests your child for that theme.
Step 3: Brainstorm activities
Brainstorm your plan for the upcoming month with more details. Write down activities in your homeschool planner for the particular theme you and your child chose for that month. The activities will be under different subjects. For example:
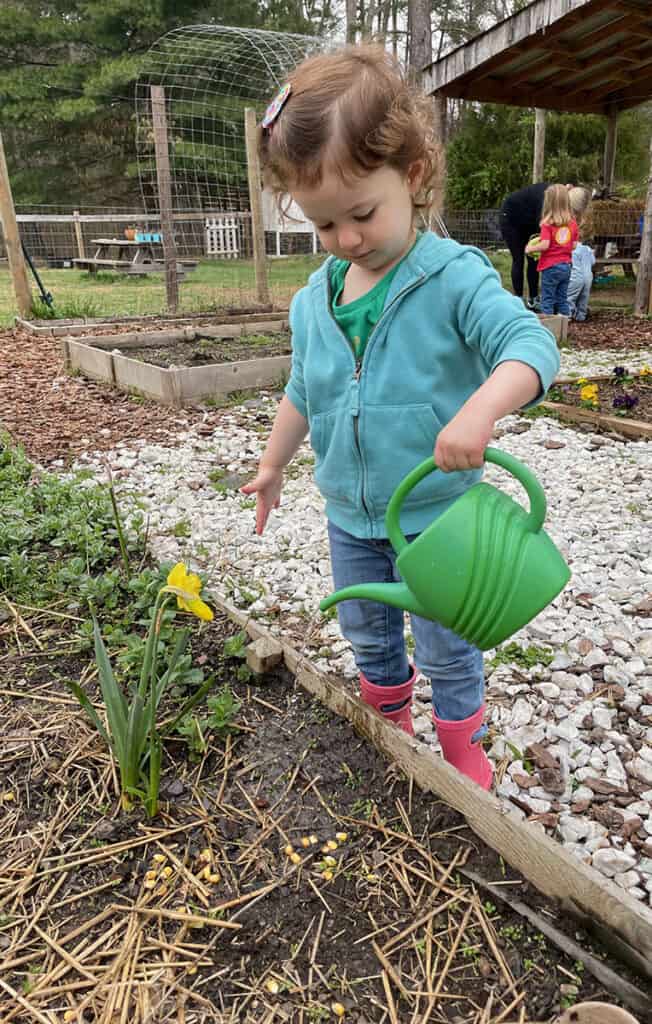
Let’s say it’s April or May. Since it’s Spring, you decide to do a gardening theme and your child loves nature, flowers, and the outdoors!
Gardening Theme Example:
Language:
- Get books from the library about seeds, plants, leaves, flowers, and so on
- Make or buy picture matching cards for different types of flowers and plants, vocabulary enrichment
- Collect Gardening tools, plants, seeds, flowers, herbs, and other objects from nature and match and label them
Practical life activities:
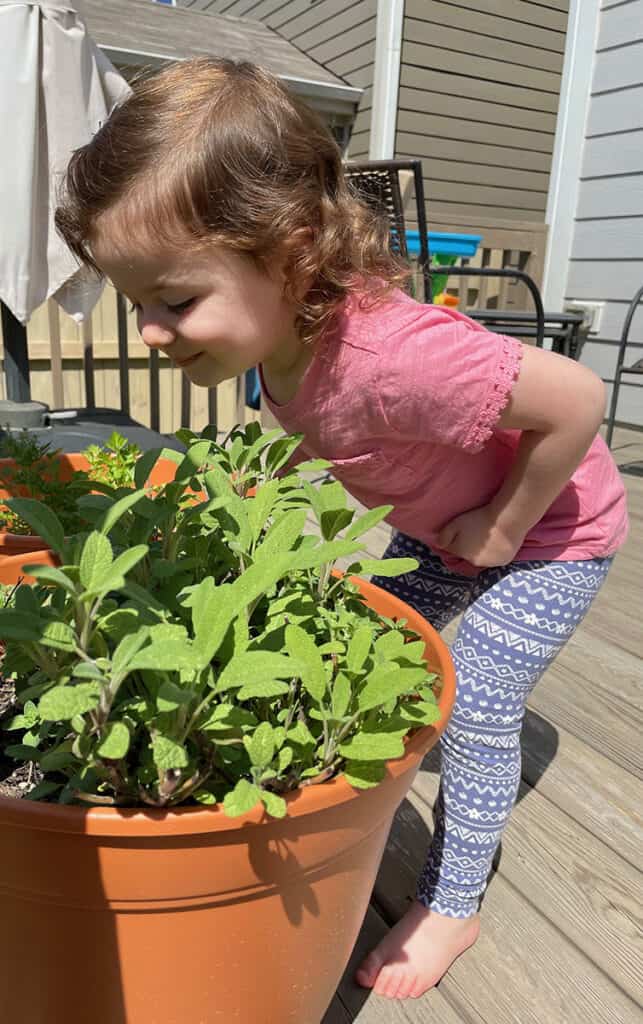
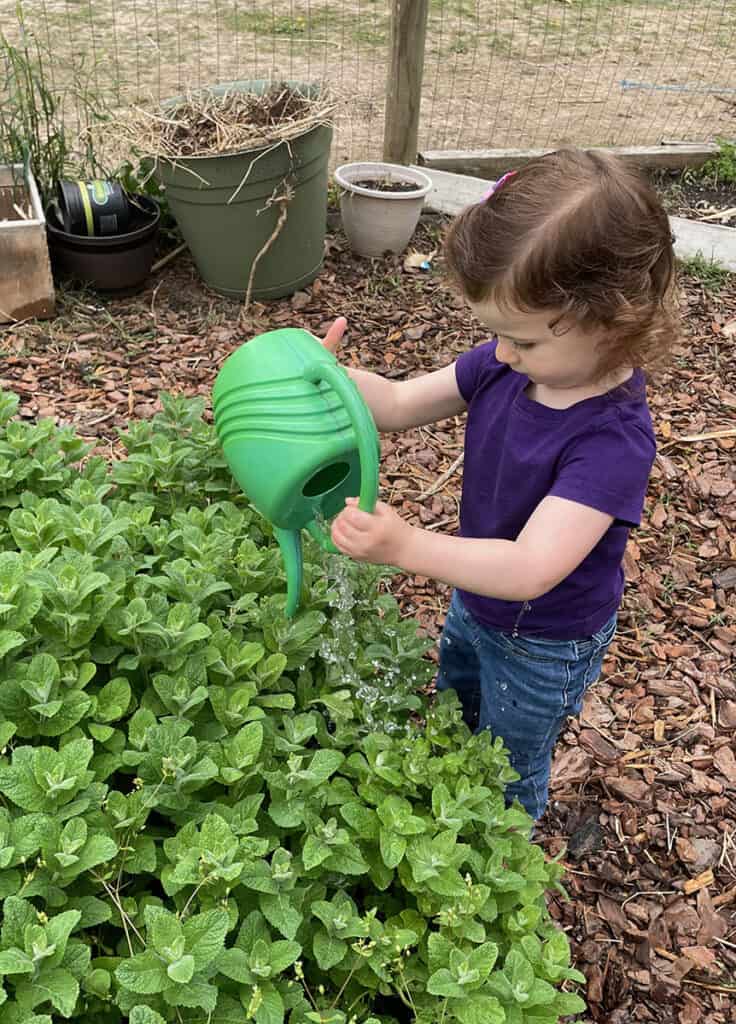
- Watering plants
- Flower cutting and arranging activities with flowers from the garden
- Cooking and food prep with herbs/berries from the garden or local seasonal farm produce
- Using objects currently from outside/nature (seeds, leaves, flowers) for tongs, pouring, sorting
Sensorial activities:
- Use objects currently from outside/nature for a mystery bag, sensory bin, ordering by size and shape
- Tasting and smelling activities with berries, herbs, and flowers
- Exploring with hands in the garden, with dirt and shovels, and watering can
Math:
Counting seasonal objects (seeds, leaves), and also use them for hands-on addition or subtraction activities
Art/Music:
- Make paper flowers
- Spring art and music themes
- Make a picture or collage with seeds, flowers, and herbs
Science:
- Parts of a flower
- Growing a bean and creating a growth chart
- Growing plants, vegetables, and flowers in the garden
Geography:
Geographical locations for certain types of plants, trees, and flowers
Step 4: Create a wish list
Create a list of everything you need to buy, find, or make. Montessori at home or homeschooling should be very relaxed.
Your child may not like all of the activities you have planned. The main purpose for writing all of these activities listed above in your planner is so that you can plan for what you need to do to pull together. Involve your child in this planning process.
After you write down a plan for all of the activities you want to include for your theme, make a list of all of the items you need to purchase, make, or find. You may have things at home already that you can use.
Organizing a list will help you to get a better grasp of what you need to do to pull everything together quickly. It’s a good idea to find items that can be used for multiple activities.
You will not have all of the activities going on in the same day or week, so you can rearrange materials to make new activities for next week, with what you already have.
This process is a great way to explore. Have fun and be creative!
Step 5: Plan the week
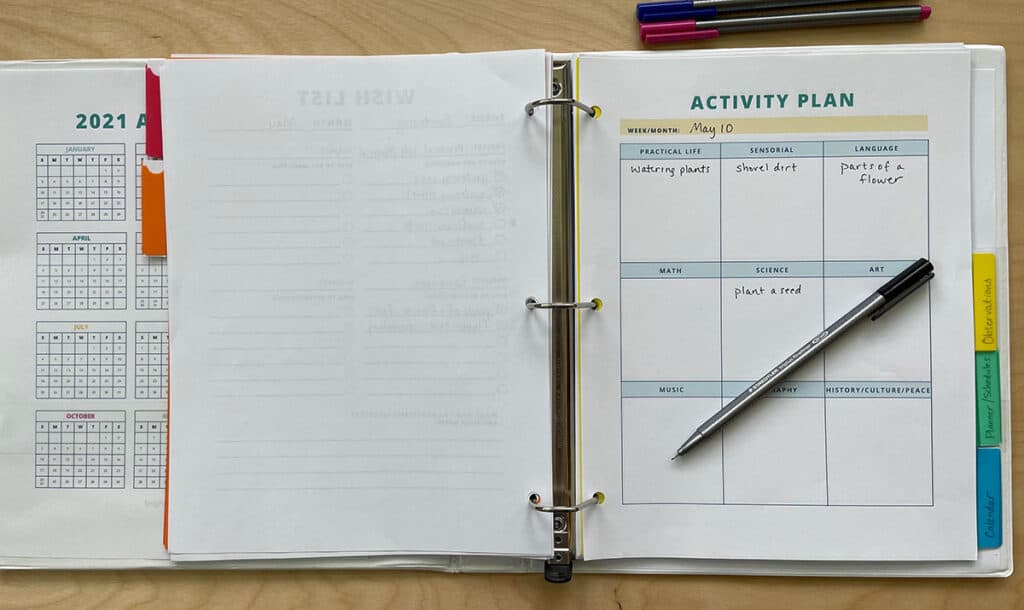
Fill out your activity plan and schedule for the week coming up. In your homeschool planner, it’s helpful to include a weekly plan.
In the weekly plan and schedule, you can include the activities you plan on presenting to your child for that week. You can organize the plan under different subject categories.
The activities could repeat to the following week. Take your time with a relaxed schedule.
You can also use a weekly calendar with a schedule and include:
- Outings for the week or get-togethers with other families and kids
- Homeschool group or playdate group, dance/music class, sports
- Field trips to the library, farm, museum, zoo
- Your schedule
- appointments
- errands
- At home to-do list for that week
- Themes and activities for that week
Step 6: Observe
Write down your observations. Observing your child is so important. The best way to know what type of activity to pull together next comes from observing your child.
While you’re watching your kids, ask yourself questions. You’ll start to notice patterns. For example:
- What worked and what didn’t work?
- Does she have a favorite activity right now?
- Which books or activities does she take out mostly this week?
- What is she asking about?
- Is there an activity she never wants to play with and why?
- Did she have an “aha” moment and is there a way to challenge her further?
Write down your observation. Leave some space in your homeschool planner to write down weekly or daily observations, whatever works best for you. Do the best you can!
Example: My daughter was working with different types of scissors and she was having a hard time cutting paper with the non-metal scissors. The paper kept sliding through the scissor blades instead of cutting. I realized that you really need to squeeze the blades together precisely and tightly to cut the paper properly. My daughter still needed practice with squeezing activities.
But my daughter still wanted to work with the scissors, so I tried two squeezing activities based on my observations: using the non-metal scissors to cut playdough strips and using scissor-like tongs to transfer play dough balls into cups. She was able to do these activities with success and had fun doing them! Check out my scissor and squeezing activity blog post.
Step 7: Repeat and refine
Assess your observations and update your planner accordingly. Observe your child throughout the day.
This will help you to assess where she is at in her interests and learning. This will help you adjust the level of difficulty of the activities.
The example Gardening theme I talk about in Step 3 above can be done every Spring, when your child is 3, 4, 5, and 6.
You’ll include the same type of materials but you’ll pull together different activities depending on what you observed and where your child is at. Every year will be different.
Also, you may find out from your observations that your child is ready to move on from Gardening because she is no longer interested but is more interested in a different theme.
Or perhaps she mastered everything quickly so you try to put out new or more advanced Gardening activities. Or she wants to learn more so you schedule a field trip to a local farm.
Decide on your Montessori at-home or homeschool planner
Ideas to create your planner is below. Do what works best for you!
- Excel spreadsheet or Google sheets
- Word document or Google docs
- Paper and a pencil
- Blank notebook
- Standard calendar planner
You can either print out your word docs and excel spreadsheets and put them on a clipboard and hang it up on the inside of the closet wall. Or you can put everything in a binder. You could also keep your lists on your computer or an app on your phone.
Download the planner I created!
If you’re looking for an easy planner that addresses the 7 steps I outline above, I’ve got you covered!
I created a planner that has been working really well for me.
Note: To download the Montessori at home or homeschool planner, sign up for the Resources Library at the bottom of this page!
Concluding Thoughts about the Montessori at-home or homeschooling planner
Montessori at-home or homeschooling can be very relaxed and open-ended. Your child’s interests may change.
Observe and ask your child and try different themes. After all, Montessori philosophy is child-centered and we say, follow the child. But, you’ll notice a difference in your overall experience and happiness if you write it all down in a planner!


Will you update this? It is an amazing resource!
Thank you
Hi Chelsea,
Thank you so much for the kind words and I am so glad that you enjoy the Montessori at Home and Homeschool Planner! I have not updated the calendar portion at this time, as I have been working on the Montessori language sequence and more language printables currently. You could still use the Montessori planning pages that come before the calendar portion which include:
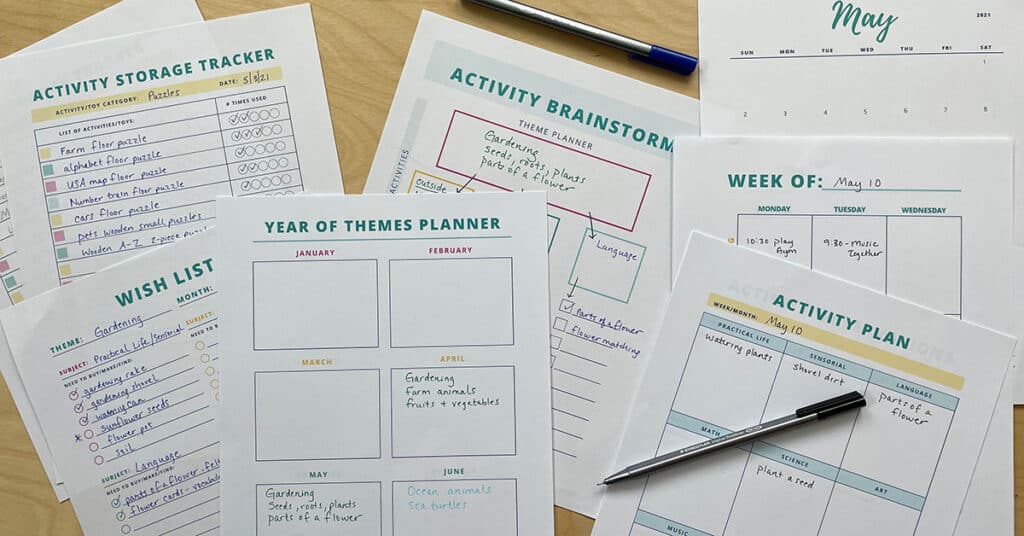
Activity Storage Tracker
Monthly Theme Planner and BONUS Theme Ideas
Activity Brainstorm
Wish List
Activity Plan
Observations
The Daily/Weekly/Monthly/Yearly Trackers is a BONUS section, and I will most likely update these BONUS calendar pages with blank lines for you to write in the Day, Month, and Year so that you can print the pages again to be used for several years to come. I hope to update those “blank” calendar pages very soon.
I hope this was helpful and enjoy!
Best 🙂
Dana
Pingback: Create a Fun Ocean Theme for Preschoolers: An In-Depth Guide With Ideas and Planning
Thank you for this! I use My Father’s World for my kids in grades 3-8 but I was looking for a planner like this for my younger children that I like taking more of a Montessori approach with.
Ohh these are great tips, the hands on life skill are wonderful.
I would love to be this organized! This is a great way to get everything in order for homeschooling.
yay! I love this! Will definitely help making me organized as my toddler goes on as I create a more structured homeschool for him as he grows older 🙂
If I was homeschooling I would definitely need this. I am so unorganized!
This looks like such a great resource for homeschooling families!
Thank you! These tips will come in handy when working with my 4-year-old to get her ready for school.
Thank you for these tips and information. I do find homeschooling to be challenging, like most parents, so these are of great value to me.
Pingback: Montessori Language Curriculum: 5 Activities to Get Your Toddler or Preschooler Started Now! - Bright Little OwlMontessori Language Curriculum: 5 Activities to Get Your Toddler or Preschooler Started Now!