
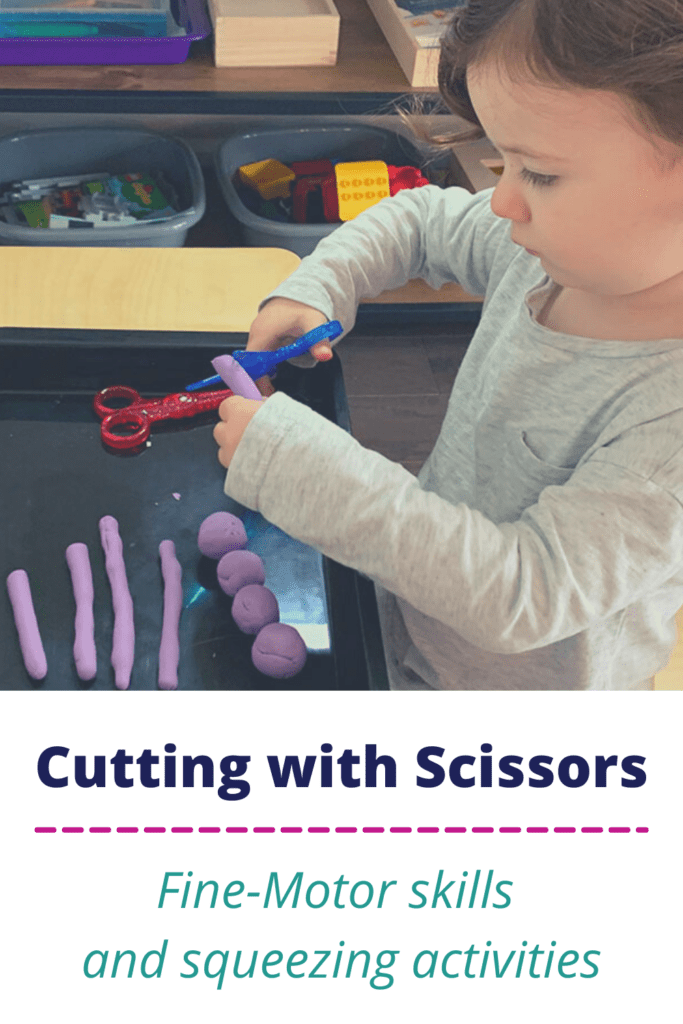
My daughter at two-and-a-half years old just started to express interest in using scissors. I thought it would be a great time to start practicing a cutting with scissors activity.
Showing her for the first few times how to manipulate scissors takes patience. While showing her and observing her reaction to it, in my mind, I am fascinated and delighted.
I am fascinated because she is expressing wonder and curiosity and through her facial expressions, I see her saying “what is this thing?” I am delighted because when I say to her “open and shut” or “open and squeeze” she has a huge smile on her face!
You can download the Cutting with Scissors Activity free printable.
I created a cutting with scissors activity printable for each season as well as a holiday one:
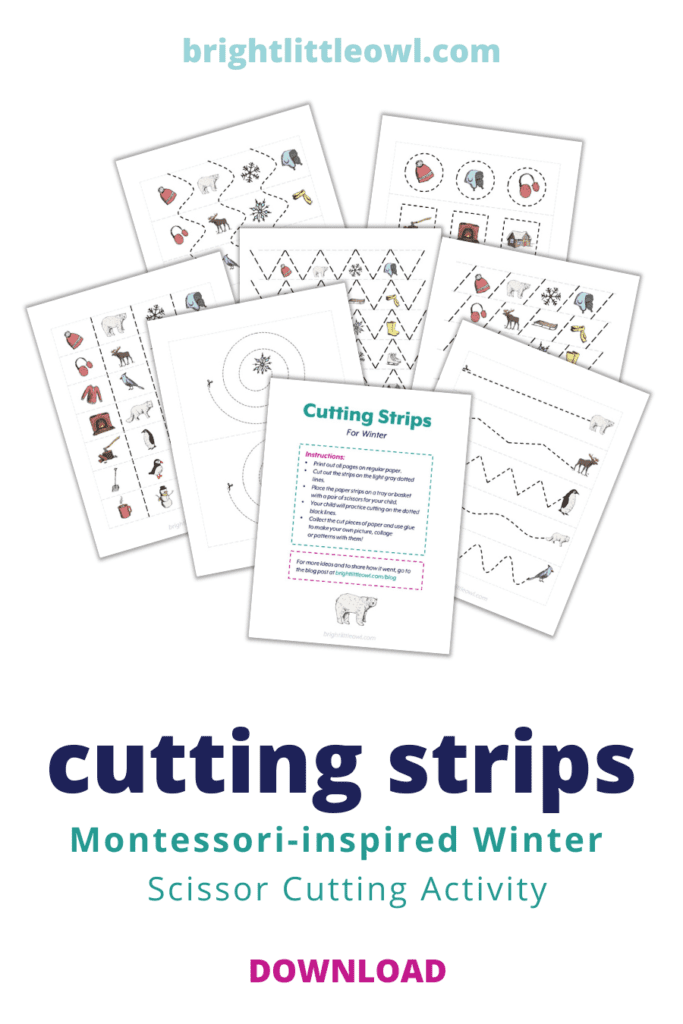
- Winter
- Spring
- Summer
- Fall
- Christmas
To download them all, sign up for the Resources Library at the bottom of this page.
How do I teach my child scissor skills?
NAEYC (National Association for the Education of Young Children) says that a lot of your child’s daily activities require “control of small muscles in the hands.” Your child can do so much more if she practices fine motor skills.
Using scissors helps strengthen your child’s small muscles or fine motor skills, preparing the hand for writing.
As an adult, you model very slowly how to use the scissors, and then let them try. In the beginning, it is challenging for a young child to use scissors for the first few times and it may be frustrating for your child if she is unable to cut paper as you can.
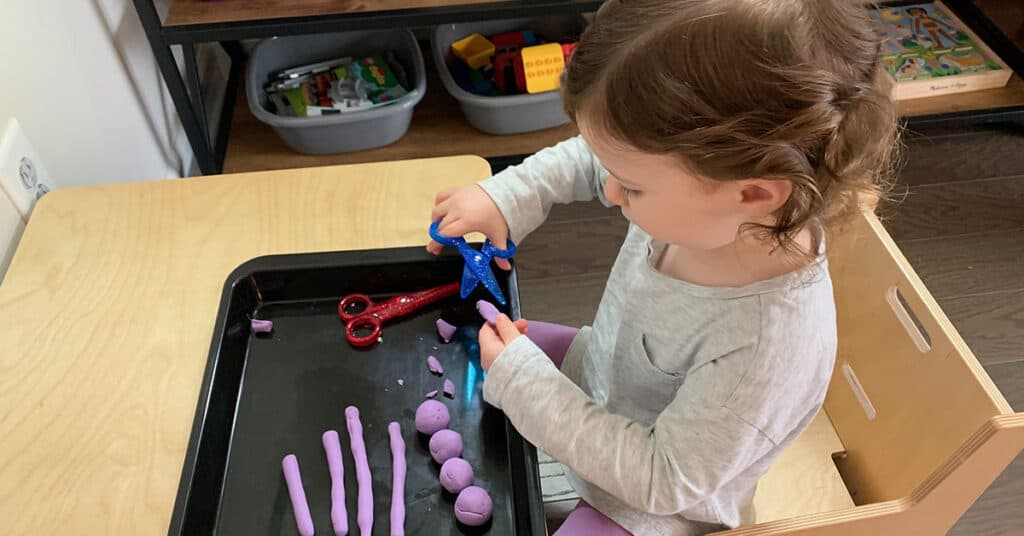
For toddlers and young preschoolers, start out by cutting other things instead of paper, like playdough. Or just try to freely cut blank paper with no lines on them. You could cut different color paper to keep it interesting.
Use the language, “open,” “close,” “shut,” “squeeze.”
Is my child ready for scissors?
Keep trying! Your child is practicing and enjoying the process. But if it is still too much for your little one or she is not interested, try other squeezing activities to prepare the small muscles for manipulating scissors.
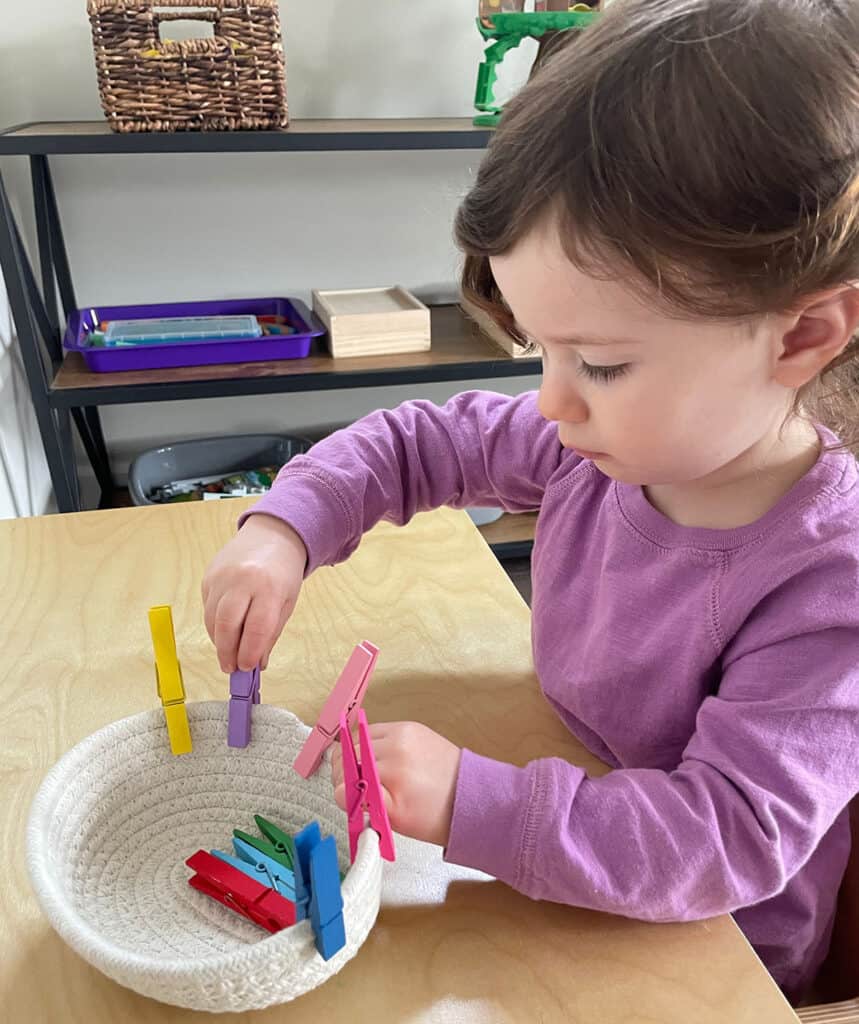
Squeezing Activities:
1. Use clothespins to clamp onto the edge of a bowl or basket.
2. Use tongs to transfer small objects into bowls

You can use household objects to use with tongs. For example dry pasta, playdough balls, pom poms, cotton balls, and seashells. My daughter loves using the tongs from the Learning Resources Helping Hands Fine Motor Tool Set. Here is a picture of her using tongs with scissor-like handles to transfer playdough balls back into the container.
3. Squeeze a sponge with water. You could add soap and make bubbles!
4. Use a dropper or baster and transfer water from one bowl to the other.
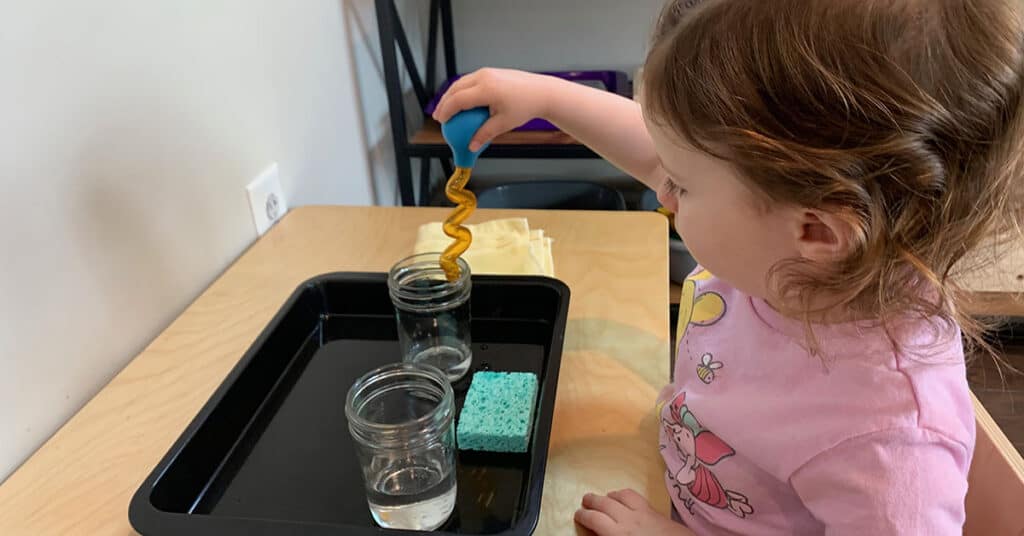
Here is a picture of my daughter using this fun zig-zag dropper/baster from the Learning Resources Helping Hands Fine Motor Tool Set to transfer water from one cup to the other.
You can use different-sized bowls, ice cube trays, or other containers to increase the level of difficulty. You could also color the water with food coloring to add more interest.
After your child had fun exploring these squeezing activities, try working with scissors again on a future day if you think your child is ready. Remember to model how to use the scissors and go very slowly.
When I was a teacher in the classroom, sometimes I asked the child to place her hand on my hand as I was cutting with the scissors so that she feels my hand opening and closing the scissor. This helps her to get the idea of how the scissors work, hands-on.
What scissors are best for beginners?
Melissa and Doug Safety Scissors

For a cutting with scissors activity, we have used the Melissa and Doug plastic safety scissors. They are all plastic (no metal) and they are safe because they won’t cut hair or clothing.
We really like how you get two pairs of scissors; one has a crinkle-cut blade which is fun! It’s really cool to use this one with playdough.
But if your toddler/preschooler is just starting out learning how to manipulate scissors, these can be frustrating in the very beginning because they don’t cut paper easily. You need to have a firm grip and really squeeze.
Instead of paper, try using the Melissa and Doug scissors to cut playdough. My daughter enjoyed this and really got the hang of it!
Kidicut Safety Scissors
Like Melissa and Doug, the Kidicut Saftey Scissors have no metal. But the Kidicut scissors are made with fiberglass blades, and they cut paper really well. They are also more rounded and softer to the touch.
Since the Kidicut Saftey Scissors blades are not made of metal, it still can be frustrating for a toddler using scissors for the first time to try to cut paper. You need a firm grip and you need to squeeze.
You could try cutting other things like leaves, herbs and flowers with these scissors if it’s too hard to cut paper in the beginning.
But these scissors do a better job of cutting paper for non-metal blades. They are more durable and of higher quality. The rabbit design on the side of the scissors is really cute, too.
Staedtler Scissors
For cutting paper, the Staedtler scissors are great for beginners because they cut easily on the first try. It really helps beginners to get the idea hands-on how to cut paper without having to squeeze too hard.
They have stainless steel blades with a rounded edge. Because they’re metal, for little ones, be sure to supervise while they use these scissors. They are a perfect size for little hands and my daughter loves using them!
Practical Life at home and cutting with scissors activity tray set up
In the Montessori 3-6 Classroom, we have a Practical Life shelf that contains all kinds of activities on trays that help with the child’s order, concentration, coordination, and independence.
Practical Life activities are real-life activities, like pouring water, spooning, sorting, using tongs, using a dropper, and so on.
In the home, there are many opportunities for your child to practice these types of activities all over your home because they’re real life! Care-of-self, like practicing zipping your coat and putting on shoes are examples of Practical Life at home.
Additionally, at breakfast, your child can pour cereal into a bowl and pour milk from a pitcher into the bowl, and use a spoon. She can pour orange juice from a small pitcher into a small cup. She can use tongs to pick up a small muffin and put it on her plate.
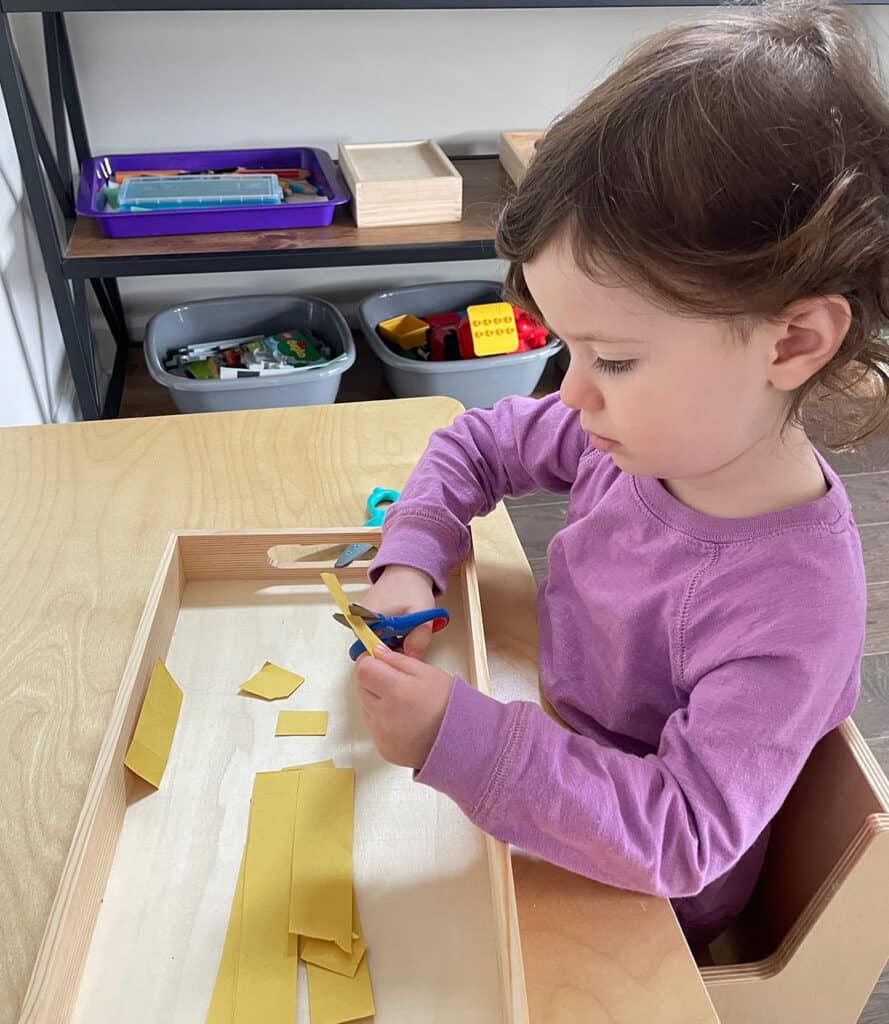
Similarly, in the classroom, we have a scissor tray on the Practical Life shelf (or Art shelf), which is part of the “squeezing” sequence.
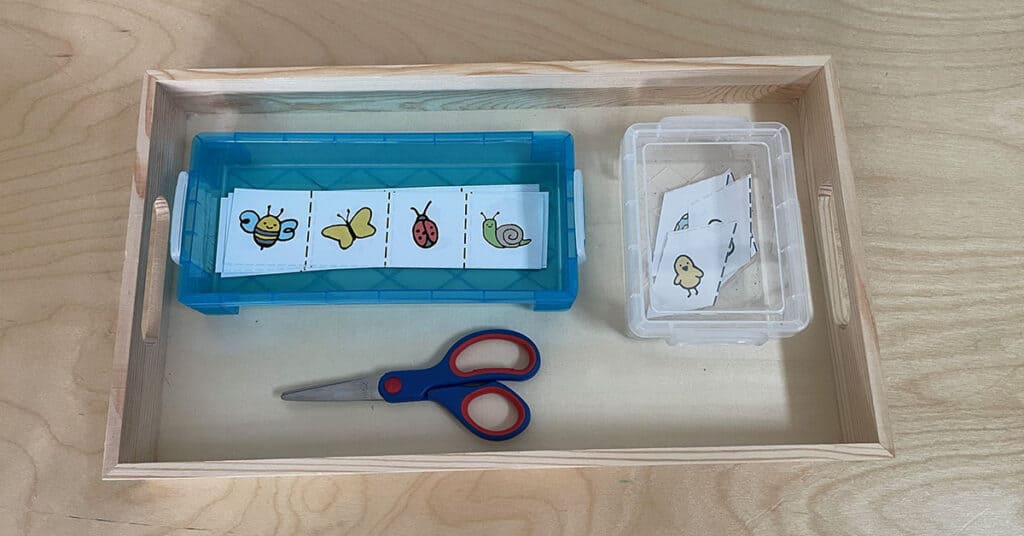
On the tray is a little basket with a pair of scissors in it, and another little basket with cutting strips. Normally, there’s also another empty basket to collect the paper scraps, but this is optional and there are different ways you can set up the tray.
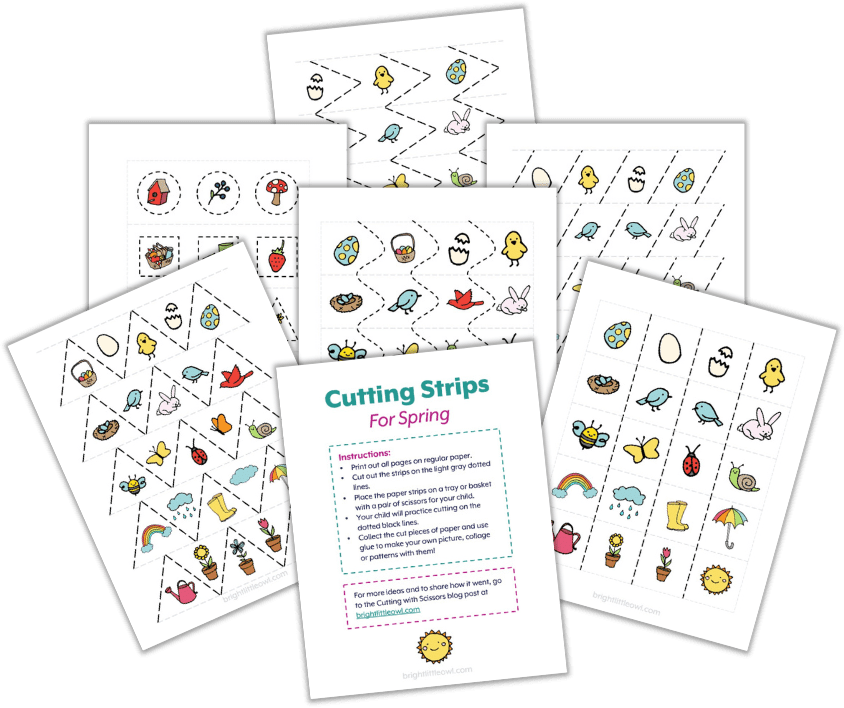
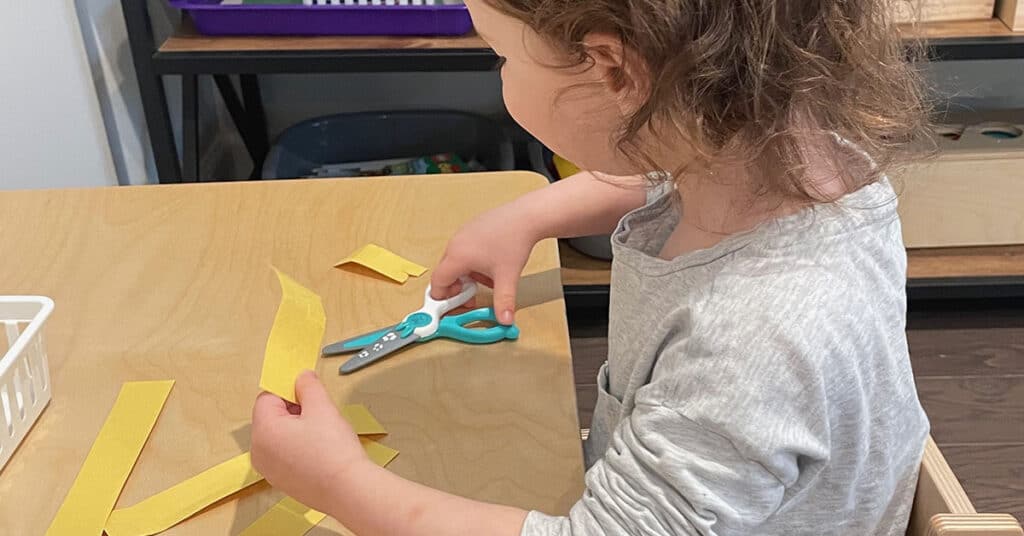
Cutting with scissors activity: Using Cutting Strips and Levels of Difficulty
- When your child is ready to use scissors to cut paper, start out with blank paper. You could use different colored paper. This way, your child doesn’t get frustrated with trying to cut on the lines. She can freely use the scissors to cut.
- When your child is ready to move on, use cutting strips with vertical lines on them, to practice snipping the paper on the lines.
- Then move on to different style strips with different lines: slanted lines, thinner lines, lines closer together, slanted lines, triangle lines, zig-zag lines, wavy lines, and so on.
- When your child has had a lot of practice with cutting different lines on strips, you could try to cut different shapes out of paper.
Fun Idea: Try using a paper hole punch! You don’t put your fingers through the loops like scissors, but it has a similar action of squeezing, and you get paper circles or other shapes from it.
To easily make the strips at home, you can draw the lines with a marker across the paper. You could also create lines on a document on your computer. Then cut out the paper strips (about an inch wide) in the opposite direction, so that each paper strip has several lines on them.
I created a cutting strips printable for download for your children to try. These cutting strips have a Spring theme with little Spring pictures within the lines. I also created cutting strips for Winter, Summer, Fall, and a Holiday one. It is fun to keep it interesting and change things up! Scroll down to the bottom of this page to download them all.
What can I do with all the paper scraps my child cut?
There are different options after you collect the paper scraps. Here’s what we did in the classroom, and what you can also do at home:
- Have an interesting and beautiful container with a lid to collect the paper scraps.
- Put them in the paper recycling bin.
- Save them in a basket and use them for a pasting activity with glue. You can make a picture or collage or make patterns with them. Check out my blog post about glue activities!
- Save them for learning how to sweep with a broom.
- Use masking tape to make a square on the floor.
- Throw the paper scraps all over the floor, but near the square.
- Use the broom to sweep the paper scraps into the square on the floor.
- Use the dustpan to pick up the paper scraps.
- Empty them into the paper recycling bin.
Concluding Thoughts
Manipulating scissors is an important skill for your young child to have. It develops small muscles in the hand for fine motor control, preparing the hand for writing.
Every child is different and some may not show interest or be ready for scissors yet. Follow your child’s lead and try other squeezing activities like using tongs, clothespins, or a dropper/baster before trying scissors.
Have you tried using scissors with your child? Do you have any tips for teaching your young child how to use scissors? Have you tried the cutting strips printable I created? Sign up for the Resources Library below to download them and let me know how it goes!
Pingback: Incorporate 7 Montessori Fine Motor Activities with your Ocean Theme
Pingback: Storybook Journal for Preschoolers: A Super Easy Way to Connect Spoken and Written Language
Pingback: Your Montessori Homeschool Planner: 7 Steps to set up an easy system that works
Pingback: 1 Awesome Way to Set Up Montessori Glue Activities for Toddlers and Preschoolers