Montessori glue activities for toddlers and preschoolers
Glue activities for toddlers and preschoolers are fun! Have you experimented with gluing with your little one? Glue sticks are a popular choice because they’re simple, cleaner, and convenient.
Working with any type of glue can be challenging for a little one to use independently. It can be tricky to open the gluestick cap and twist the stick without adult help. Though, a glue stick is almost like using a crayon or marker that magically sticks things together!
Similarly, using a regular Elmer’s glue bottle is fun and intriguing. But it can be very messy and frustrating, trying to figure out the right amount of squeeze to get the right amount of glue out. Both types of glue methods are fun activities and important life skills. It’s also fun for a toddler to explore!
In This Post
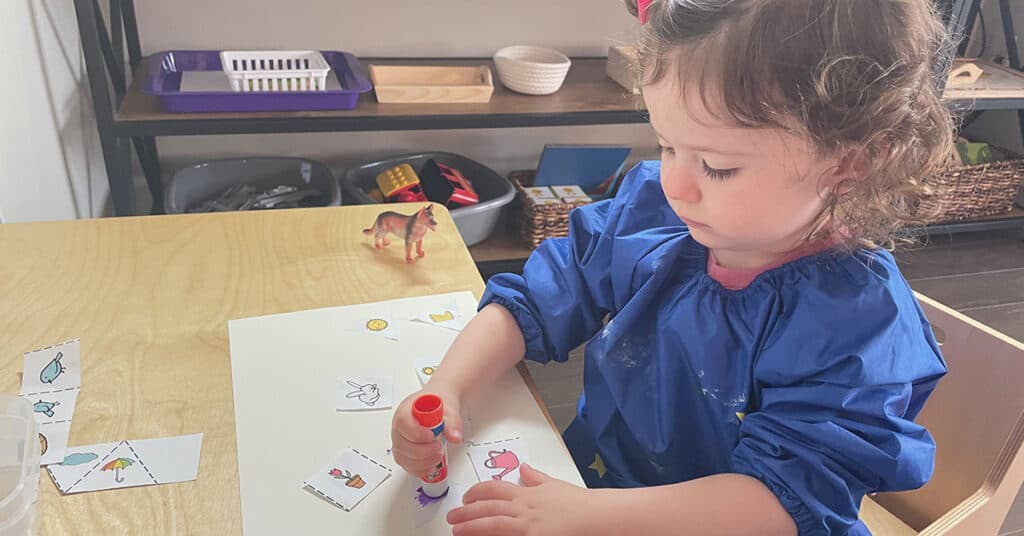
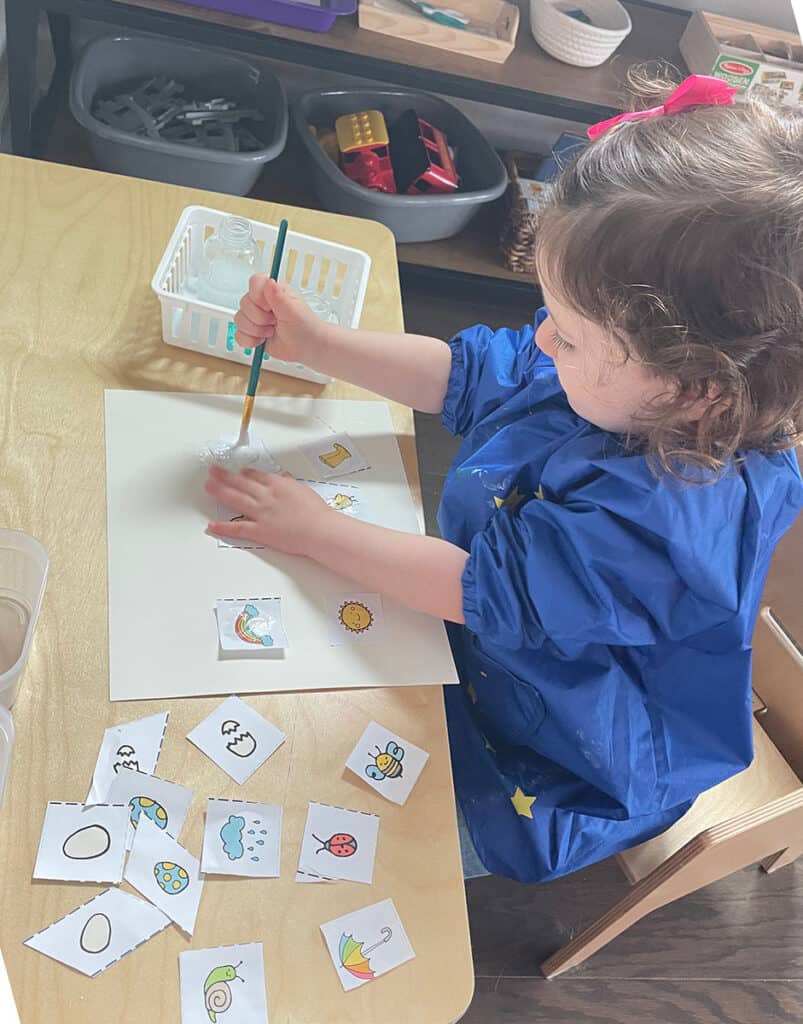
Using a glue stick at 2 years and 7 months old
Why are glue activities for toddlers and preschoolers important?
Glue activities for toddlers and preschoolers are great for strengthening fine motor control, getting the hand ready for writing with a pencil.
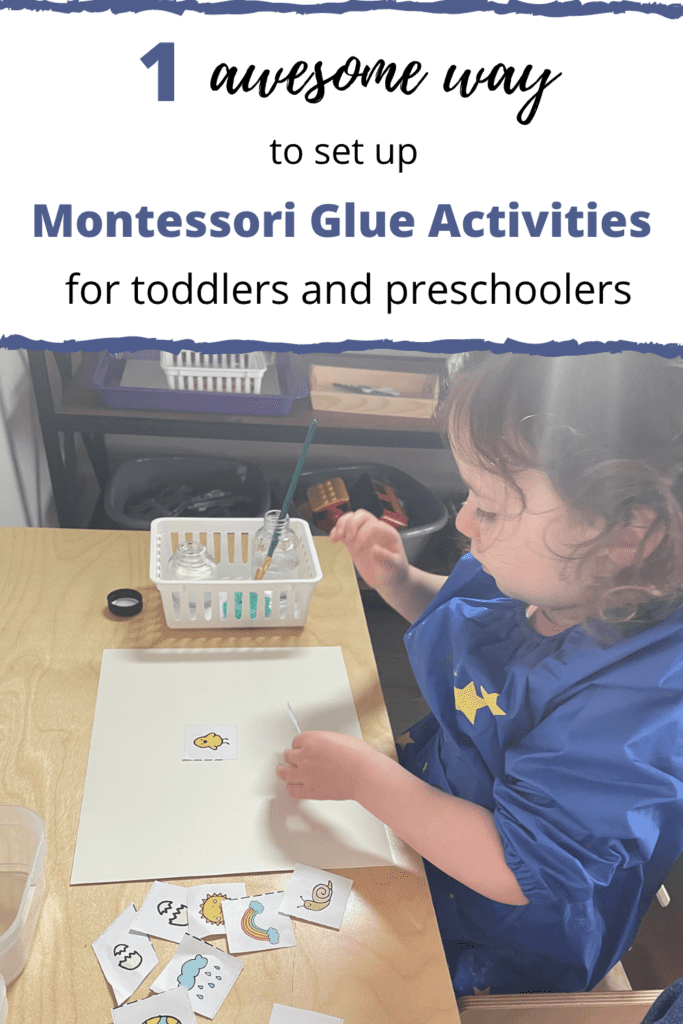
I encourage you to introduce your toddler or young preschooler to try using liquid glue (like Elmers) in a jar with a paintbrush. You can pull together a glue tray with stuff you have around the house!
Your little one could learn even more skills with this Montessori-style glue tray set-up, including independence and organizational skills.
In this article, I’ll show you an awesome glue tray setup idea I used when I was a Montessori three to six teacher in the classroom. You can implement this glue tray idea at home for your older toddler, preschooler, or kindergartner.
What you will need to set up a Montessori glue tray
You can set up a glue tray on the shelf for your little one to take out and use independently. Below is what you will need for the glue tray.
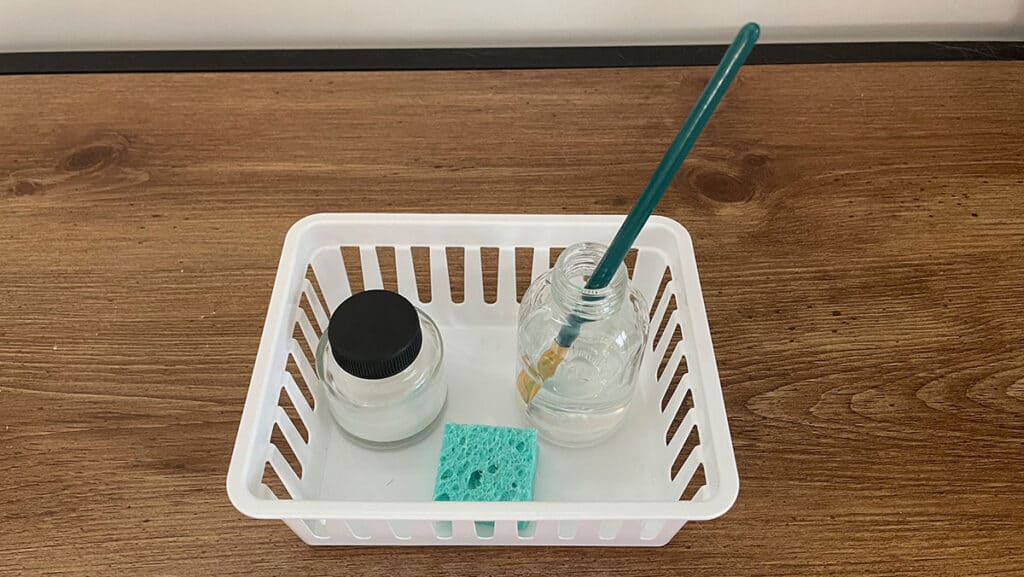
Small jar with a lid (baby food jar, small jam, or honey jar). We use a small glass paint jar from an arts and crafts store. You can also use a small plastic jar with a lid. Find something that your little one can open independently.
Paintbrush. We use a regular small flat paintbrush. It will be easier to use with glue if the bristles have a little bit of firmness to them.
Tiny vase. Or a small bottle with a small opening for the paintbrush to rest upright (without tipping over easily).
Sponge. Cut a small square (about 1.5×1.5 inches) from a regular sponge.
White liquid school glue. Like Elmer’s glue.
Vinegar
Water
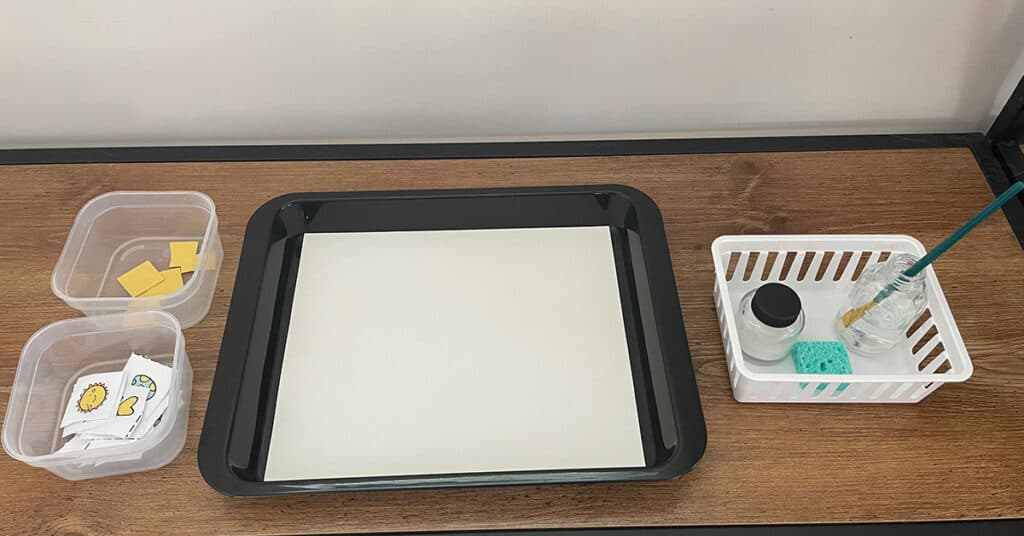
Small tray. Or a small plastic basket with a sturdy flat bottom, like a storage basket.
Glue tray set up
5 Steps to set up the Montessori glue tray
1. Fill the small jar with the liquid white glue and close the lid
Keep in mind that if glue gets in the lid area (which it will), the lid could get stuck or “glued on” the jar. Soak the jar in hot soapy water and it’ll be easier to open the jar.
2. About half-way, fill small bottle with about one third vinegar and two-thirds water
The vinegar and water mixture helps to keep the paintbrush from getting all gluey and hard.
3. Place the paintbrush in the bottle with the vinegar and water mixture
During the day, you can keep the paintbrush stored upright in the vinegar water bottle. At the end of the day, you can wash everything on the tray. Let the paintbrush air dry. Or you could leave the tray as is on the shelf, overnight if it is clean.
In the beginning, the whole tray will be messy after each use, so you’ll want to clean it. Your child can help you. But after your child practices and becomes more used to the tray you may not need to clean the tray as frequently.
4. Add the small sponge on the tray
The sponge is a place to tap the paintbrush to get off excess glue. You can also use the sponge to dry the paintbrush a little bit if it is too wet from the vinegar water. Be sure to clean this sponge at the end of the day if it gets gluey. Or use fresh sponges every so often.
5. Put your glue tray on the shelf
Show your child how to use the glue tray, and how to tidy it up before putting it back on the shelf.
You have your glue tray all set up. Now what?
Be sure to set up a separate baskets of paper clippings that your child can glue. Put these baskets on the shelf. Also, set up a separate tray with blank paper and place this tray on the shelf. Your child can bring a piece of paper to the table first, then bring the baskets (one at a time) of paper clippings to the table. Lastly, bring the glue tray to the table. Use the paintbrush from the glue tray to glue paper clippings on the paper.
Model for your child first how to use it. Go slowly and quietly and use very little language, so that your child focuses on your actions. How you want to show your child to paint the glue is up to you. I find that it’s easier for little ones to put the glue on the paper first, and then place the paper clipping on top of the glue spot you just painted. Show your child how to put away the baskets, tidy up the glue tray, and put everything back on the shelf.
My experience with the glue tray
I tried this with my daughter, who is 2 years and 7 months old. I found that she was very interested in this activity. But she is a little young still to leave this glue tray on the shelf for independent work. So we worked on it together and we cleaned up everything in the sink when we were done. In the Montessori three-to-six classroom, I found that when you first introduce the glue tray to the kids, the tray can get very messy after each use. We had about 4 glue trays set up on the art shelf for a classroom of about 23 kids to use independently.
There is a learning curve. But the kids get the hang of it with practice. In the beginning, the teachers had to soak everything in a bucket of hot soapy water at the end of each day. But as the children got used to it, we soaked everything at the end of the week. Tip: Change up the items to glue! This will keep it interesting so that your kids continue to want to practice with the glue tray.
Gluing paper clippings using the glue tray at 2 years, 7 months
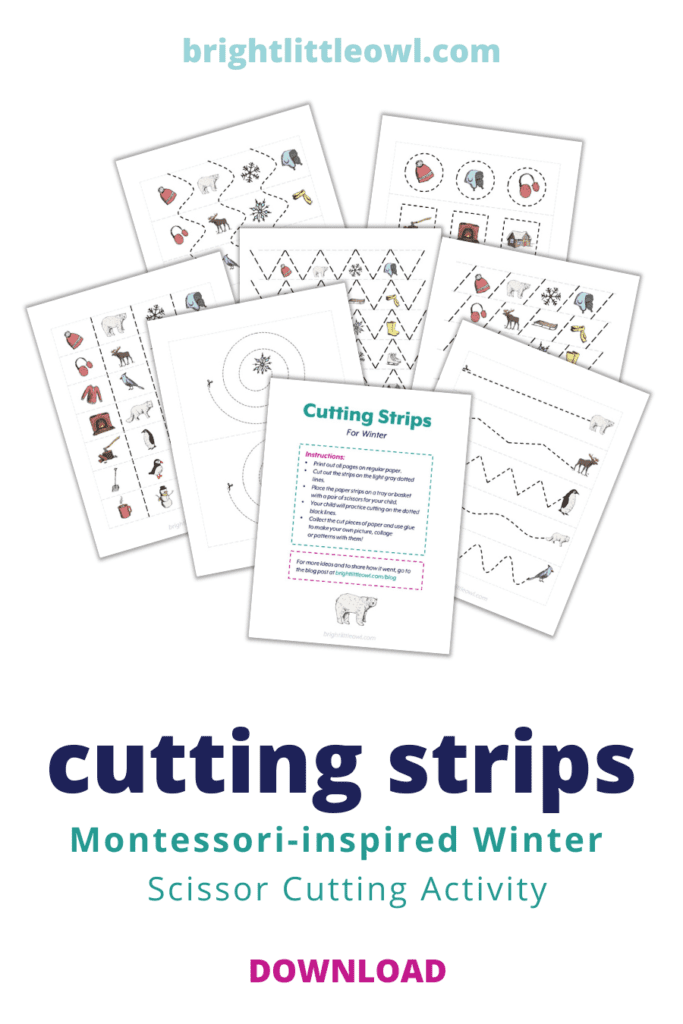
I created cutting strips for all four seasons, Winter, Spring, Summer, and Fall that you can download. To download them, scroll down to the bottom of this post and sign up for the Resource Library. Your child can cut the cutting strips on the lines, and now they have paper clippings with little Spring pictures on them they can glue!
*Note: To download the cutting strips (Winter, Spring, Summer, and Fall), scroll down to the bottom of this post and sign up for the Resource Library.
Glue other objects
Here’s another great idea for glue activities for toddlers and preschoolers. You can make a picture, collage, or pattern by gluing all kinds of objects you have around the house.
Here are some small objects your child can glue:
Dry Pasta or dry beans
Small seashells
Tiny pebbles
Beads
Little wooden objects you painted
Yarn or string
Small fabric pieces
Buttons
Leaves, herbs, flowers, flower petals
Hardware, like small screws, nuts, bolts
Also, try gluing on top of different things, instead of regular paper! Here are creative ideas:
Different types of paper (varying thickness, color, material, pattern)
Cardboard
Small woodblock
A wooden craft object you painted, like a birdhouse
Rocks
Recyclable containers
Concluding thoughts about glue activities
Glue activities for toddlers and preschoolers are a lot of fun! But all types of glue can be tricky for your little one to use. Practicing with a Montessori-style glue tray with liquid glue and a paintbrush is a great way for your child to practice independence and organizational skills.
Further, this activity can help strengthen fine motor skills, getting the hand ready for writing with a pencil.
Have you tried this Montessori glue tray activity? How’d it go? Do you have any helpful tips for doing glue activities for your little ones? Leave a comment, below!
Montessori glue activities for toddlers and preschoolers

Pingback: 5 Easy and Fun Sea Turtle Activities: Include Science and Sensorial In Your Ocean Theme
Pingback: Incorporate 7 Montessori Fine Motor Activities with your Ocean Theme
Pingback: Storybook Journal for Preschoolers: A Super Easy Way to Connect Spoken and Written Language
Pingback: Cutting with Scissors Activity for Toddlers and Preschoolers