Please share with your friends!
“Ouch! I just stepped on this pine cone!” Not the first time (nor the last time) that I’m going to step on something with my bare feet that my daughter, Annie, (three years old) brought indoors.
Children of preschool age love nature and the outdoors. They also enjoy bringing small portions of that nature inside to explore further, such as rocks, sand, shells, leaves, pine cones, seeds, and flowers.
One of the earliest science activities you can do with your child is sorting items that are living and non-living. But first, go outside in nature with your child.
You can go for a nature walk, to the park, or go in your own backyard and explore. Talk about what you see! Ask your child, “is that living or non-living?
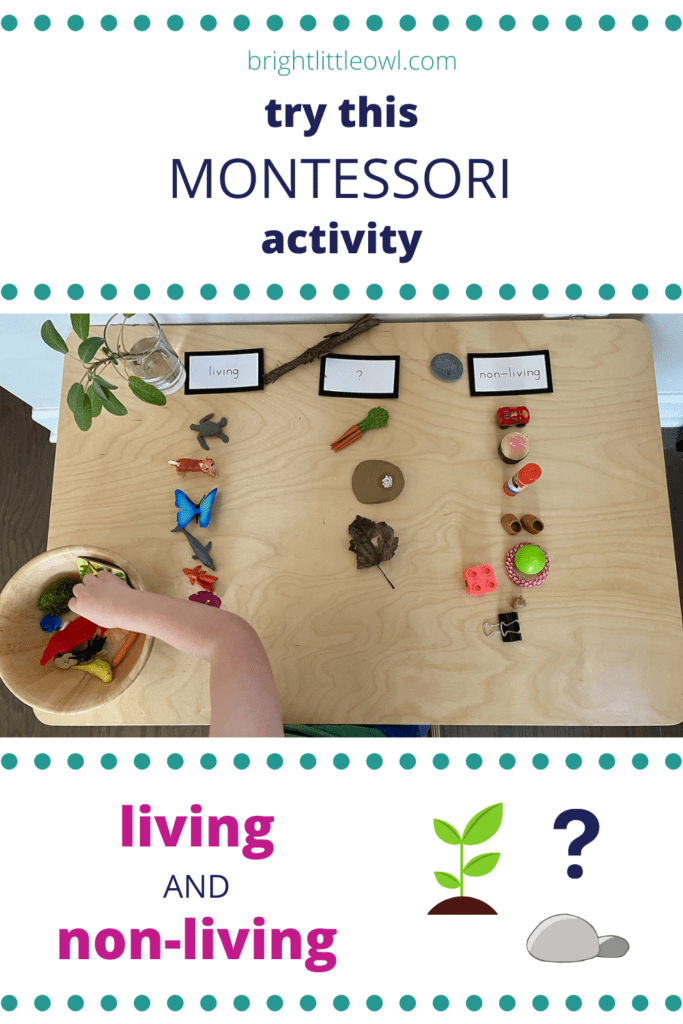
Why living and non-living?
Living and non-living is a classic Montessori science activity, similar to the activities from my previous posts:
Living and non-living is a wonderful way for preschool-aged children to explore nature. It also allows them to learn to ask questions about the world around them.
I suggest going out in nature first to talk about living and non-living because it’s real, hands-on, and children love nature. It will speak to them more; they can relate to it. Also, you’ll never know what you’ll discover out in nature. There are so many teachable moments!
For example, while on a nature walk, you may notice the birds up in the trees and the flowers next to some rocks by the sidewalk you’re walking on. You also may notice some butterflies or other bugs. Are the flowers and birds living? Are the rocks living? What about the sidewalk? The bugs? Why or why not? It’s like a hands-on introductory lesson to Zoology. It’s a great exercise for our nature-loving children!
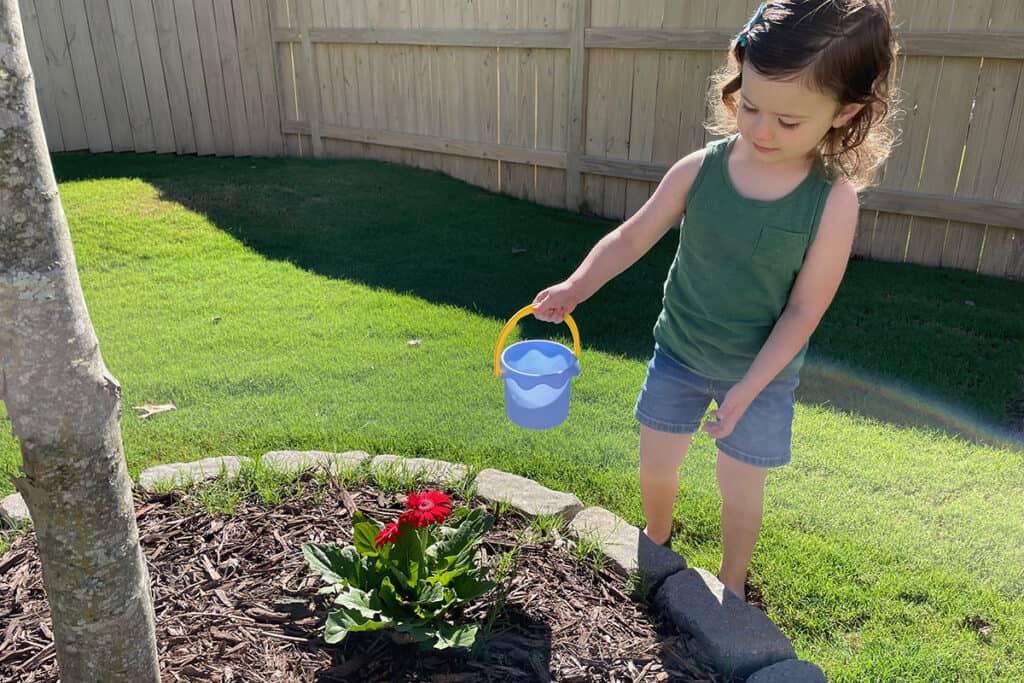
My first experience with living and non-living
Sometimes we forget the wonder and beauty of nature until we see the world through the eyes of a young child.
One of my earliest memories with the children as a new Montessori teacher is exploring with living and non-living.
It was 2007 and I was a Montessori intern at a small one-room Montessori school surrounded by nature. We had a lot of nature-based activities such as gardening and exploring outside.
Instead of spending my day sitting in an office all day like in my previous job, I was on my feet, working with young children and exploring outside in nature a lot. I really got to experience the seasons and the elements.
What I realized at the time was sometimes we forget the wonder and beauty of nature until we see the world through the eyes of a young child.
As a Montessori intern, I had a field consultant come to my classroom three times that year to observe me in my classroom. I remember the first time my field consultant came to observe me in my classroom in 2007, I was giving a lesson to a child on living and non-living.
While giving the lesson, I talked about a few objects with the child, talking about if they are living or non-living and why. After sorting a few more objects together, I stepped back and let him continue sorting the objects independently.
He picked up a seashell, and placed it under “living.” Next, he picked up small stick found in nature and placed it under “living.”
Instead of correcting him, I just observed and let him explore and continue the activity. I realized that I could see how a seashell and a stick seem to be “living” because they come from nature. Also, a seashell was once a part of a small animal, like a mollusk, and a stick used to be a part of a tree.
My field consultant spoke to me afterwards about that moment and applauded me for stepping back and not correcting the child. “This is the heart of Montessori,” she told me, “and you nailed it.”
I’ll never forget those first experiences I had with living and non-living and that conversation I had with my field consultant.
After that, I added a third category to the activity: a question mark “?” to sort objects we aren’t sure if they’re living or non-living
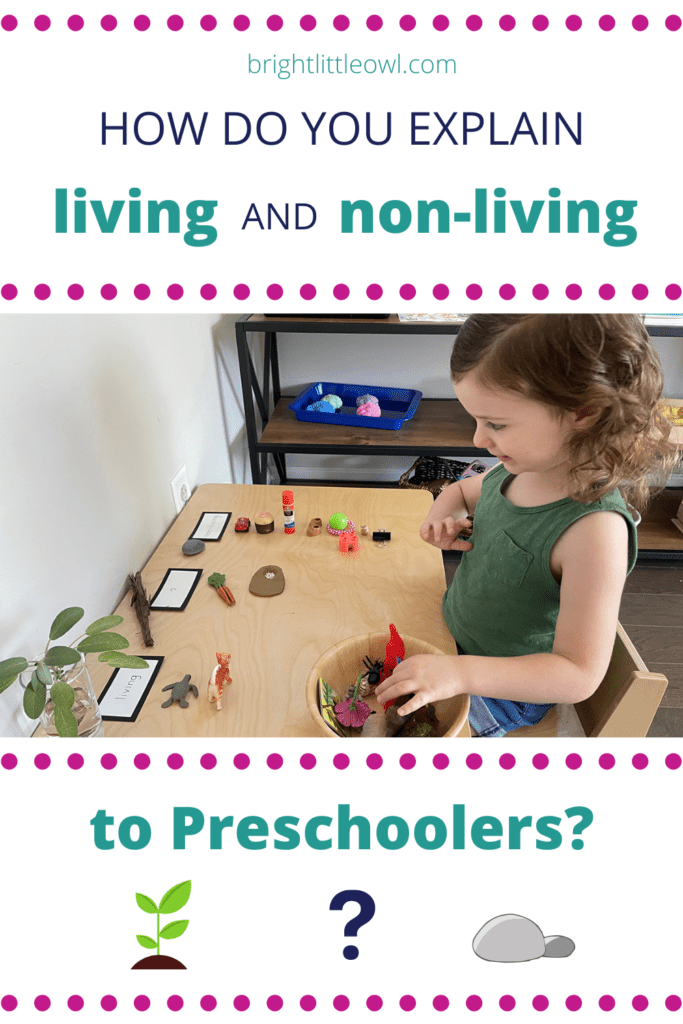
How do you explain living and non-living to preschoolers?
Preschoolers love plants and animals and other things like rocks found in nature. They have a natural curiosity to learn more about them.
If you’re unable to go outside in nature, you can talk about the plants or pets that you have in your home. Or you can take a look at nature pictures, books, or videos together.
Ask your child the following questions. Does it…
- grow, get bigger, or develop?
- eat and drink water?
- breathe air?
- have babies, eggs, or seeds?
- move or respond to touch or the environment?
If something has all of these characteristics, then it is living.
For example, a tree:
- grows
- it needs water and gets food from the sun
- it breathes air
- it makes seeds so that baby trees can grow
- it responds to the environment; it grows toward the sun
You can also give the example of us, people, as living things. We grow, drink water, eat food, breathe air, have babies and we move and respond to our environment. I find that when we come back to talking about us, the conversation about living and non-living makes more sense to young children. They can relate to it.
You may talk about vehicles like a car or an airplane in the sky. Yes, they move, and they need to “eat” gas or they cannot move. But cars and airplanes don’t breathe air, grow or have babies like living things do.
When I brought my three-year-old daughter, Annie, outside in the backyard to talk about living and non-living things, I was amazed at how quickly she picked up on the concept of living and non-living. We talked about it and pointed out things we saw.
She didn’t always get it right. For example, I asked her is this piece of mulch living, and she said yes. That’s okay, I know she’ll get it with time. I simply said this piece of mulch came from the bark of a tree, which is a living thing. But this piece of mulch is no longer living; it doesn’t grow, breath, eat, make seeds, or respond to the environment.
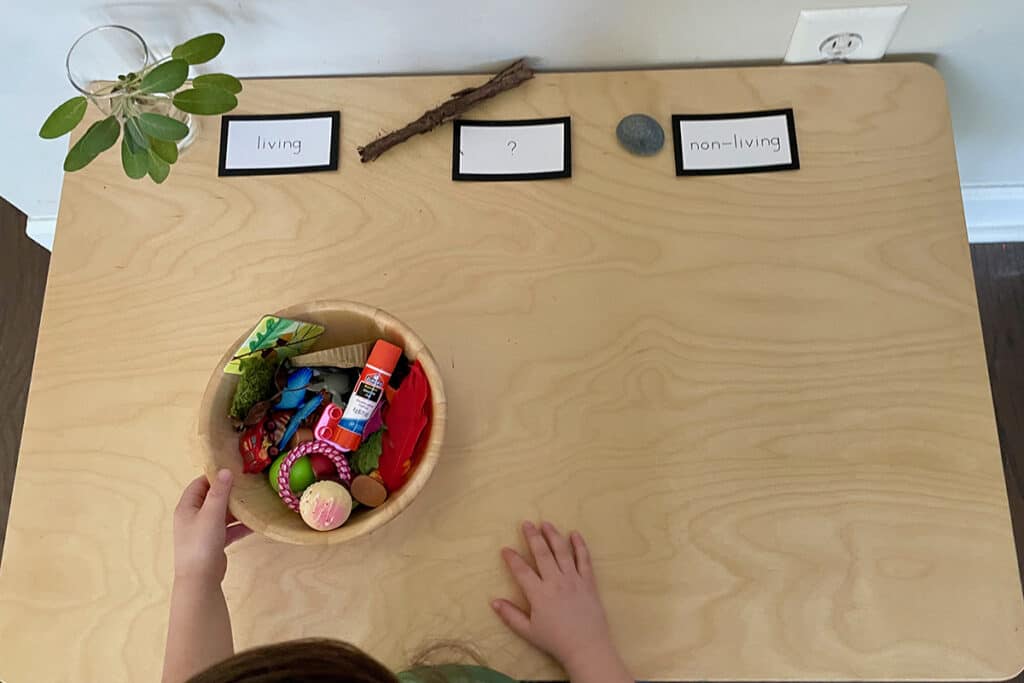
What you will need
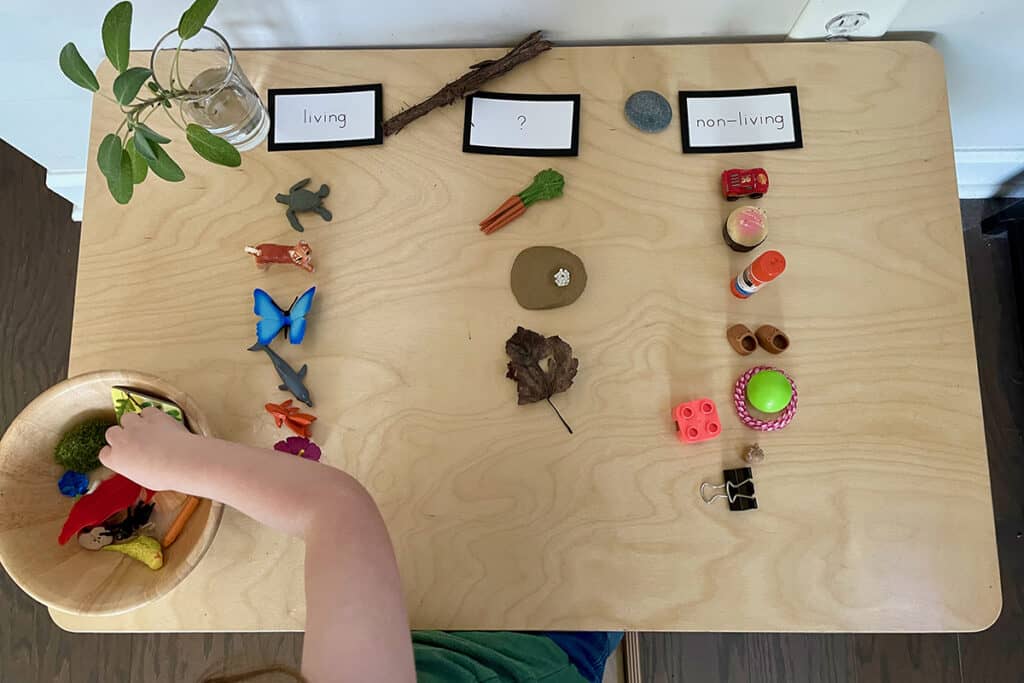
After we talked about living and non-living outside in nature, we brought the objects we collected inside for our activity. We got part of our sage plant we picked, a piece of mulch, and a rock. These three objects represent living (sage), “?” (mulch), and non-living (rock).
I thought this would be a great way to have a hands-on visual to help sort the objects, because children of this age aren’t really reading the labels yet.
For the living and non-living activity, you will need:
- labels that say living, non-living, and “?”
- 1 object collected from nature to represent each label (optional)
- small bowl or basket for the objects
- objects found around the house that could be living or non-living or “?”
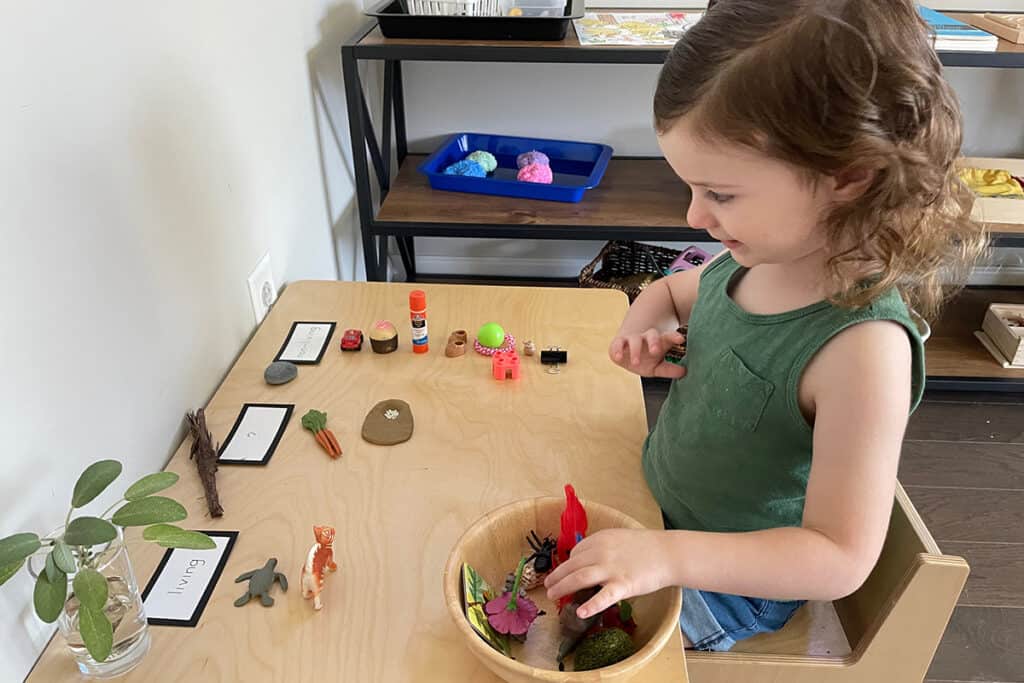
Object ideas
Here are some ideas for objects we used from around the house. Use whatever you can find! Try to make sure you have an equal balance of objects that get sorted under the three different labels:
- small animal figures
- small flower or plant figures
- insect figures
- doll shoes/clothes
- glue stick
- crayon
- rocks
- seashells
- toy car
- paper or a card
- small stick
- fallen brown leaf
- small piece of fruit or vegetable
- spoon
- ball
- bracelet
Tip: tell your child that the little toy figures (the animals, plants and insects) represent real ones. Of course, the little figures are like toys and not real and they’re non-living! Your child (like my daughter, Annie) may notice that and say that they’re all non-living. Once you explain that the figures are a symbol that represents the real animal, they’ll get it.
Note: This activity can be placed on the shelf for your child to take out independently, if you’re using a tray. This is the way we did it in the Montessori classroom. It’s up to you!
Living and non-living cards
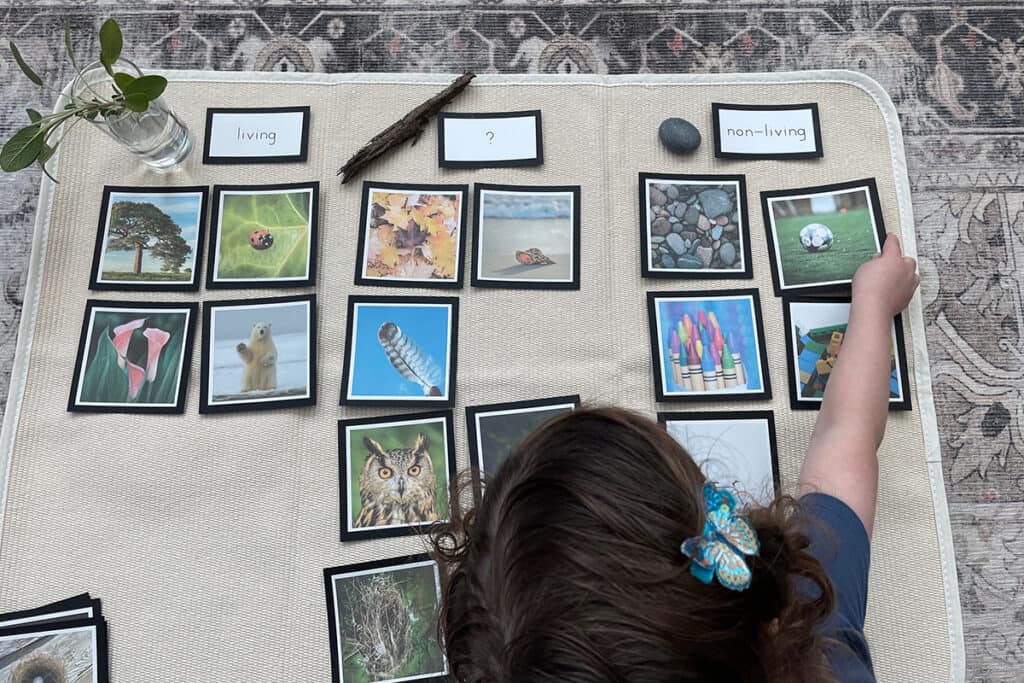
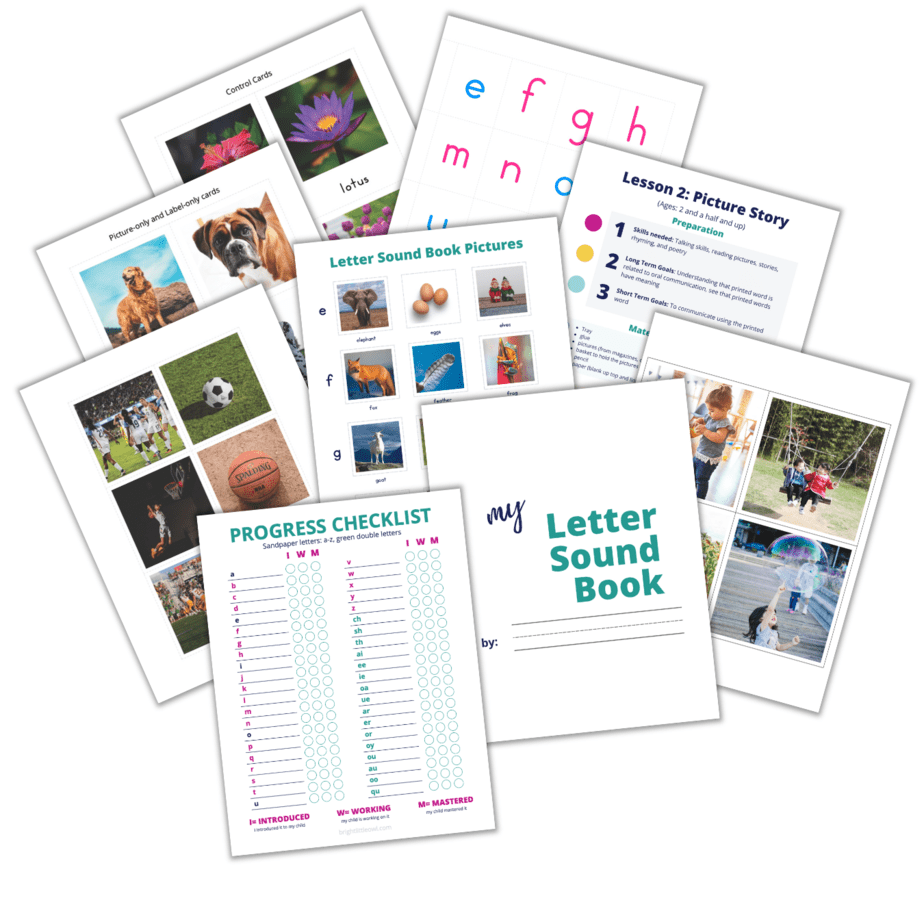
You can also do this activity with cards instead of objects. I created living and non-living picture cards with labels that you can download for free.
To download the cards, scroll to the bottom of this post to sign up and get access to the resource library.
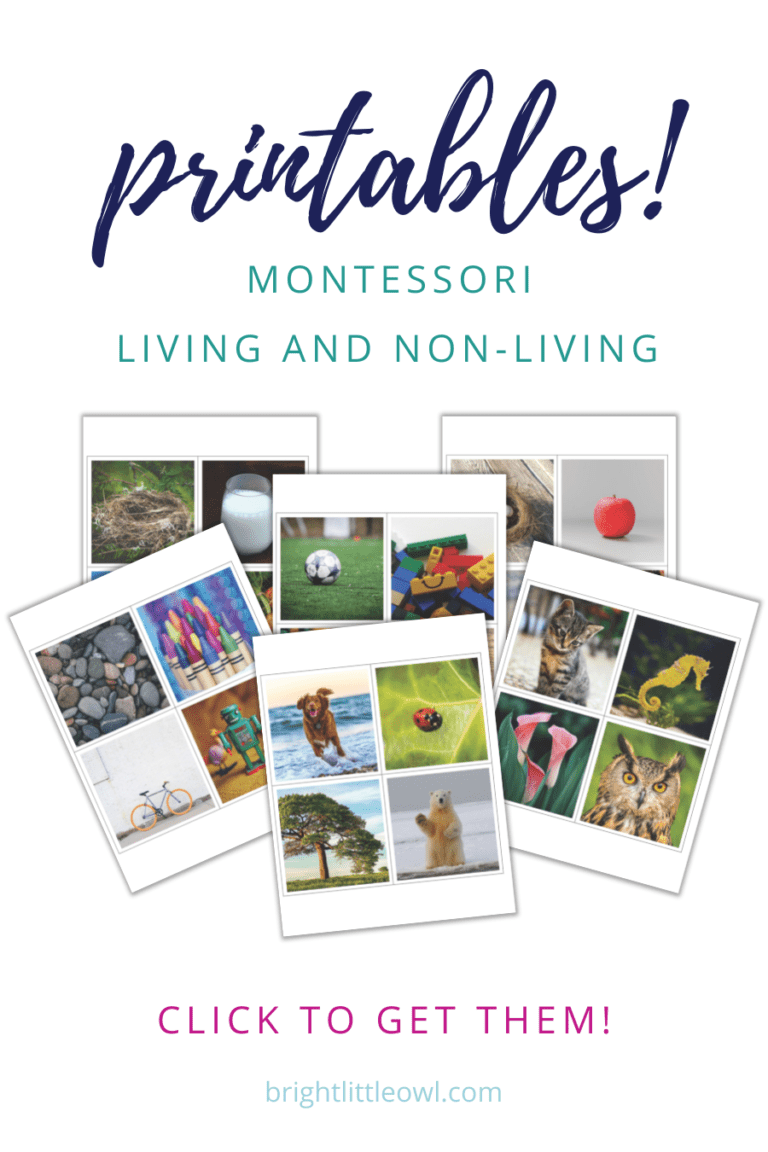
*Note: to download the cards, scroll to the bottom of this post and sign up to get access to the Resource Library.
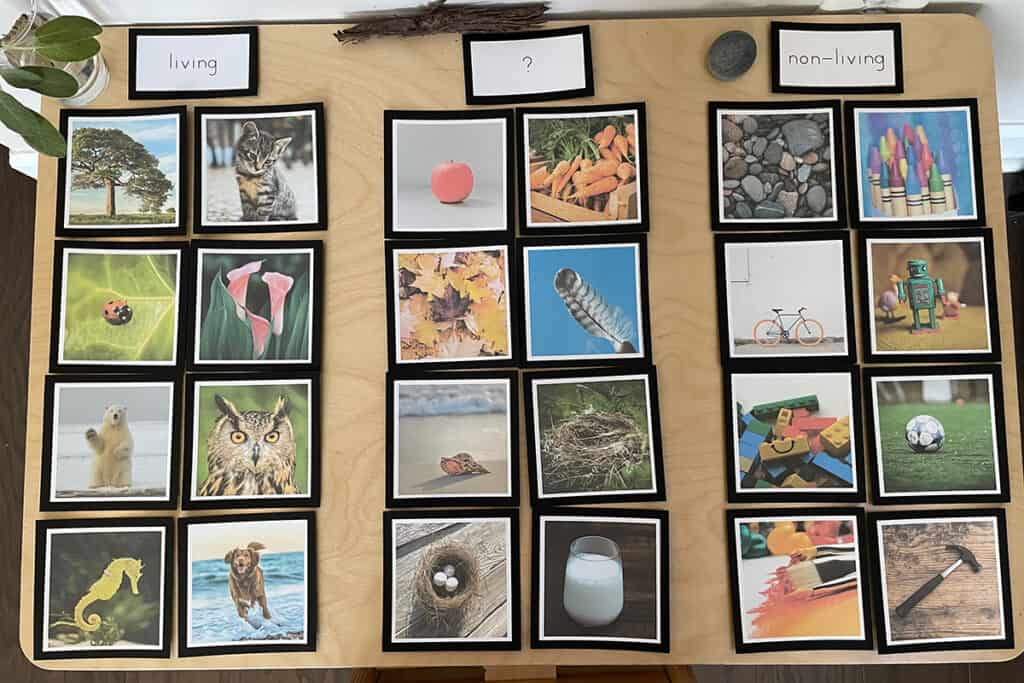
How do do the activity
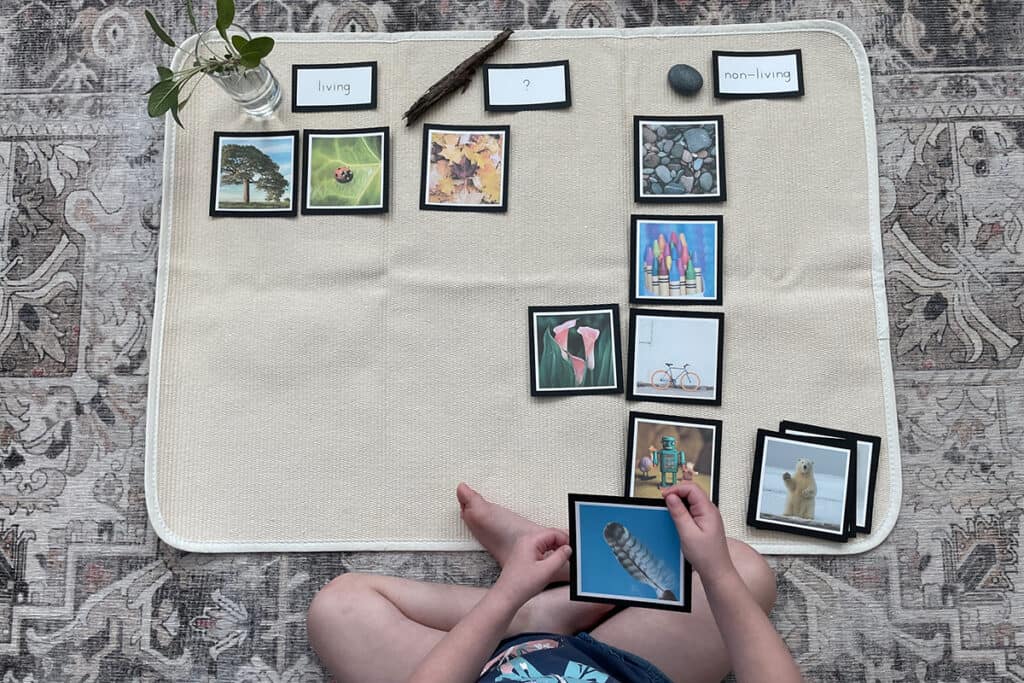
When you have set up the activity, let your child explore. You can model and pick up an object one at a time and talk about if it’s living or non-living. Show your child how you place the object under the living or non-living or “?” label.
When your child gets the hang of it, you can ask her what she thinks. You can ask:
- Do you think this carrot is living?
- Do you think this car is living?
It’s okay if she doesn’t get it right. It’s good practice to think like a scientist!
Also, after you sorted all the living and non-living objects, you can talk about how all of living objects are similar:
- What do they have in common?
- Do they grow, breath, eat/drink, have babies, move?
Your child may notice that there are some items we aren’t sure if they’re living or non-living, such as fruit/vegetables, sticks, seashells, feather, eggs, leaves. Usually, it’s because it was once living or came from something that was living. For these items, place them under the “?” label.
Concluding Thoughts
We’ve been having fun with living and non-living throughout the day. While at home or out and about, I ask Annie, “is this living or non-living?” The little conversations we have are so cute and funny!
We went to the playground recently and since it is Fall, the leaves are starting to change color and fall to the ground. We’ve been picking up fallen leaves, acorns, and pine cones and talking about them.
I picked up a freshly fallen acorn and gave it to Annie and said, this is an acorn. Do you think it’s living or non-living? She said non-living. We talked about how it looks like it’s non-living, but it could be living.
I said, this is the seed is like the baby of an oak tree, and if this acorn goes into the ground and gets enough soil, water and sun it could grow into a big oak tree one day!
Later that day we went out for ice cream and Annie said, this ice cream is not living. My husband and I giggled. Yes, that’s true, Annie, this ice cream is not living. Do you know what’s cool, though? Ice cream came from milk which came from a cow, which is living.
I’m amazed at the random conversations that can come up around living and non-living. Give this activity a try with your child. How did it go? What did you discover together? I’d love to hear your story. Leave a comment below!
Oh and quick tip…get a small nature basket. It’s a good place for your child to place those bits of nature they bring inside. Your bare feet will thank you!

Thank you for the resources.
Pingback: 7 Awesome Leaf Activities for Preschoolers Plus a Printable
This is a wonderful post to teach kids about living and non living things and you have provided great hands on activity related to this topic.
This is such a great idea. We’ll definitely try it with cards.
This is so great, I take my 7-months old to nature qalk daily. Couldn’t wait to start with these activities. Thanka for such a nice read.
That’s a wonderful way to teach kids about living and nonliving things. And the sorting cards activity is surely very inspiring method.Thank you so much for sharing 💕
Great read! I have taught preschool and I think this is a really great, informative, helpful article.
This will be very useful to so many parents out there!
I think this is a fantastic activity to do with your child! Such a fun way to make learning interesting and keep their attention.
This is such a creative science activity for preschoolers! I love most all Montessori activities and so do kids!
love this activity. My now teen-daughter loved picking up bugs when she was younger while my now-at-college son enjoyed rocks and pebbles.. so we had a cool interesting mix of things finding their way – living and non-living in our home 🙂
This is so creative. I need to do this activity with my daughter.
What a great activity for the kids to do together. We love working on nature projects outdoors with the kids.
I remember one of the first times one of my kids found a flower (and picked it, oops!!!) and gave it to me to put in my hair. It was such a sweet gesture til I examined it and found tons of teeny bugs crawling inside it. LOL! Then we talked about not picking flowers, because they need to grow and be a home for bugs and bees to pollinate etc etc etc…
Ouch! I say this more often than I probably want to admit in our home. And it’s usually because I stepped on something that my 4-year-old brought inside. He loves collecting nature on our walk to and from school – pine cones, leaves, flower bud, rocks, you name it! I usually throw them out when he forgets about them (which is like a week or two later). I’m so glad I stumble upon this post because you bet I will be doing this fun educational activity with him.
Nice ways to teach about living and non-living , the kids will find it interesting !
These are such great suggestions. We bring the outdoors indoors when decorating for holidays! 🍕🏨👜
These look like great activities and I’m sure my daughter would love them! Thanks for sharing the cards!