magnetic activities, Montessori, magnetic and non-magnetic, science, art, painting, preschoolers

Simple Magnetic Activities: Try This Clever Idea with Paint

Please share with your friends!

Magnets are a fun hands-on exploration activity. Are you looking for something different, simple and fun? Have you explored with magnetic activities with your little one? 

First, we explored with magnets to see which objects around the house are magnetic or non-magnetic. Then we made a painting using magnets. Learn how we did it!

how do you explain magnets to preschoolers? Montessori, science, art

Why magnetic activities?

For a little over a year now, my three-year old daughter, Annie’s favorite toy has been Magnatiles. 

There has not been any other toy or activity that has has come out of storage and stayed on her activity shelf for as long as the Magnatiles. I’ve put them away to take out new activities for her, but she’s always so excited when Magnatiles come out again! I knew that Annie would love to explore more with magnet activities. 

In my previous posts, we explored sink and float and land, air, and water which are classic Montessori activities for Science and Geography. 

Magnetic and non-magnetic is another classic Montessori activity in the Science area of the classroom. I remember this being a big hit with the children. There is something that is so mesmerizing and magical about magnetic activities. It’s fascinating to watch the invisible force that make objects move. 

It’s also so much fun to walk around the room and find things that could be magnetic!

magnetic activities, Montessori, magnetic and non-magnetic, science, art, painting, preschoolers
These coins do not stick; they are non-magnetic
magnetic activities, Montessori, magnetic and non-magnetic, science, art, painting, preschoolers
This metal nut sticks; it is magnetic

How do you explain magnets to preschoolers?

Preschoolers are very curious about the world around them and they enjoy exploring hands-on. I learned this while studying to become a Montessori teacher but I also observed this first-hand in the classroom and I continue to observe this while working with my daughter at home.

Children of this age learn best by getting their hands in there and doing the activity; more so than just listening to our words. In Montessori, young children are learning hands-on through the five senses and many activities are designed that way. But it’s important for the young child to explore with the hands. This makes me think of the Montessori quote regarding the hands and man’s intelligence:


He does it with his hands, by experience, first in play and then through work. The hands are the instruments of man's intelligence.

Introducing vocabulary

While presenting an activity such as magnetic and non-magnetic, it’s important to use simple words and vocabulary. For example, you can introduce a magnet to them while focusing on the vocabulary word, magnet. You can also say magnetic and non-magnetic, as well as sticky; something will “stick” to the magnet if it is magnetic or it will not stick to the magnet if it’s non-magnetic.

You can also explain north and southEvery magnet has a north and a south pole and if you have two magnets you can see how they move away from each other with force, if the same pole touches. North-north repel and south-south repel but north-south stick together.

With the classic Montessori activity, magnetic and non-magnetic, we sort regular objects into piles; a pile of objects that stick to the magnet (magnetic) and a pile of objects that do not stick to the magnet (non-magnetic). This is a great beginning lesson for preschoolers to explore with magnets hands-on.

While we were sorting the objects in piles, Annie was so excited when something was magnetic and she said “yay, it sticks!” with a big smile. She didn’t always sort the right object under the right pile. I didn’t correct her. I just let her explore with the magnet and the objects.

magnetic activities, Montessori, magnetic and non-magnetic, science, art, painting, preschoolers
Magnetic and Non-Magnetic Set Up

What you will need

For the magnetic and non-magnetic activity, you will need:

  • A magnet. We got ours from this Magnet Movers kit.
  • A large tray to sort the objects (optional)
  • Labels that say magnetic and non-magnetic (optional)
  • A bowl or basket for the objects
  • Objects found around the house that could be magnetic or non-magnetic – I try to choose about 50/50

Here are some ideas for magnetic objects you may have around the house:

  • pipe cleaners
  • paperclips
  • small metal spoon/fork
  • scissors
  • safety pins
  • screws
  • metal nuts
  • washers
  • coils
  • old-fashioned keys (modern keys are usually not magnetic)
  • key ring

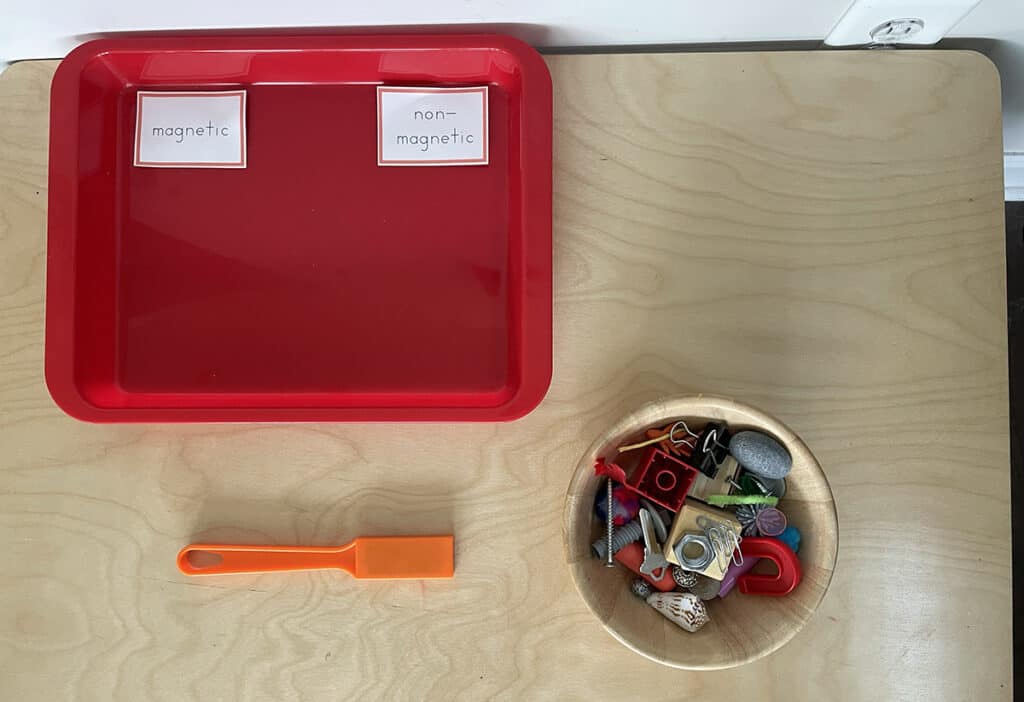
Note: This activity can be placed on the shelf for your child to take out independently, if you’re using a tray. This is the way we did it in the Montessori classroom. It’s up to you!

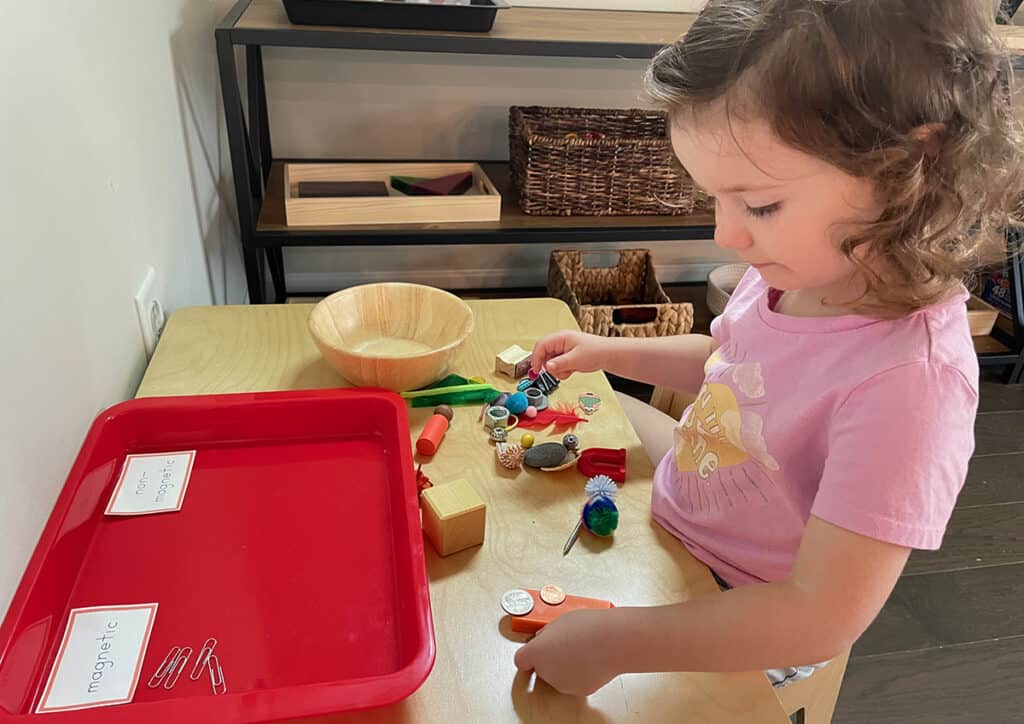
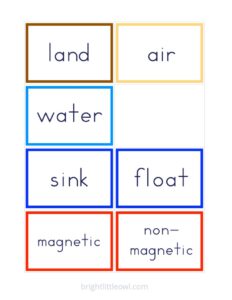
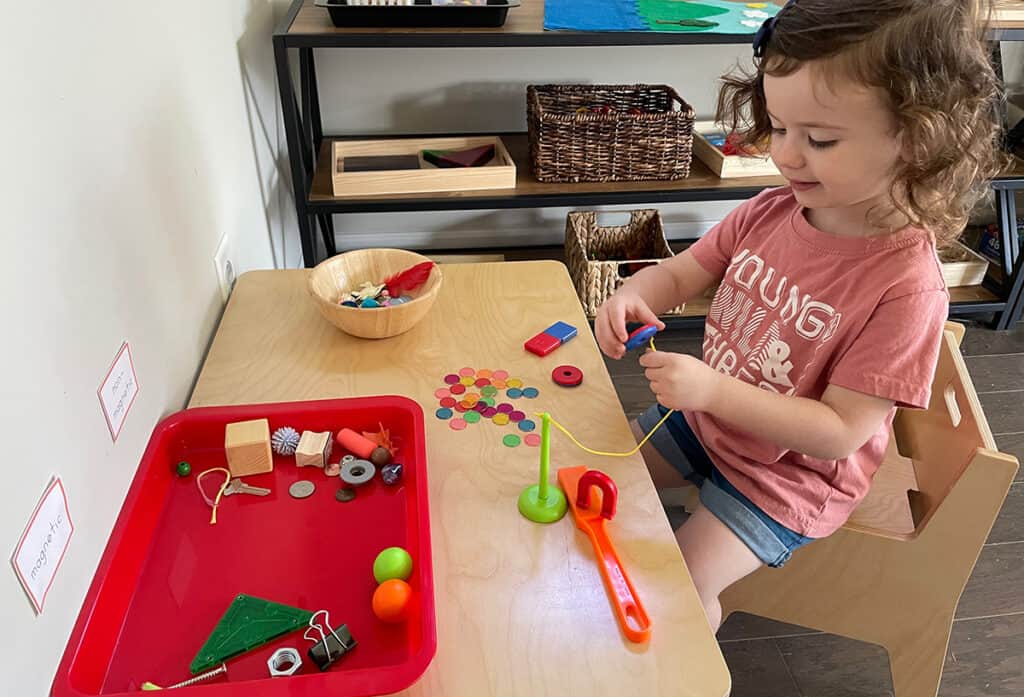
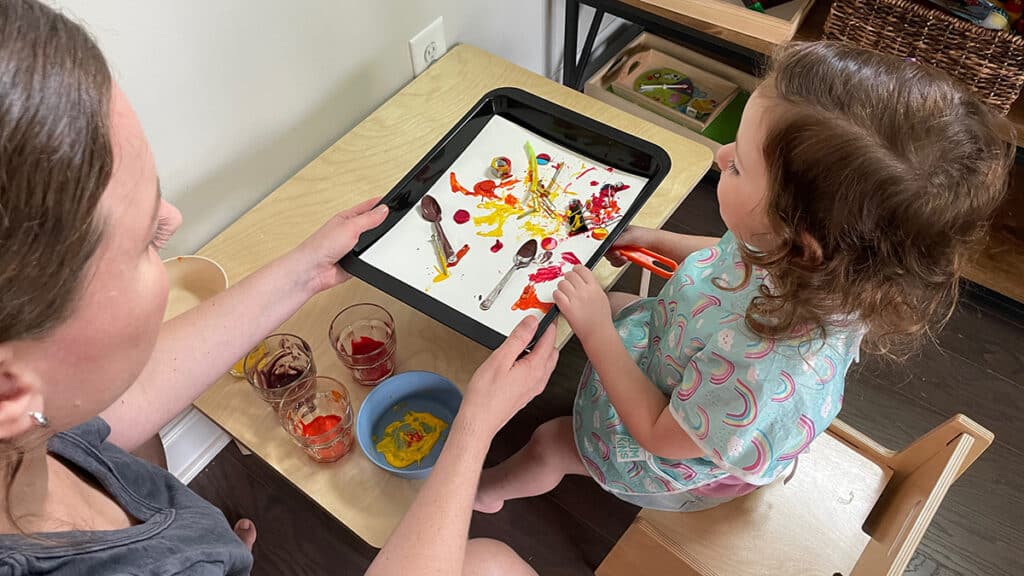
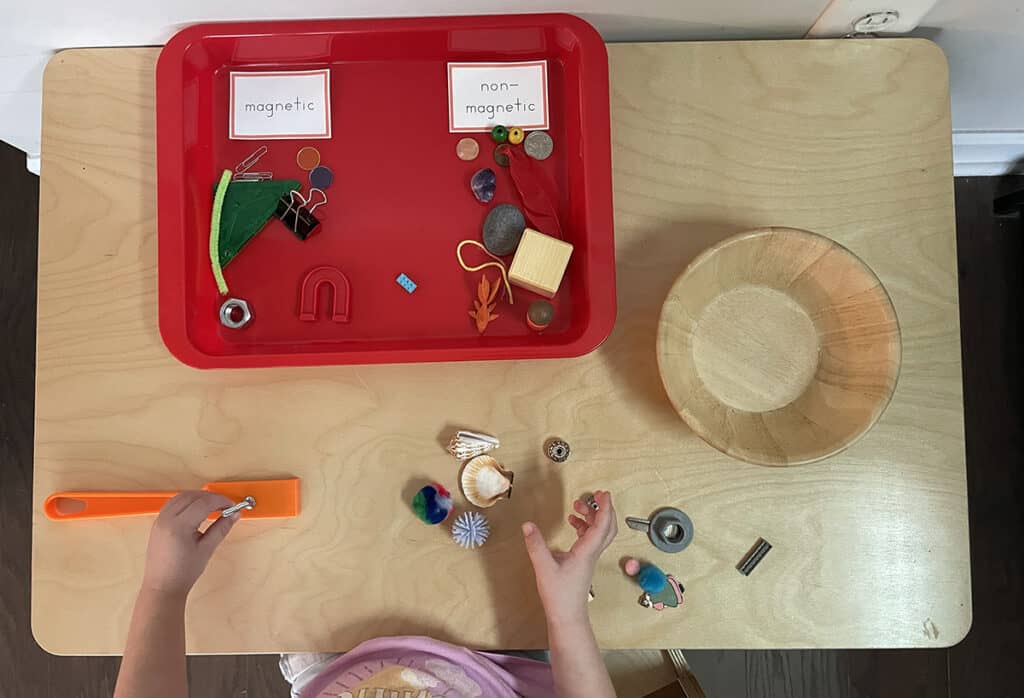
When you have set up the activity, let your child explore. You can model and pick up an object one at a time and try to see if it sticks to the magnet. Show your child how you place the object under the magnetic or non-magnetic label.

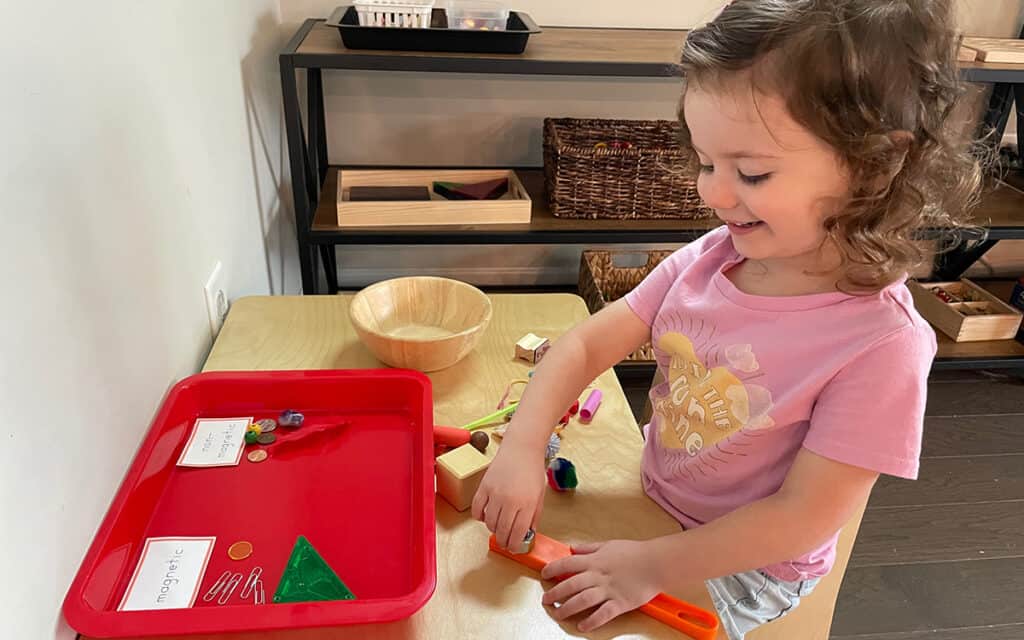
When your child gets the hang of it, you can ask her what she thinks will happen. You can ask:

  • Do you think this paper clip will stick to the magnet?
  • Do you think it’s magnetic or non-magnetic? 

It’s okay if she doesn’t get it right. It’s good practice to create a hypothesis like a scientist!

Also, after you sorted all the magnetic or non-magnetic items, you can talk about how all of the magnetic items are similar:

  • What do they have in common?
  • Are all magnetic objects made out of metal?

Your child may notice that metal objects tend to be magnetic, but not in every case. We were exploring with a metal key, and it was interesting to see that the key was not magnetic! Some metals are not magnetic.

Activity labels

I created labels for the Science and Geography activities: land, air, and watersink and float, and magnetic and non-magnetic.

If you’d like to download the labels to print out, scroll all the way to the bottom of this post and sign up to get access to the Resource Library to download all of my free printables. 

Activity labels, printable, free
magnet activities, montessori, magnet movers, science, preschoolers, activity
Exploring with the Magnet Movers kit

More ideas with magnets

After exploring with magnetic and non-magnetic with objects around the house, we played a little bit more with the Magnet Movers kit. I recommend this kit because you get to explore with multiple magnets. You can see how the north and south poles of magnets repel or attract each other.

You get different shaped magnets and the kit comes with a booklet with different magnet activity ideas. You also get a bunch of little plastic chips with a metal edge to explore with the magnets; they’re so light so it’s fun to watch them move! Annie did not want to stop playing with them!

how do you explain magnets to preschoolers? Montessori, science, art

Try this clever art idea: paint with magnets!

magnetic activities, Montessori, magnetic and non-magnetic, science, art, painting, preschoolers
Dip magnetic objects in paint and put them on the paper
magnetic activities, Montessori, magnetic and non-magnetic, science, art, painting, preschoolers
Move the magnet under the tray
magnetic activities, Montessori, magnetic and non-magnetic, science, art, painting, preschoolers
"Paint" with the magnet

How I got the idea for painting with magnets

After having so much fun with exploring with magnets, I wanted to find an activity to explore magnets further. 

I got this idea from the book, Awesome Science Experiments for Kids: 100+ Fun STEAM Projects & Why They Work! by Crystal Chatterton.

Many of the activities in this book are for kids five and up but there are a handful of more simpler activities for three and four year olds. 

science experiments for kids book, sink and float

How to do the magnet painting activity

You will need:

  • a tray
  • paper: cut it down to fit in the tray
  • magnet
  • bowl of small magnetic objects
  • tempera paints
  • containers/cups for the tempera paints
  • wet towels/wipes for fingers (before your walls become artwork too)

Since it’s almost Fall, we chose Fall colors for the paint: red, yellow, orange, and brown. But you can choose any colors any time of year. 

  1. Pour a little bit of tempera paint into the containers/cups. Add a little water to thin out the paint a bit.
  2. Place the paper into the tray.
  3. Gather the magnetic items into a bowl. Small and light items are best.
  4. One by one, dip the magnetic objects into paint and place the objects onto the paper, spread out.
  5. Lift up the tray and move the magnet around under the tray. 
  6. Keep moving the magnet until your painting is how you want it.

It is so fascinating to watch the objects move on the tray. It’s also pretty cool to see how strong magnets are, that they can even move objects through the tray!

Tips:

  • Add a little bit of water to the paint. The thinner the paint, the easier it will be to move the objects.
  • Don’t use too much paint. The objects that had a thick coating of paint couldn’t move easily.
  • Use small and light objects like paper clips and pipe cleaners. These move the easiest. The small spoon and large screws didn’t move at all.
Magnet painting
Finished magnet painting

Concluding Thoughts

Annie had a great time with the magnetic and non-magnetic activities this week. I noticed that she picked up the magnetic wand and walked around the room a few times to see if she could find anything magnetic.

While organizing her shelf one day during nap time, I found the magnet wand sticking to the dark metal edge of her activity shelf! She must have discovered that even her shelf is magnetic in some places! 

Science activities open up a whole world to young preschool aged children. They can learn so many new skills and even new language and vocabulary. It helps them to discover the world around them and to look at the world in a new way, preparing the mind for new scientific discoveries. 

Annie was fascinated by painting with magnets! She thought is was so funny to see the objects move by themselves to make a painting. Give it a try with your child! What colors did you choose? How did the painting turn out? Leave a comment below. 

Resource Library

12 thoughts on “Simple Magnetic Activities: Try This Clever Idea with Paint”

  1. Pingback: Best Guide to Living and Non-Living for Nature-Loving Kids
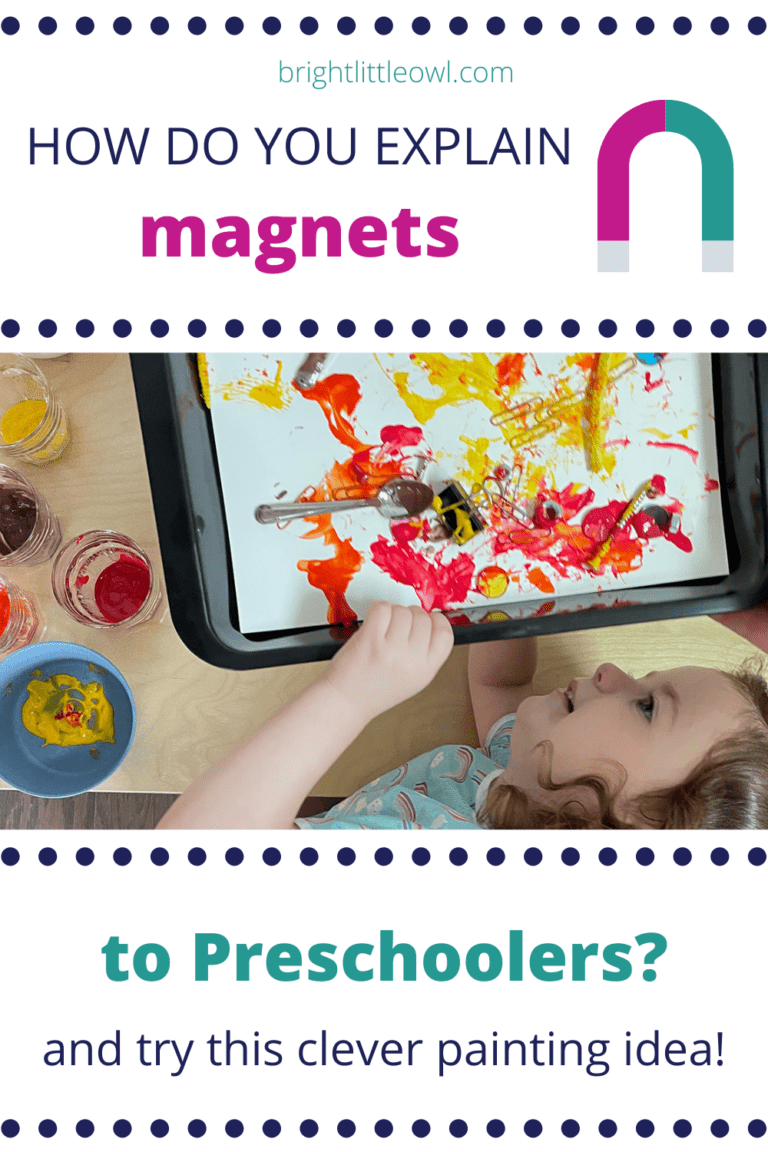
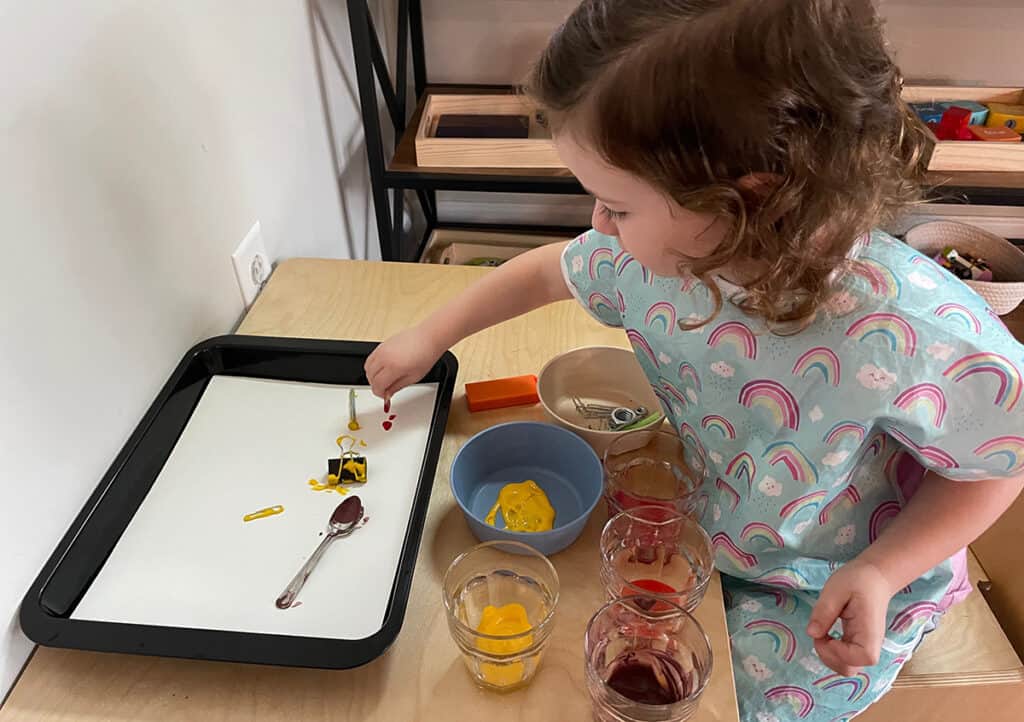
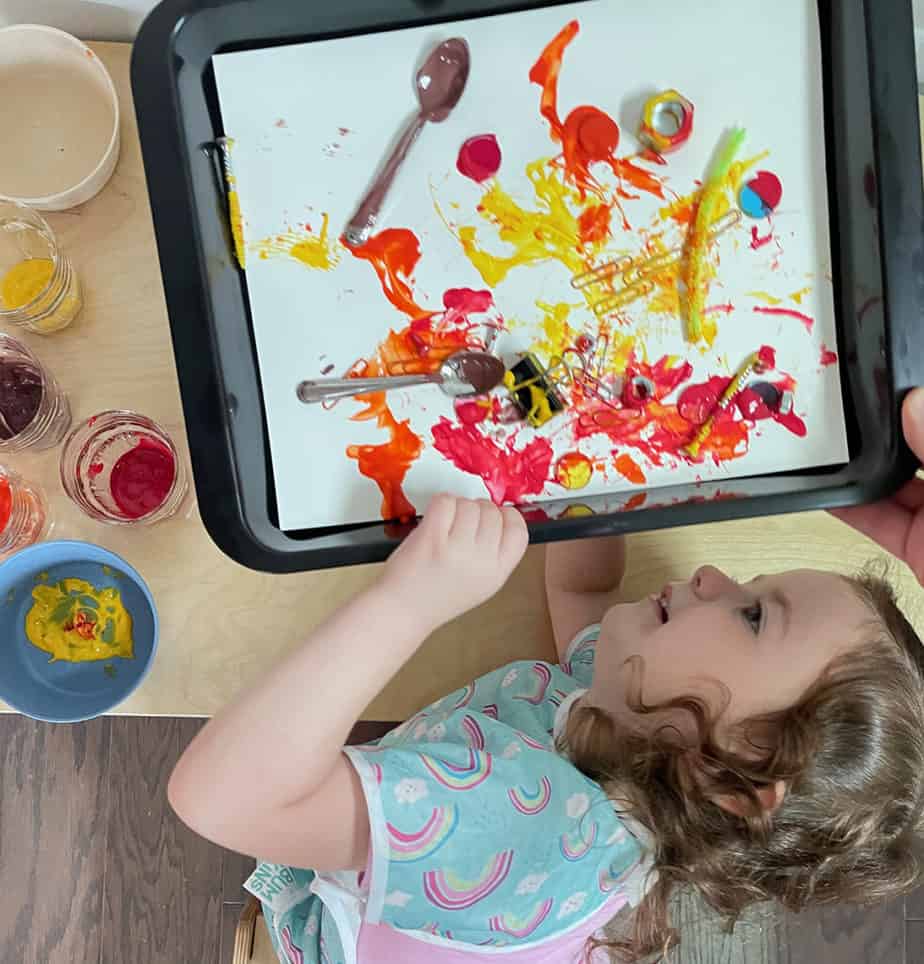
  2. Charina Rasing

    Kids are guaranteed fascinated with magnets. It is a great activity to feed their curious minds and fun at the same time.

Leave a Comment

Your email address will not be published. Required fields are marked *

Scroll to Top