Are you looking for an easy-to-set-up, fun, and hands-on science experiment for your young child? Look no further because this post is for you!
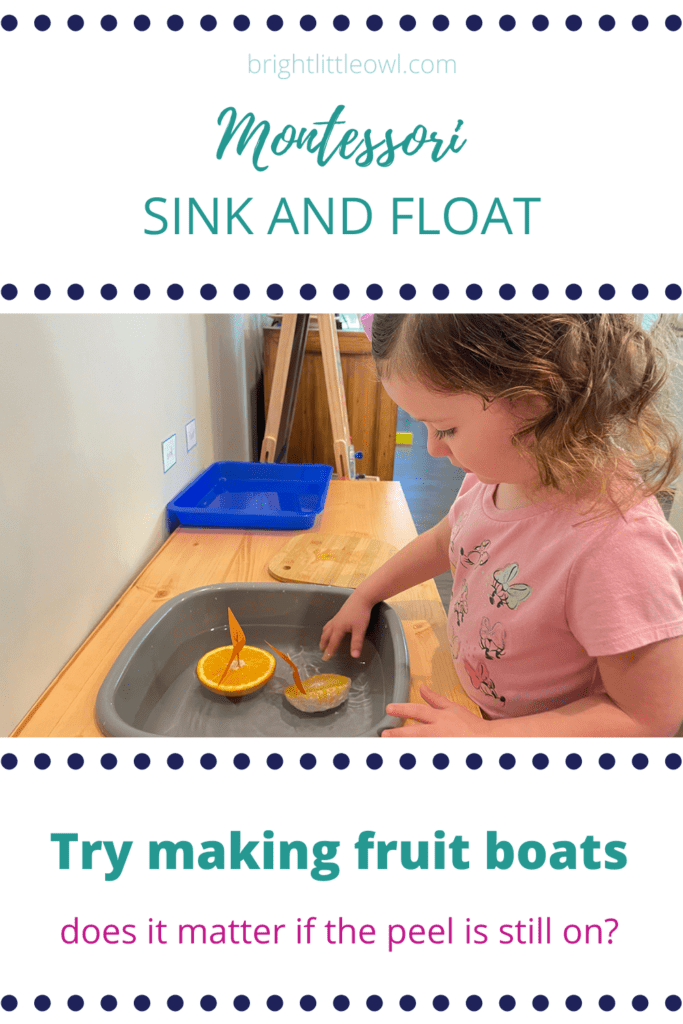
We experimented with the classic Montessori sink and float activity. We also experimented with fruit. We made little fruit boats to see what kinds of fruit sinks or floats. Does it make a difference if the fruit skin or peel is still on? Let’s find out!
Why a sink and float activity?
My three year old daughter, Annie, loves to do anything with water! This summer she enjoyed the water table in the backyard and she had a great time during her weekly swimming lesson. She also loves watering the plants, collecting water for land, air, and water, pouring, scrubbing, and transferring water with a baster/dropper.
All of this made me think of the easy science activities we set up for the children in the Montessori classroom. Sink and Float is one of the science experiments that involves getting your hands in the water! I usually put out the sink and float activity on a tray on the shelf in the beginning of the school year. It was always a big hit with the kids!
I often kept the sink and float activity as an option on the shelf in the classroom for an extended period of time. It’s fun and hands-on, and it seems more like playing to the kids. When I first introduced the sink and float activity to Annie at home, she did not want to stop playing!
This is a perfect activity for the summer because you could bring it outside. But you can do this activity indoors anytime of year. I thought it was also great for the beginning of the school year. It’s a great beginner science experiment for preschoolers.
This wooden block floats
This metal nut sinks
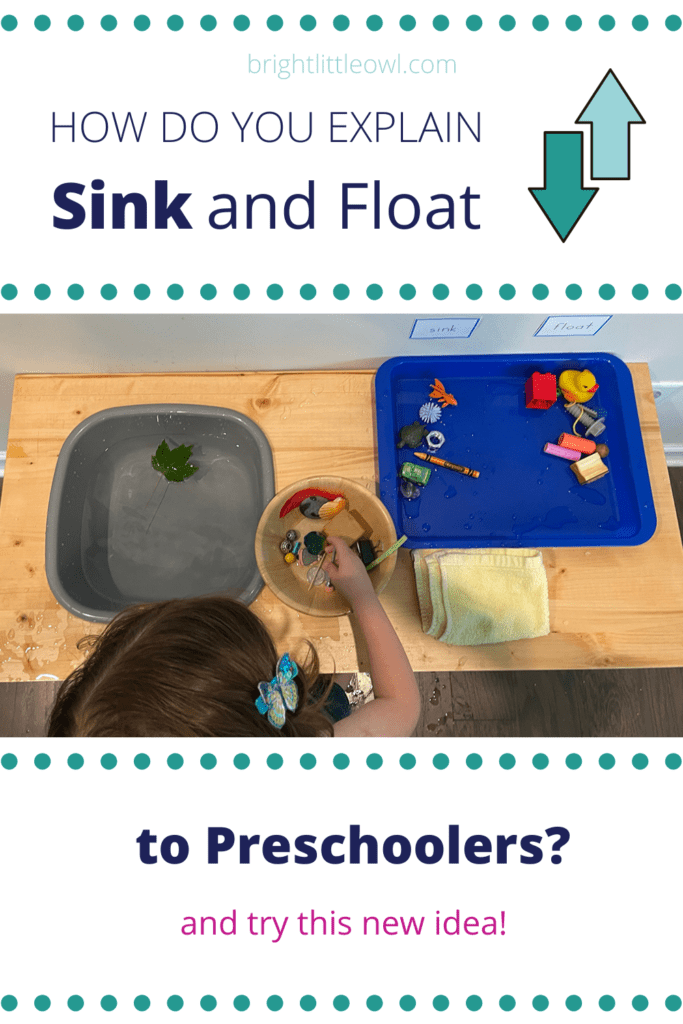
How do you explain sink and float to preschoolers?
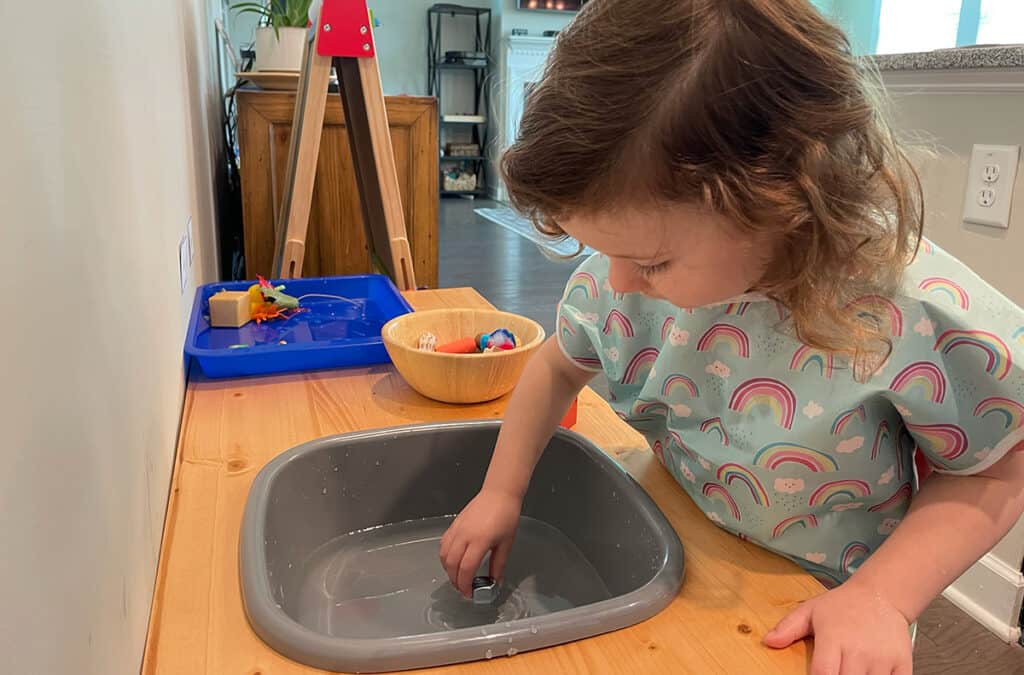
I was amazed by how quickly Annie caught on to the difference between sink and float. In the very beginning of the lesson she had no idea what these words meant, but as we went on and while she explored hands-on with several objects, she was able to say if something sinks or floats.
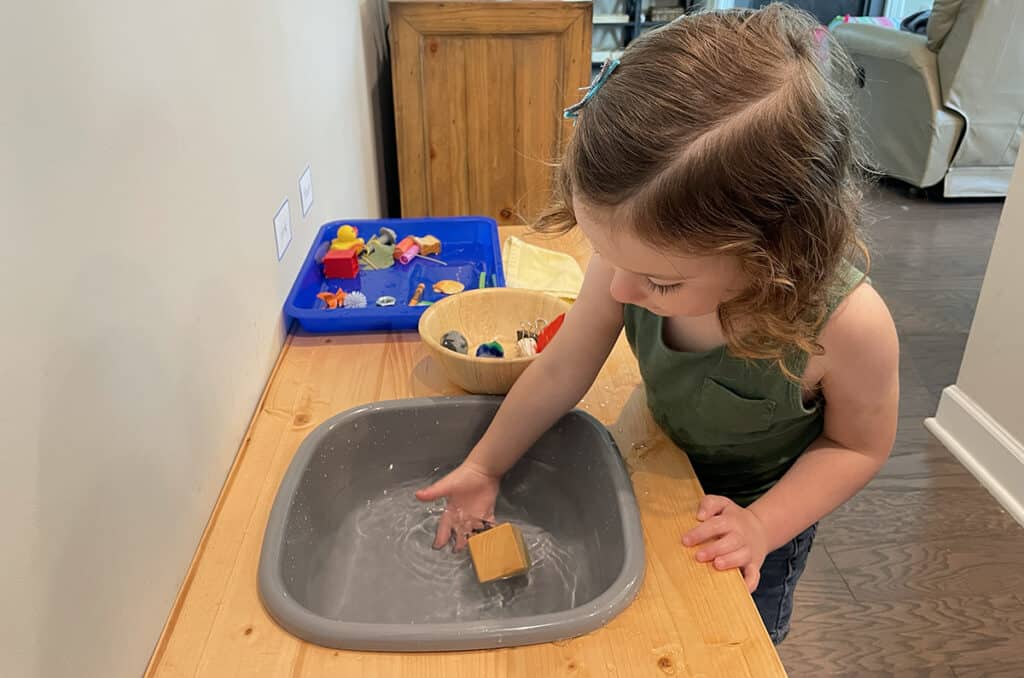
I explained to Annie that some things float in the water, like this wood block. Some things sink in the water, like this toy car.
I also introduced the vocabulary word, density. I explained in simple terms that an object’s density is what will make an object sink or float. This wooden block has tiny holes in it that makes it less dense than water, so it floats in the water. This little toy car is made of metal which has a higher density than water, so it sinks in the water.
She wanted to come back to the lesson again and do it again for the rest of the week. When she worked with it, the more and more she used the words, sink and float. She didn’t always get the sorting right. She didn’t always put the objects under the correct collection: sink or float. But that’s okay. I didn’t correct her. I just let her explore.
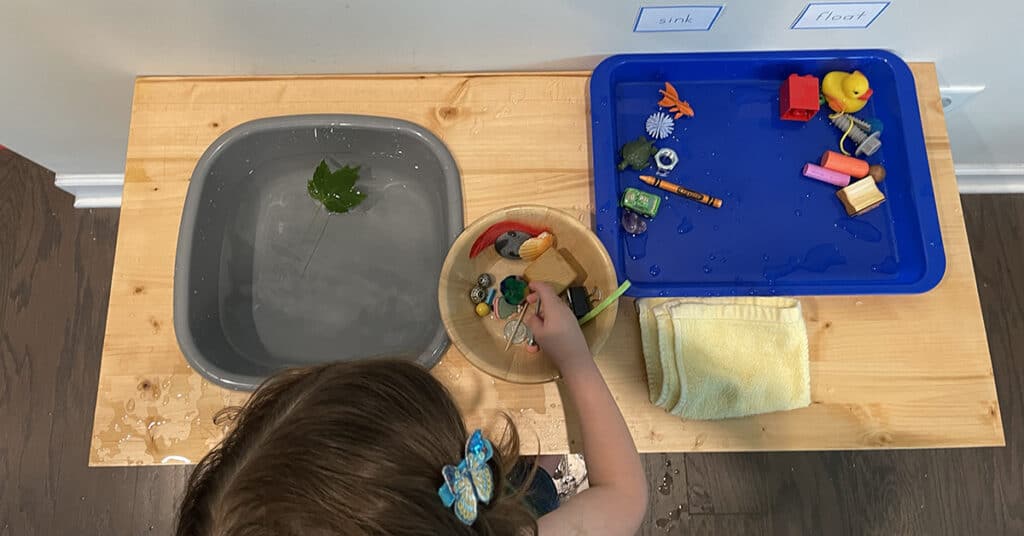
This leaf floats
What you will need
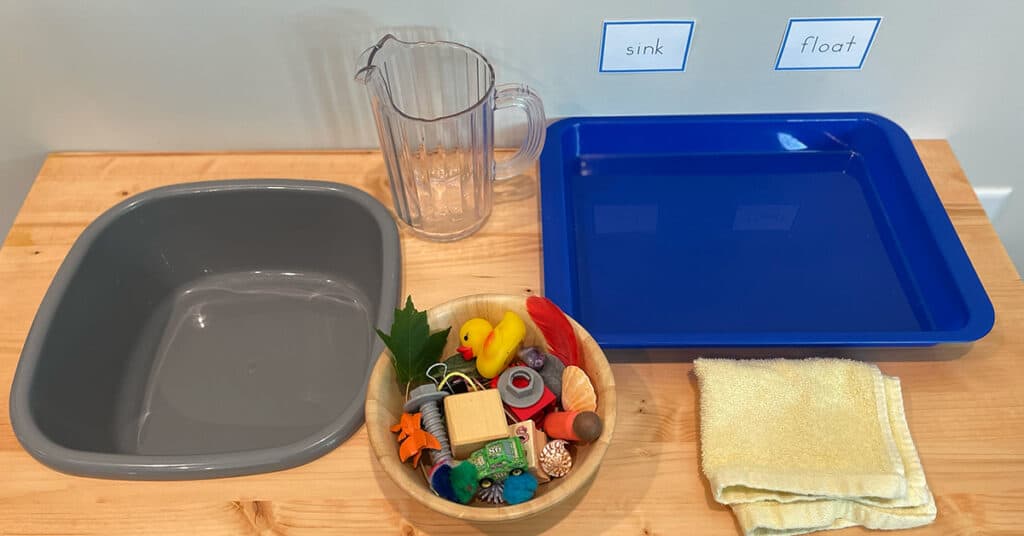
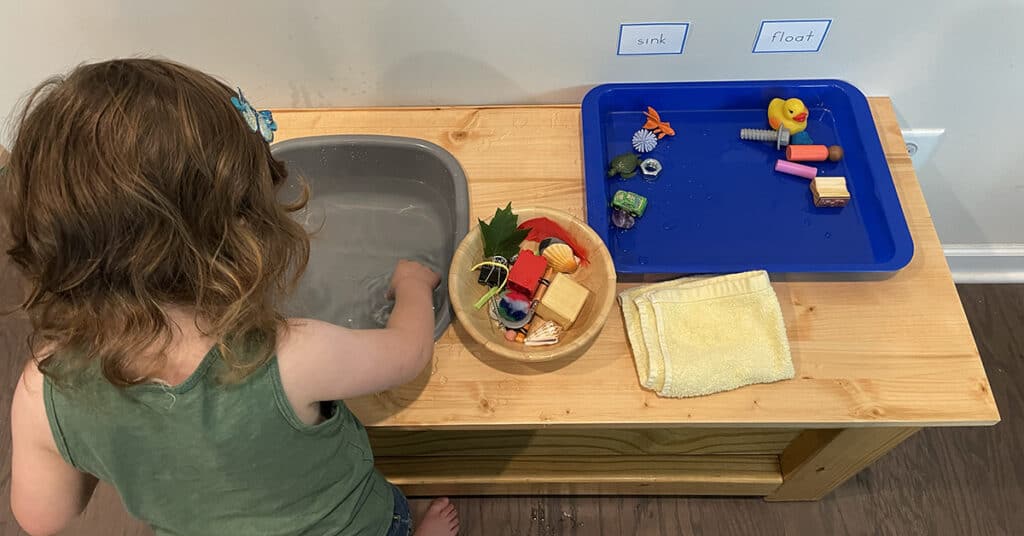
For the sink and float activity, you will need:
A large basin or bowl – fill with water about halfway
A large pitcher (optional – if you want to fill up the basin or bowl with your child this way)
A smaller bowl for the objects
objects/toys from around the house/backyard that sink or float – choose a balanced variety (half sink and half float)
Labels that say “sink”, “float” (optional)
A place to put the sorted objects under the “sink” and “float” labels. We used a large plastic tray because the objects will be wet (optional)
A towel to dry the objects when you’re done. (You may need more towels for spills)
Note: You could also set this up on a large tray for your child to take out and get the water independently. This is how we did it in the Montessori 3-6 classroom. You will need to use a smaller bowl/basin and a smaller bowl for the objects so that it all fits on the tray.
Once this activity is set up on a table, floor, or outside, just let your child explore. You can model the first few objects and say if it sinks or floats in the water and sort the object under the sink or float label.
Tip: After your child gets the hang of it and understands a bit more about sink and float you can ask your child what she thinks will happen beforehand. Ask your child, “Do you think this will sink or float?” It’s okay if you child doesn’t get it right. It’s a great beginning experience of forming a hypothesis like a Scientist!
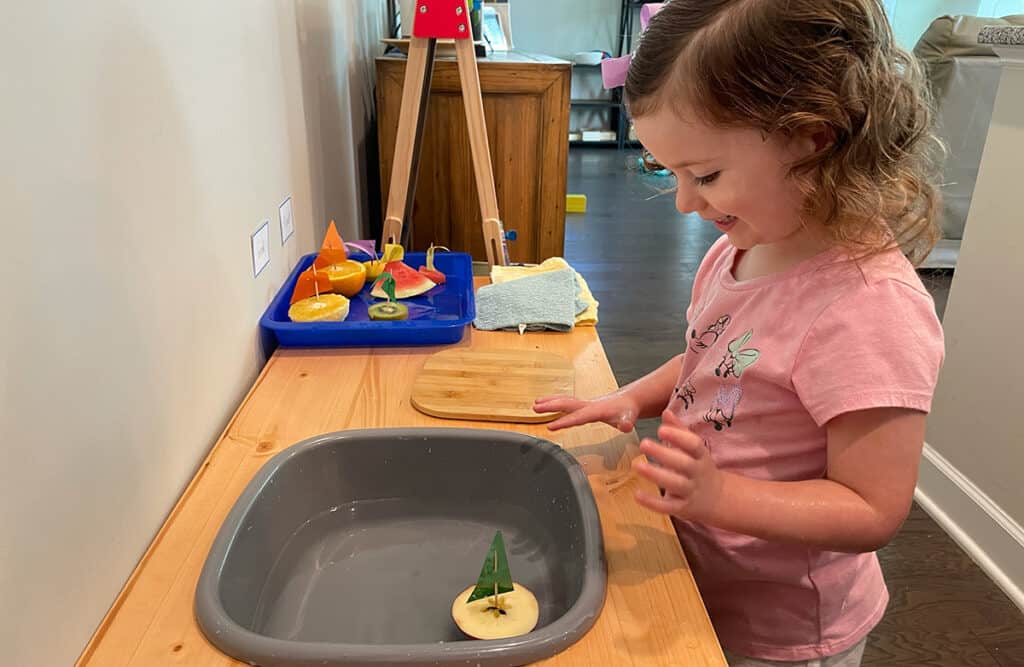
Try this new idea: sink and float with fruit boats!
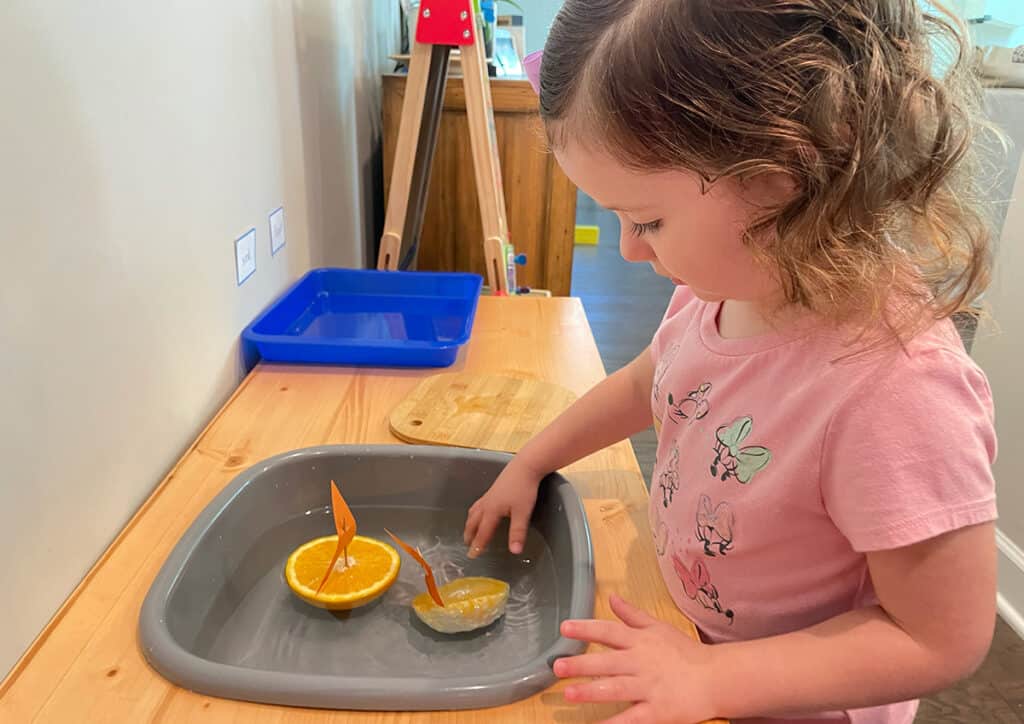
Sink and float with orange fruit boats
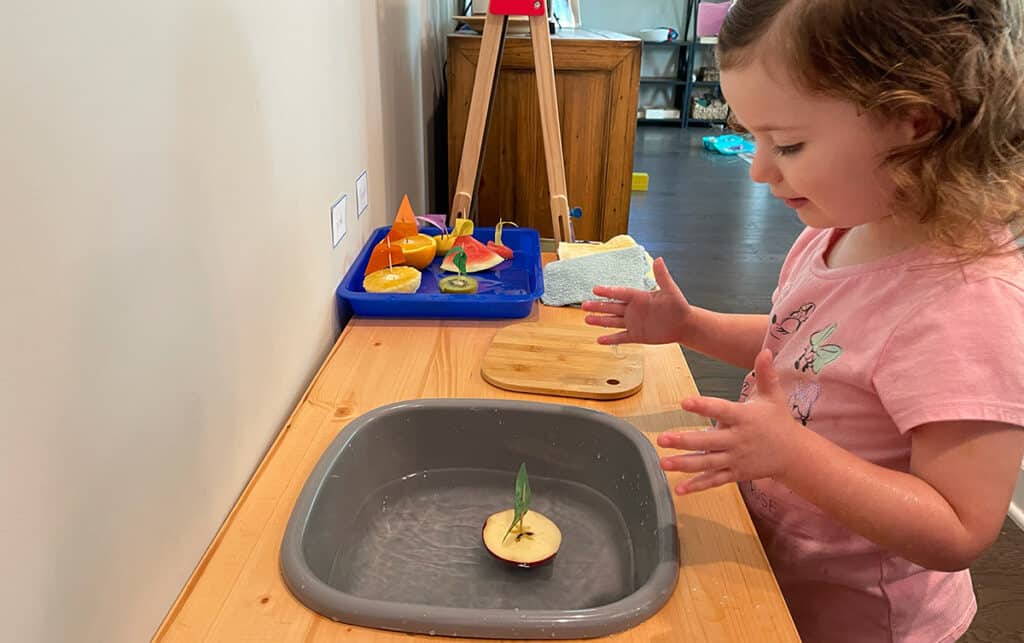
Sink and float with an apple fruit boat
How I got the idea for fruit boats
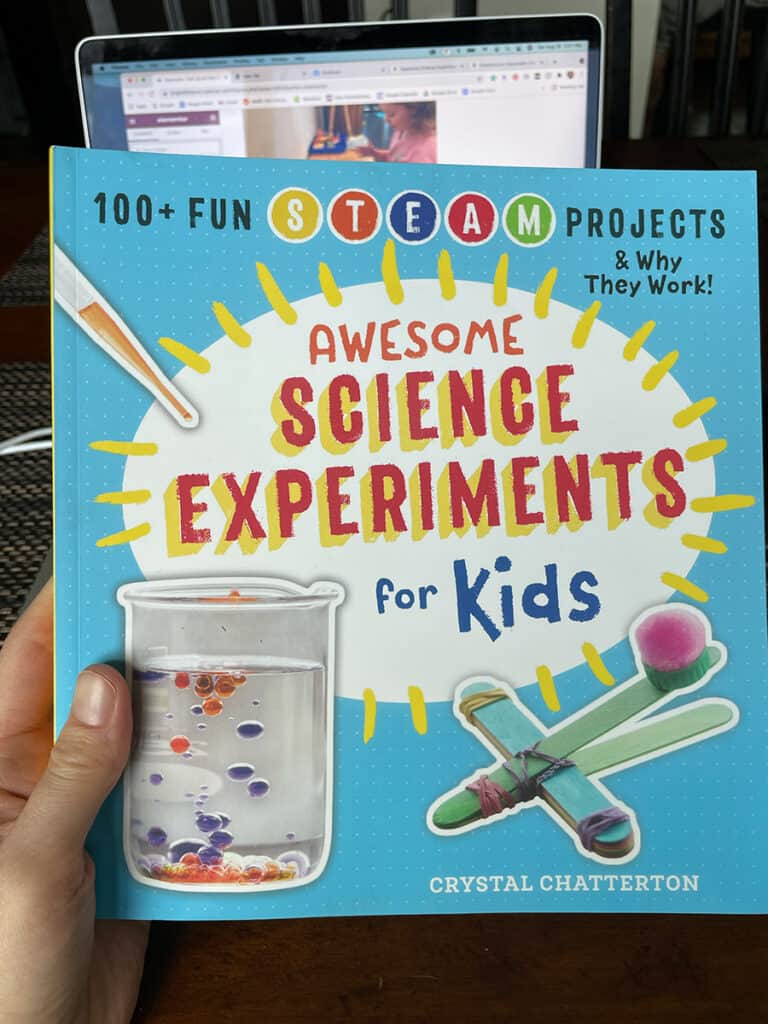
If you’re looking for more ideas for sink and float, try making fruit boats! I got this idea from the book I just purchased, Awesome Science Experiments for Kids: 100+ Fun STEAM Projects & Why They Work!by Crystal Chatterton.
There are a lot of great ideas in this book but most of them are best for kids a little older, like around five years old and up. But I found a handful of experiments in this book that would be great for age three or four that I want to try next with Annie!
How to do sink and float with fruit boats
I used the same set up as the original sink and float activity. This time, I got out different types of fruit and I cut them all in half. The fruit we chose are below. But you can choose any fruit you have in your kitchen.
naval orange (you could also use a tangerine, lemon, etc.)
apple
kiwi
watermelon
banana
grapes
Next, I cut triangles out of construction paper to make the little sails for the boats. I got toothpicks and poked two holes in each sail and slid the toothpick through. Then I had Annie help me stick the toothpick sails into each fruit boat.
Tip: You do not have to make little sails with construction paper and toothpicks, but it makes it more fun! It’s up to you.
For the orange, watermelon and banana, we removed the peel/shell from half of the fruit. This way, we could find out if the fruit would sink or float with the peel and without the peel. Does it matter if the fruit has a peel?
For the orange, the side with the peel floats, but the side with no peel sinks. You can explain to your child that the peel is filled with very tiny air pockets that makes it less dense than water. This is why the orange with the peel floats like a boat.
It was really fun to see what happened! Annie was delighted as we tried different types of fruit!
Concluding Thoughts
Just as I suspected, this sink and float activity was a big hit with Annie at home. She loves playing with water and she explored with this over and over again. She’d be happy playing it all morning!
Sink and float is a classic Montessori activity that was introduced to me when I first did my Montessori training back in 2007. It’s so easy to set this up for your child. You can set it up at a water table, like I did for Annie, or you can set up everything on a tray for your child take out independently (like I did in the Montessori classroom). Of course, you could also set this up outside!
Extending sink and float further with the fruit boats is an awesome way for your child to ask even more questions about what sinks and floats and why. Bring out the little scientist in your child and try it. How did it go? Leave a comment below!

Pingback: What To Do For Summer: Sanity Saving Activities | Life Unboxed
Pingback: Best Guide to Living and Non-Living for Nature-Loving Kids
Pingback: Simple Magnetic Activities: Try This Clever Idea with Paint!
So cute. My kids used to love nothing more than splashing in things.
Love this! Always looking for new activities to keep my busy 2 year old engaged and learning.
Sink or float is a favourite around here too, but I love the idea of making boats out of the floating things!! We will have to add that next time!
This is a great idea and I love the little area you have set up for it.
These seem like real fun activities. I will try them with my toddler.
What a fun idea. My kids always enjoyed water activities and this would be a great sensory and learning activity.
Such a great idea! My littles would love this!
This looks like so much fun and like something my daughter would love.
The fruit boat is such a cute and unique idea. I have to order this book for more ideas!
A wonderful way to teach kids this concept in a fun way! I am sure kids will love it.
This is such a fun idea! I’ve been looking for activities to do with the kiddos for winter time!
Such a great way to help the kids understand the basic concept of science like sink and float.
This is such a fun activity for kiddos. Love it!
This is a wonderful lesson. My daughter is also three and loves playing in the water daily. Always looking for ways to sneak in lessons!
such a cool fun way to learn this scientific concept!! love the idea
Such a fun and simple activity! My kids always loved activities that involved water.
I love this idea. It helps kids explore the world around them.
This one of the favorites in my classroom when I taught. A good open ended activity
I’ve been wanting to do a sink or float activity with my kids. These are great ideas!