Please share with your friends!
Fall is here! The leaves are starting to change color and fall to the ground where we live in North Carolina. It’s a perfect time of year for leaf activities.
It gets pretty hot and humid here in the summer. The cooler weather along with colorful leaves is a very welcome change.
My three-year-old daughter, Annie, and I have been exploring nature at the different playgrounds and parks in our area. We’ve started a nice collection of fall leaves. Now, what do we do with them?
What better way to learn more about leaves than to explore and do new activities with them. Are you looking for fun leaf activities for your little one? I have seven Montessori-inspired ideas for you!
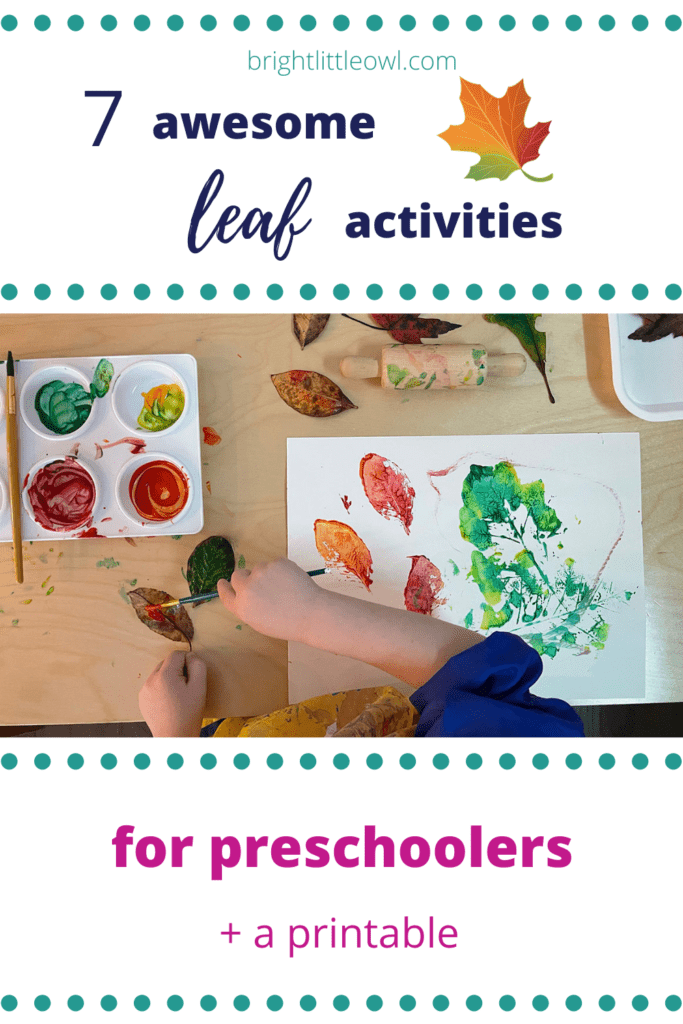
Fall leaf activities: a fresh new start
I always remember the feeling of a fresh new school year in the Fall. This time of year has always been about getting to know each other, and learning the ground rules of school. I’ve also always had the inspiring feeling of having a fresh start.
Now that I’m homeschooling my daughter, I also have these feelings of a fresh new start. We recently started meeting with our homeschooling group out in nature in playgrounds and parks. It’s been so nice meeting new friends!
It’s different than being in a school environment, but I still have that positive fresh-start feeling. The weather getting cooler and the leaves changing color adds to that coziness.
The beginning of a fresh new school year has also been about introductory activities sprinkled with Fall activities and themes.
The leaves changing colors to beautiful oranges, reds, browns, and yellows is inspiring. In the classroom, we would often begin with learning about leaves and trees.
It’s easy and fun to bring leaf activities at home for your child! Let’s explore some of the ideas I’ve done in the Montessori classroom, and how it translates at home.
Here are the 7 Leaf Activities:
1. Leaf rubbing with crayons
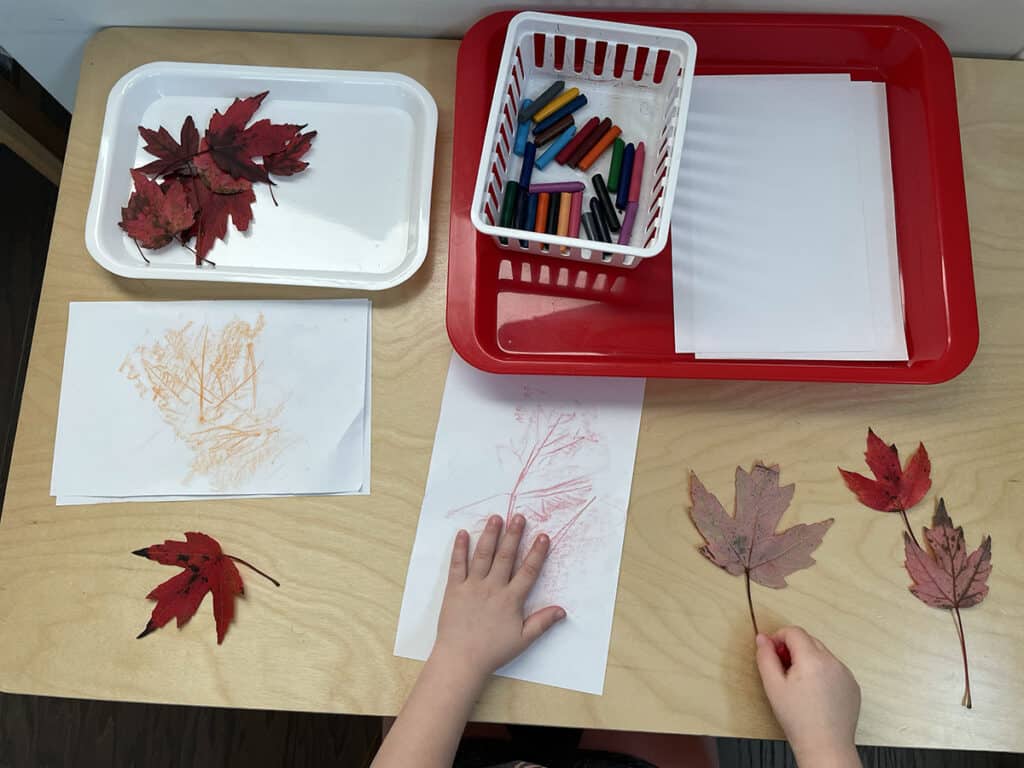
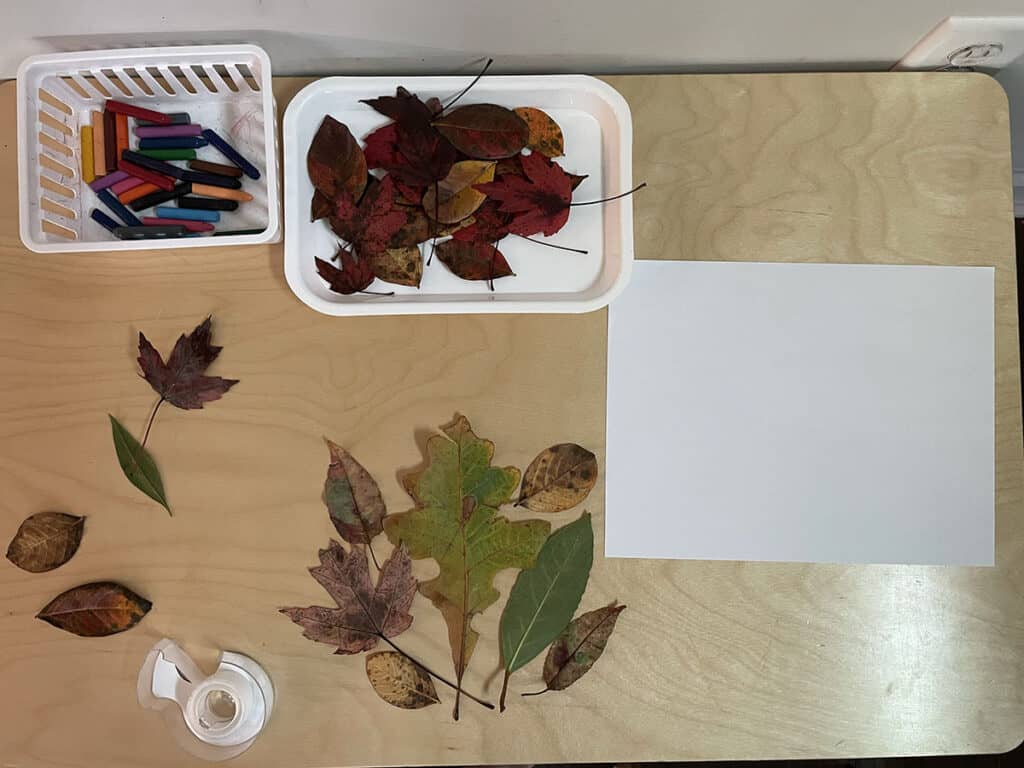
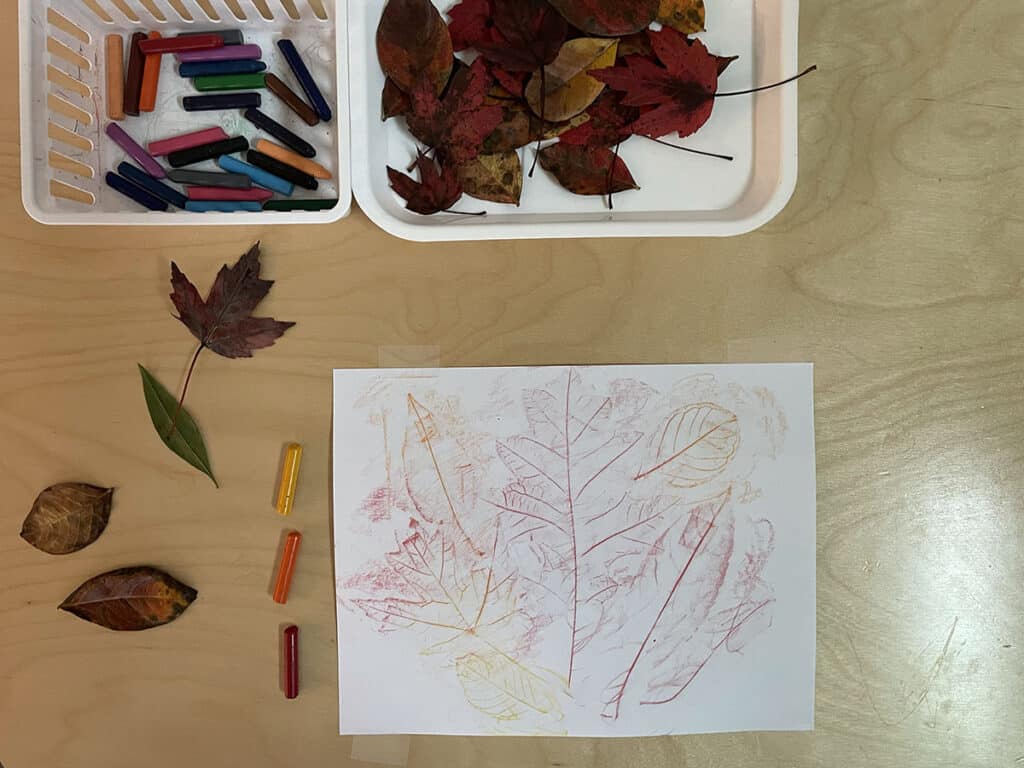
Leaf Rubbing: One of the first leaf activities I remember doing with the kids in the Montessori classroom is leaf rubbing with a crayon. This is great for fine motor development and practicing the three-finger grasp. It’s also fascinating to watch the image of the leaf come through on the paper!
- Remove the crayon wrappers, break the crayon in half so that it’s easier to hold.
- Place the leaf on the table with the underside veins facing up to get the texture.
- Place a regular piece of copy paper on top of the leaf.
- Rub the crayon on its side on top of the paper.
- Like magic, you get all of the leaf details on the paper!
- You can make a collage by placing more than one leaf under the paper in a really cool pattern. You can use different colored crayons for each leaf.
Tip: I find that it’s easier for young children to manage this if you tape down the leaf to the table, keeping the tape under the leaves. Then, you can tape the paper to the table to keep everything from moving.
Note: You can do crayon rubbings with other things that have texture. In the Montessori classroom we would also do crayon rubbings with the sandpaper letters and sandpaper numerals.
2. Leaf painting and leaf prints
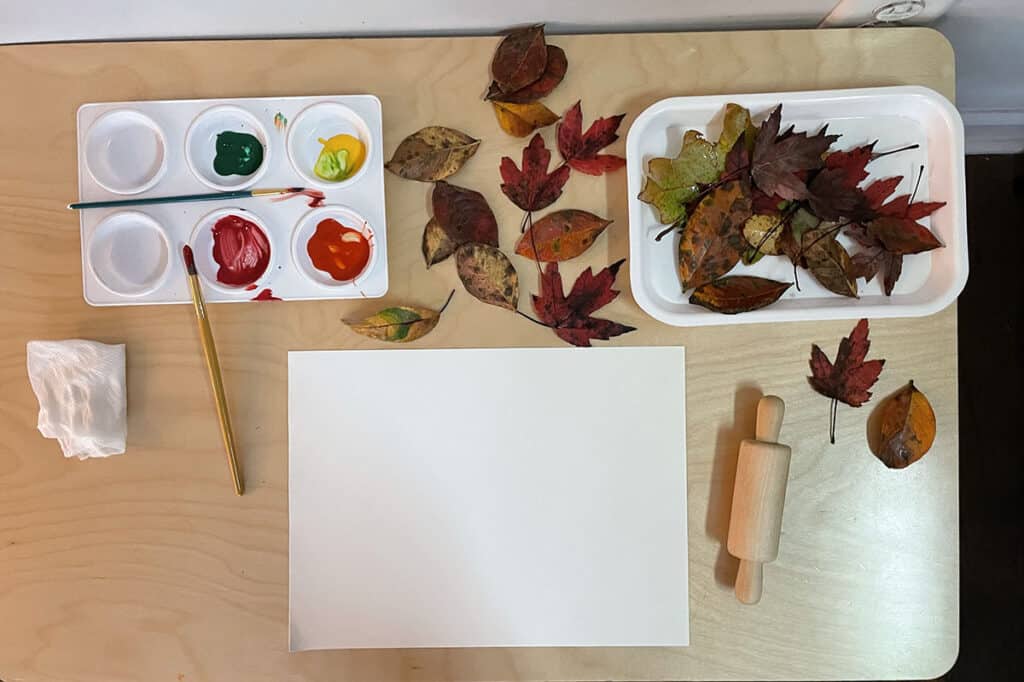
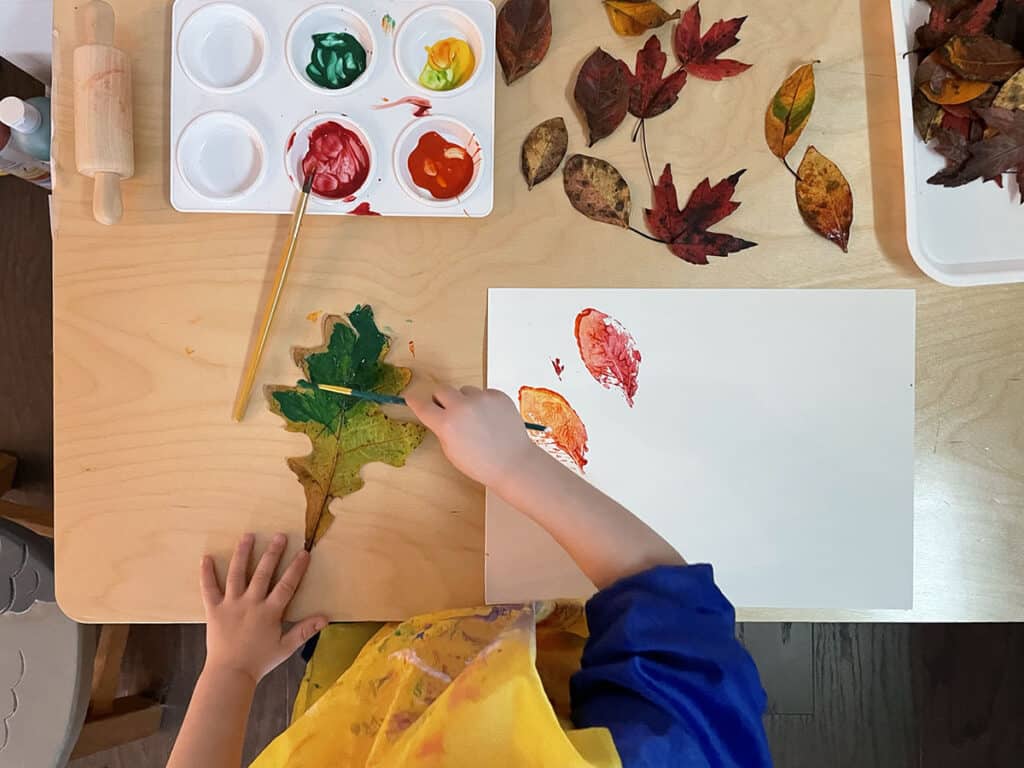
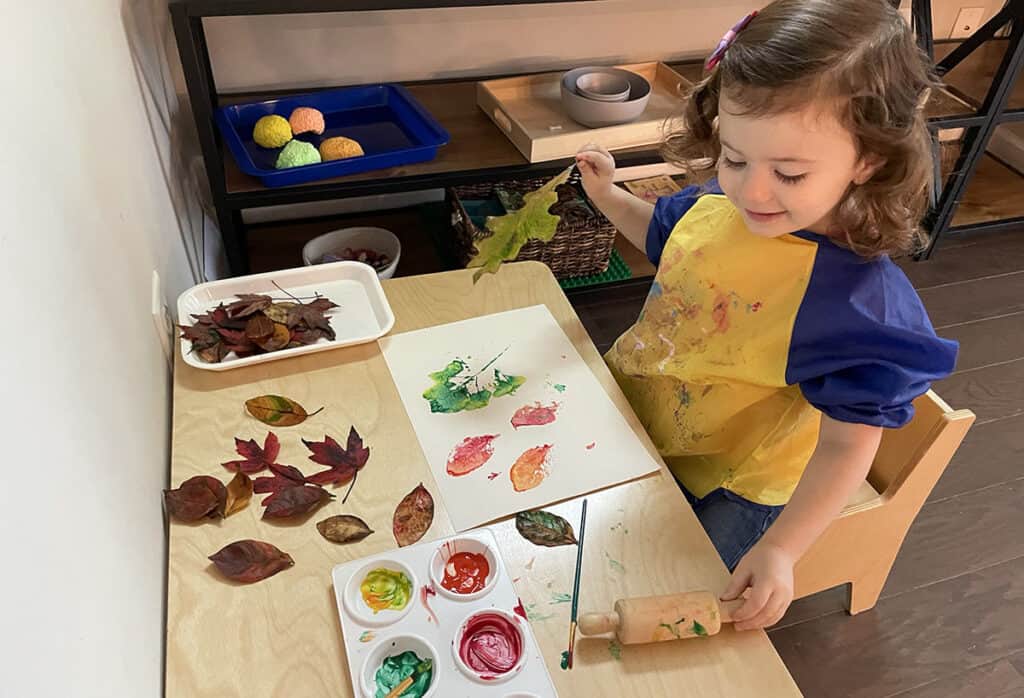
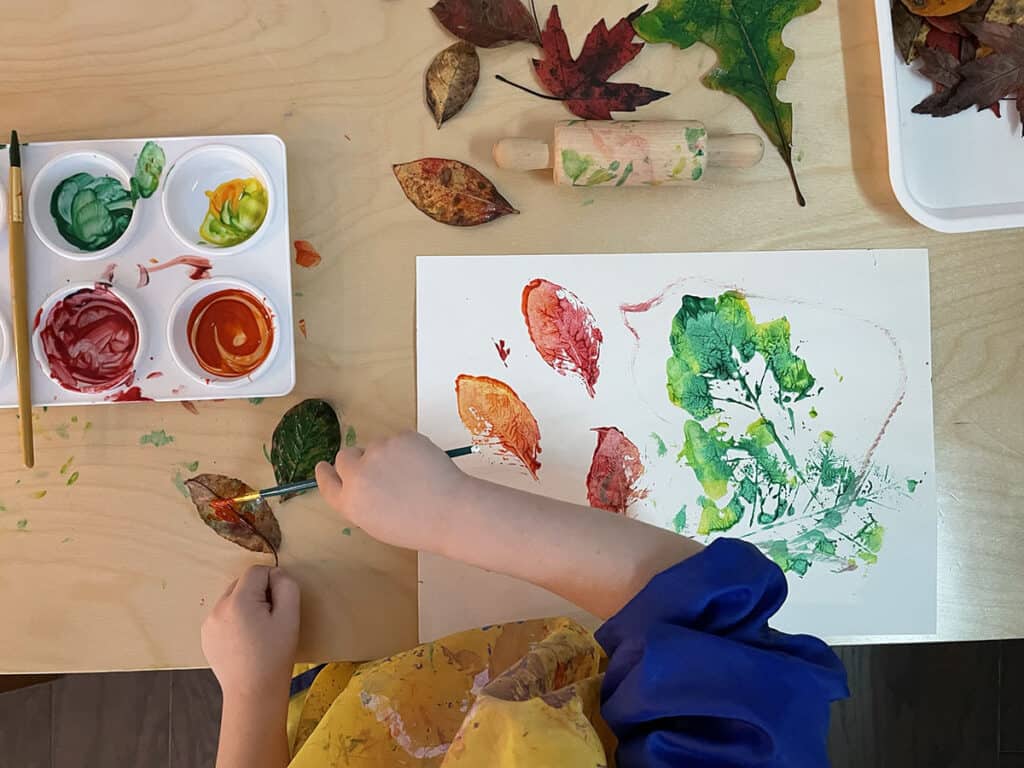
Leaf painting and leaf prints: If your child loves painting things like my daughter, Annie, you’ll love this leaf painting and leaf print activity!
- We used tempera paints and thick watercolor paper.
- Paint the textured side of the leaf so that you get all of the leaf vein texture for your leaf print.
- Paint two or more colors on each leaf so that you get that “real” fall leaf effect.
- Lightly dampen the spot you want to press the leaf on. I used a damp paper towel.
- Press the leaf down onto the paper.
- Use a small rolling pin to press down the entire leaf. We used a kids play dough rolling pin.
Tips:
- Lightly paint the leaf. If you put too much paint on the leaf it’ll be hard to see the leaf detail.
- Dampen the paper as you go with a wet paper towel before printing the painted leaf on the paper.
- Use a small rolling pin to completely press down the leaf. The prints come out a little better this way.
- Note: we also tried without dampening the paper and without the rolling pin, and the prints still came out nice!
3. Leaf outline tracing
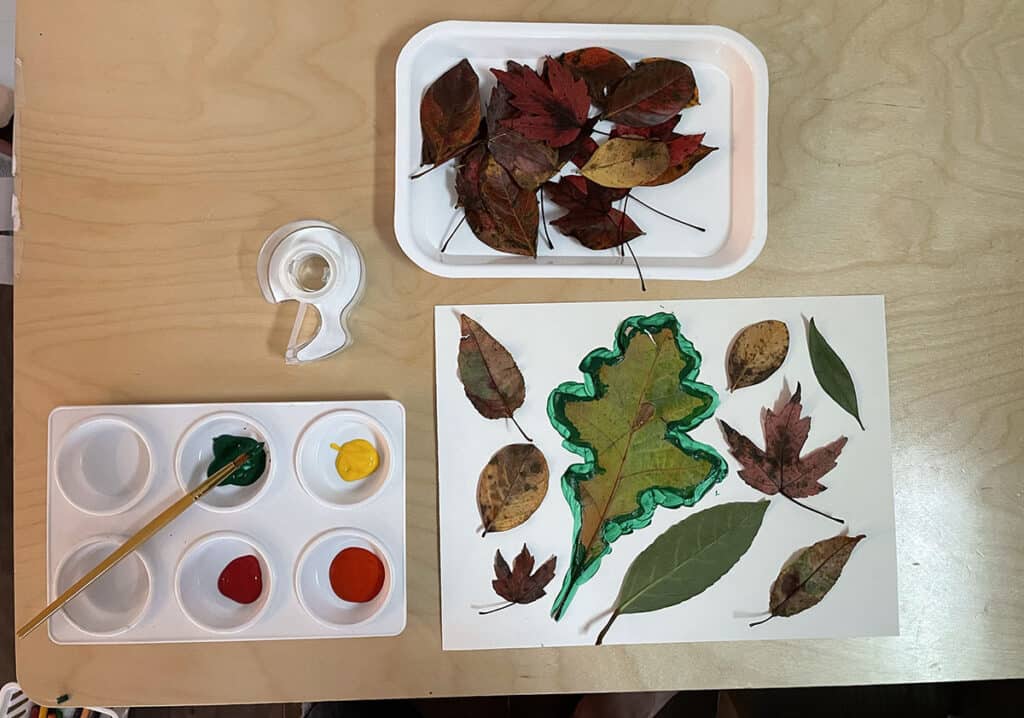
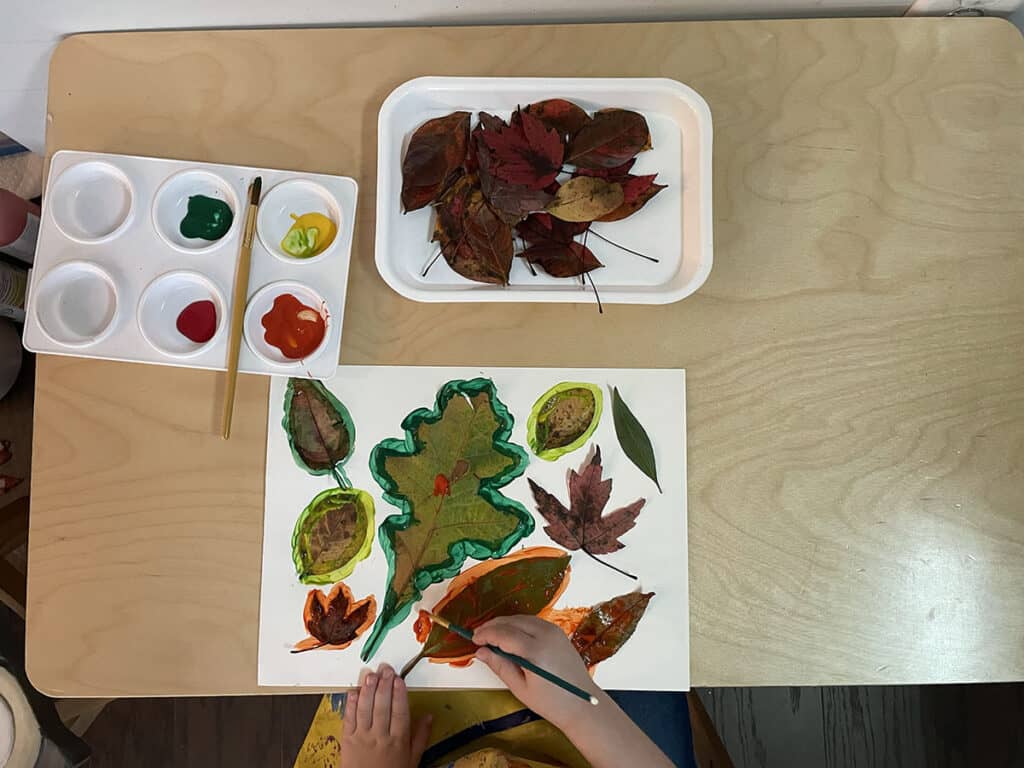
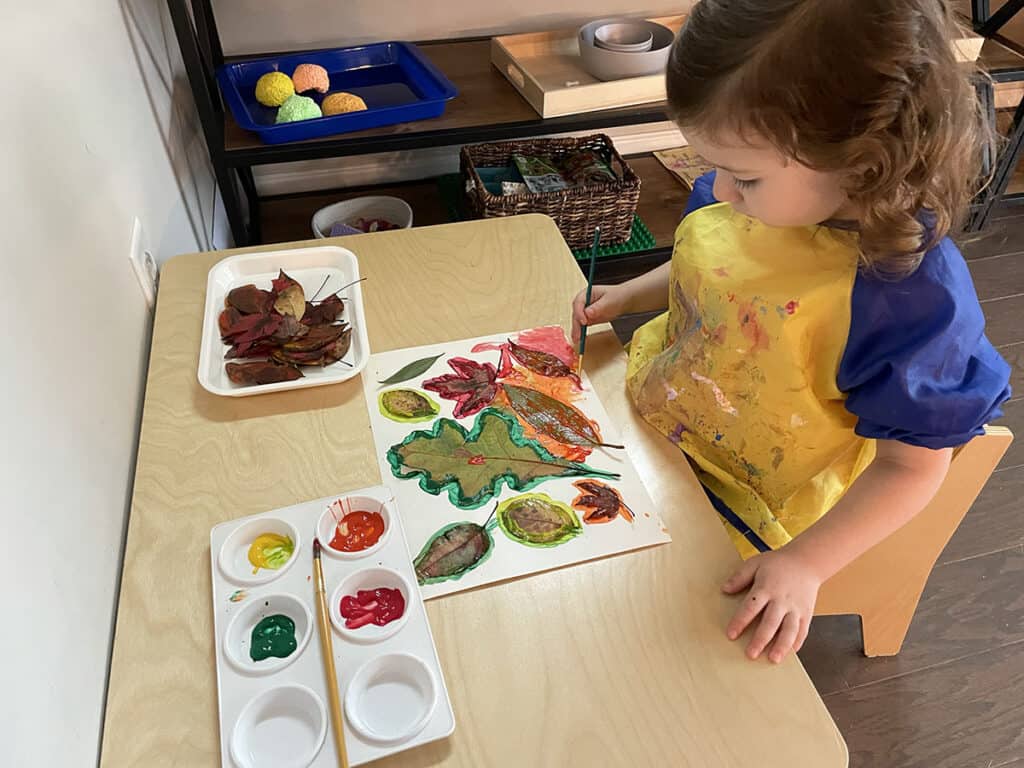
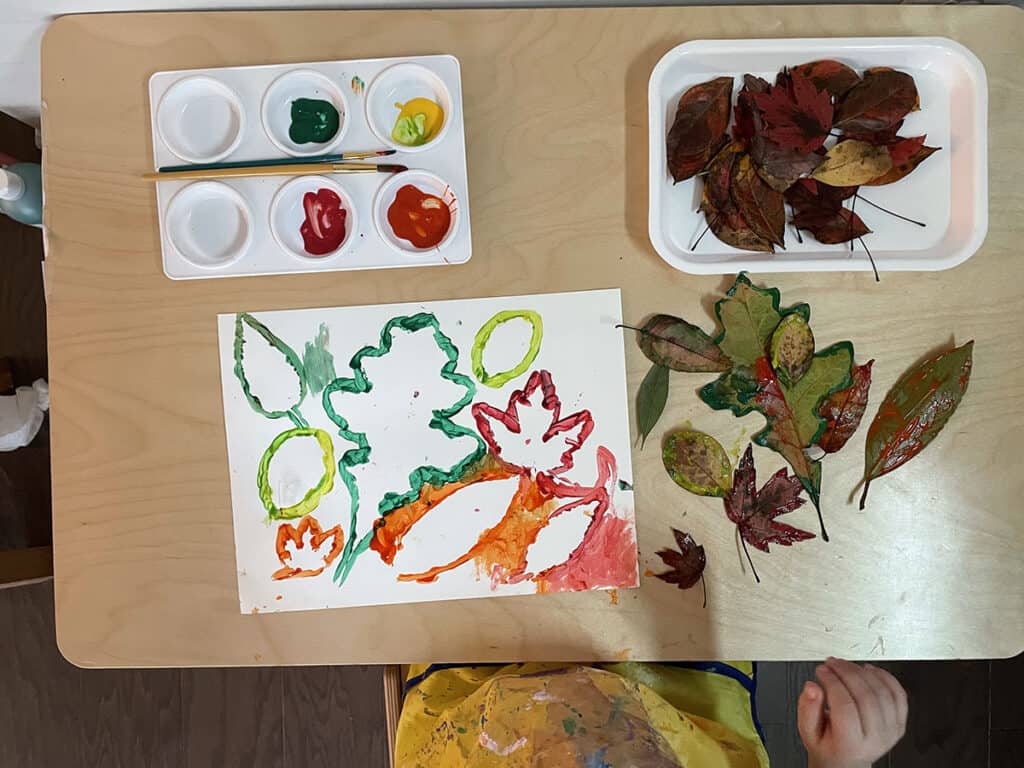
Leaf outline tracing: Another great activity if your child likes painting is to trace the outline of the leaf with paint. While you still have the paints out from the previous leaf printing activity, try painting an outline of the leaf!
This really helps your child to experience shapes and white space/negative space. It’s also a great fine motor activity, tracing around a leaf shape outline.
- To set up, use scotch tape to tape the leaves to the paper in a pattern or design. Make sure you keep the tape under the leaf and try to get all of the corners and edges.
- Carefully paint all the edges of the leaves.
- Use different colors for each leaf.
- Remove the leaves and see your picture!
- You can go back and paint more around the outlines, if you’d like.
4. Cutting leaves with scissors
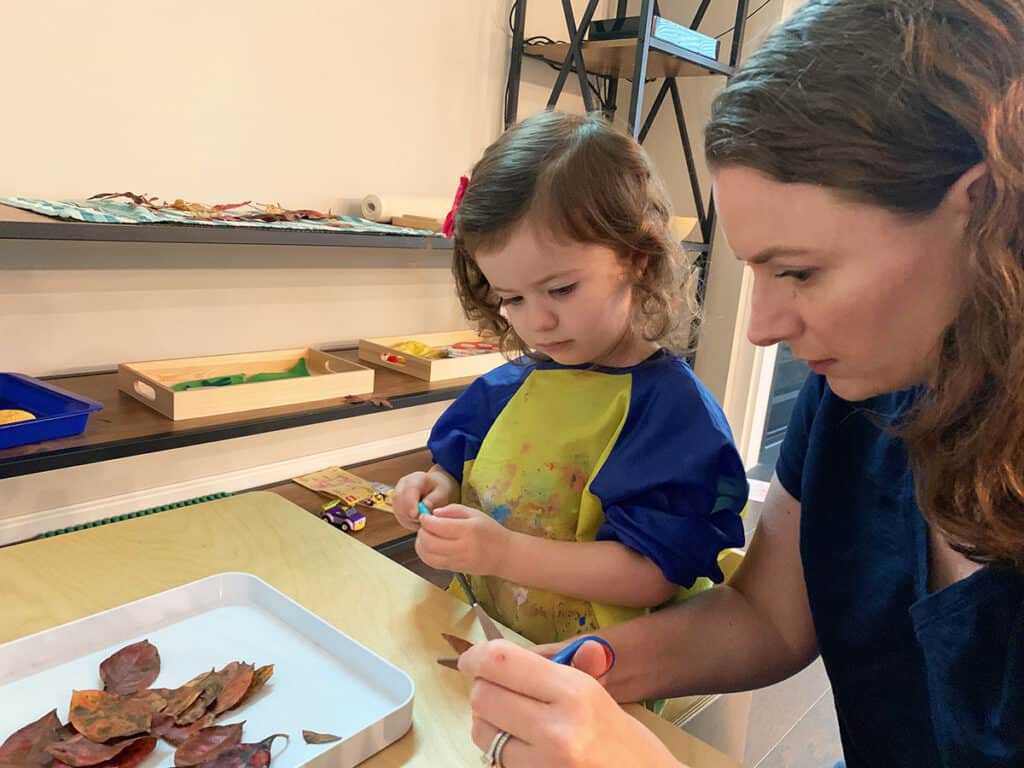
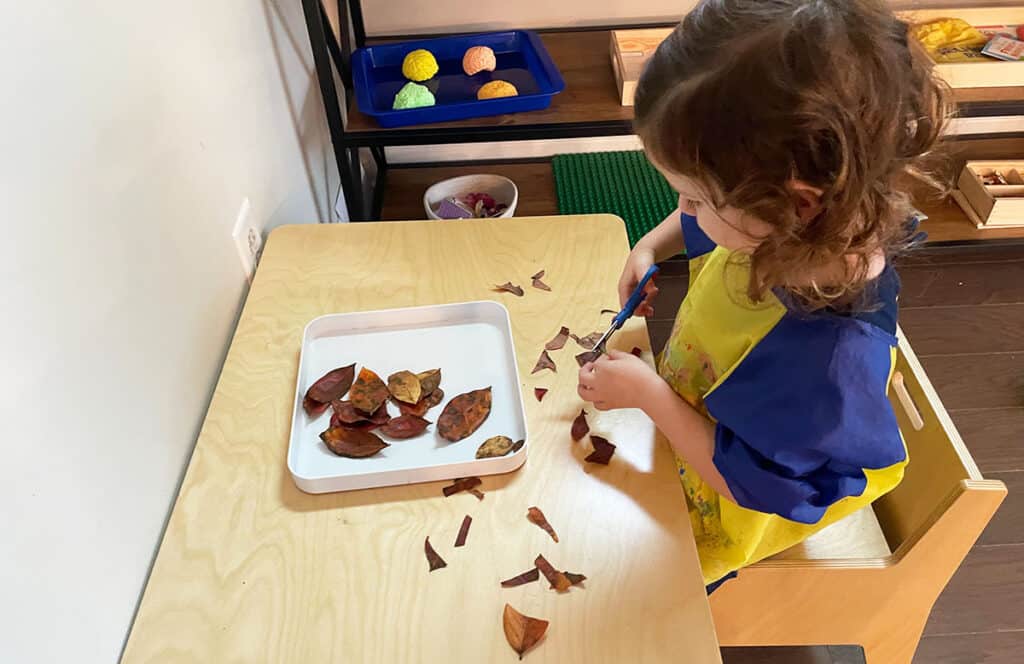
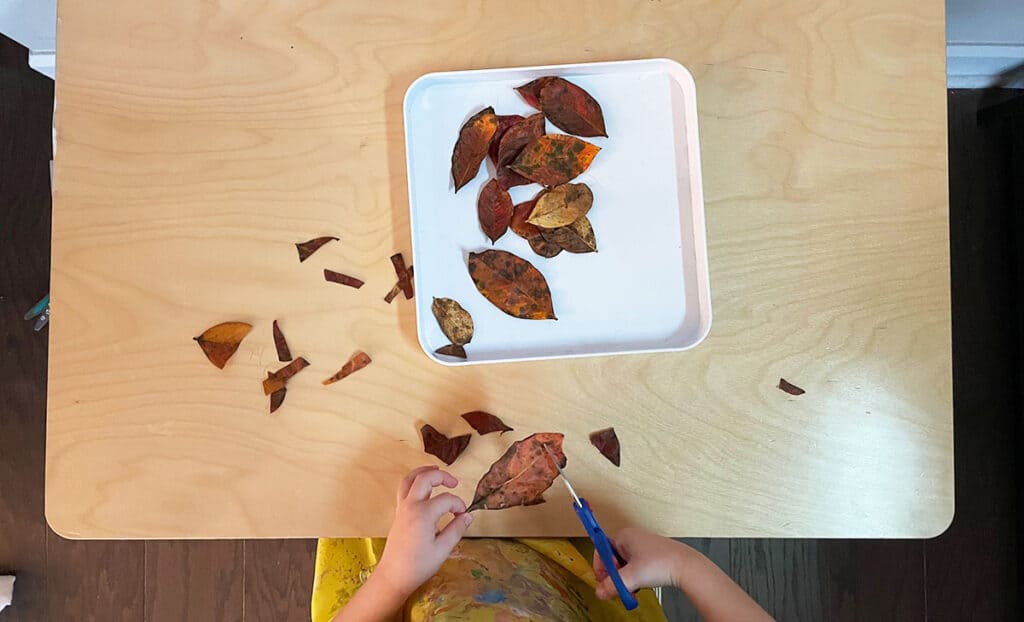
Cutting leaves with scissors: This is great practice with scissors which can be challenging for young children. When just starting out with scissors it’s best to start out with something other than paper, like leaves, herbs, flower petals, or play dough strings. I talk about this in my blog post about cutting with scissors.
Cutting leaves helps young children get used to how scissors work. If you start with paper it can be challenging and frustrating. If you use child safety scissors that are non-metal you really need to squeeze or the paper will slide through the blades without cutting the paper. So, cutting leaves before trying to cut paper is great practice!
Tip: use the leaf clippings for the next leaf activity, gluing a leaf collage.
5. Leaf collage with glue
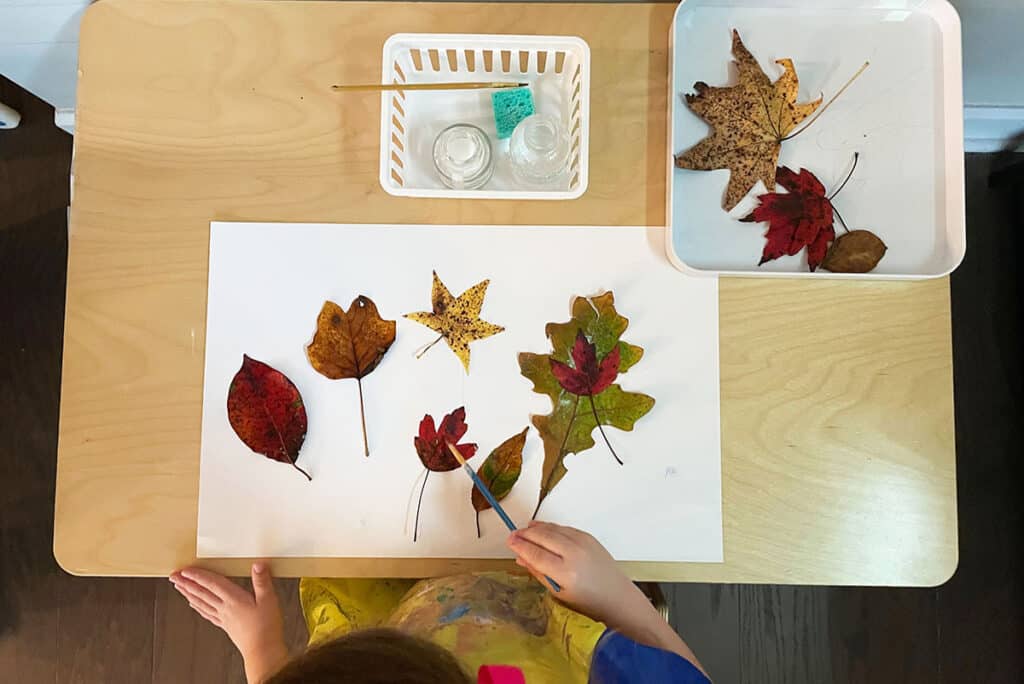
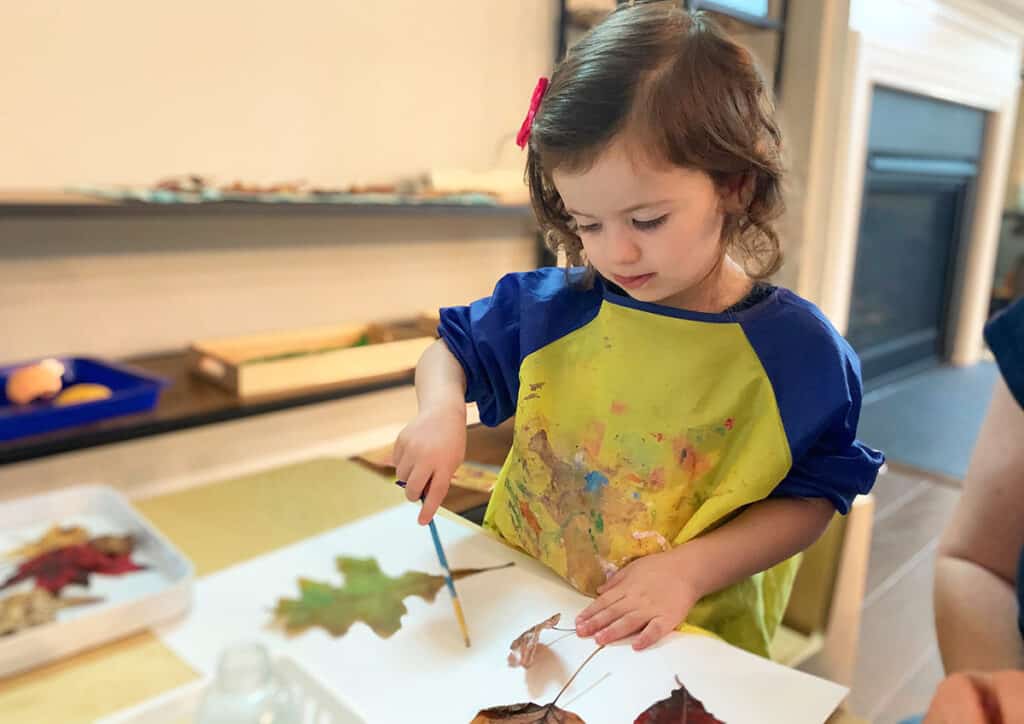
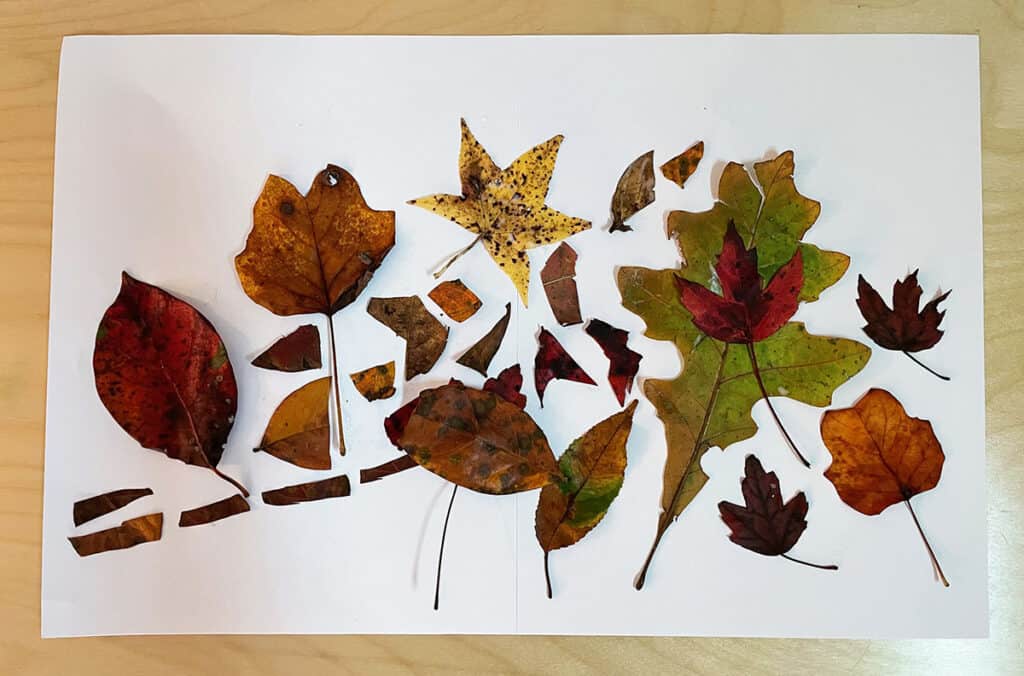
Leaf collage with glue: This was one of Annie’s favorite leaf activities because she loves to work with glue! I set up a glue tray the way that I used to set it up in the Montessori classroom.
The glue tray contains a small glass jar filled half-way with liquid school glue like Elmers, a paintbrush, a small sponge, and a small glass bottle of vinegar and water to keep the paintbrush clean and getting from all gluey.
Annie picked out some fall leaves and some of the leaf clippings after using a scissor to make her leaf collage.
Tip: The leaf collage is open-ended here, but you can make any type of picture with the leaves. For example, you could make a butterfly or a tree with your leaves!
6. Parts of a leaf
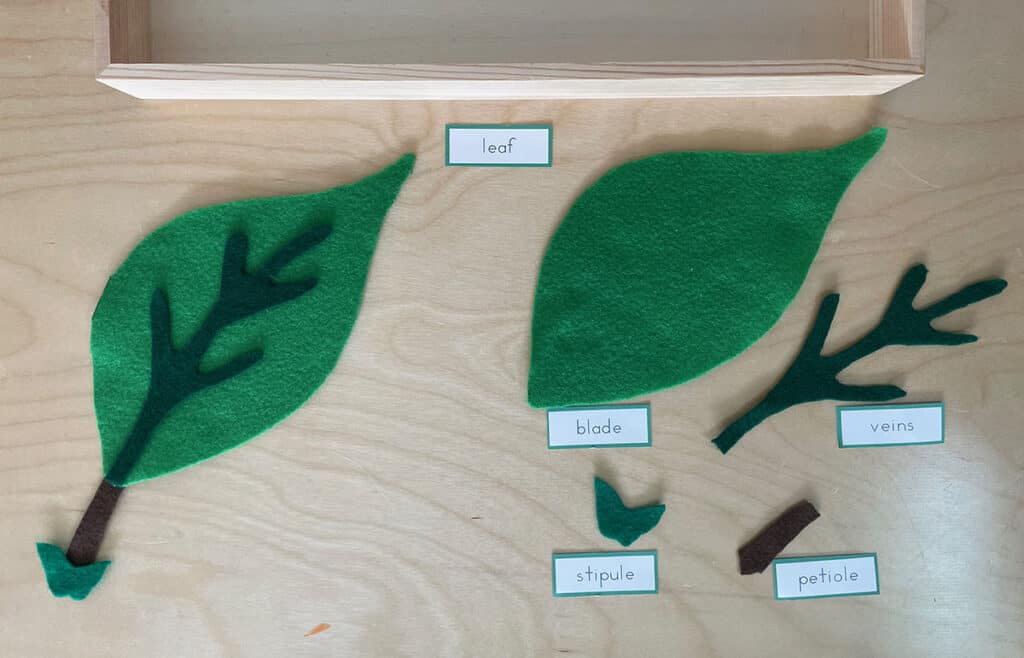
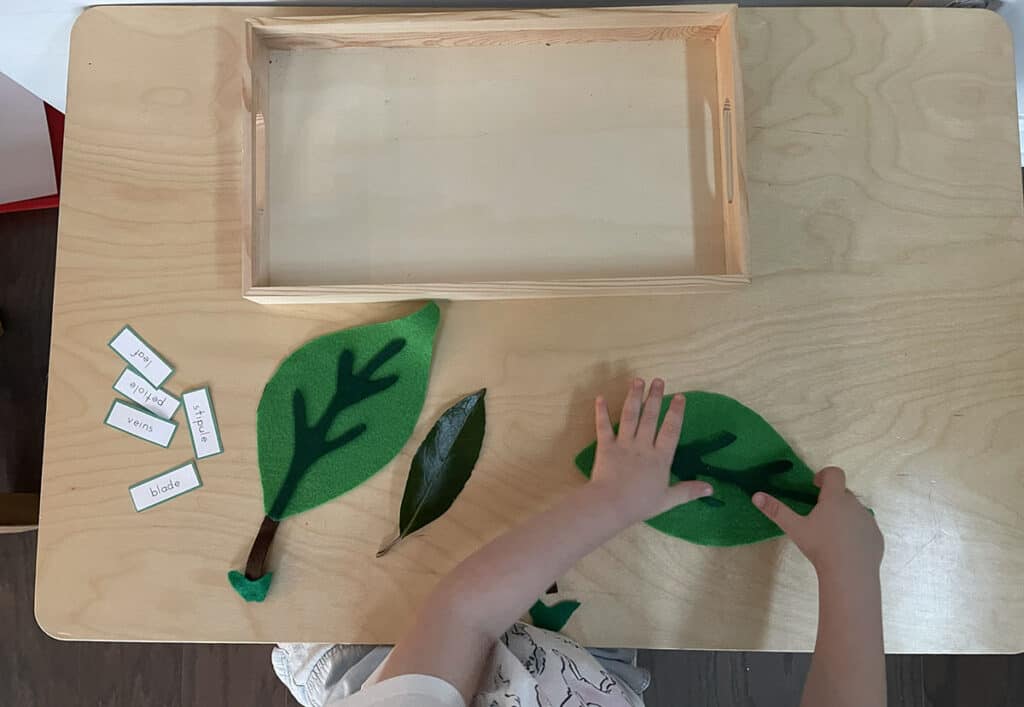
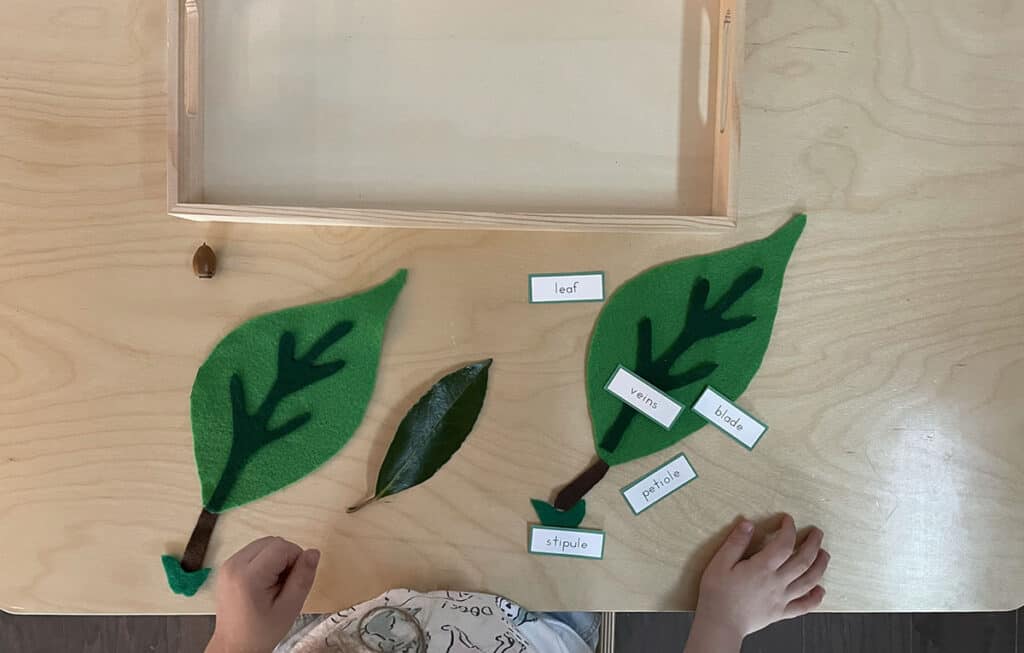
Parts of a leaf: In the Montessori classroom you’ll find many “parts-of” activities, like parts of a flower, parts of a bird, parts of a tree, and so on. The ideas for topics are endless!
There are wooden puzzles and three-part cards that can be used to go with the “parts-of” activities. You can find parts of a leaf three-part cards and purchase parts of a leaf puzzles online. In addition to parts of a leaf, you could also do types of leaves, such as Maple, Oak, Elm, and so on.
I decided to make a parts of a leaf puzzle out of felt, rather than make three-part cards or purchase a leaf puzzle. Making activities out of felt is so easy and inexpensive!
I made a template from the picture of this Montessori wooden leaf puzzle to trace and cut out the felt pieces.
I made two copies of the felt puzzle; one I glued together to use as a control of error and one copy I kept the felt pieces separate to be the puzzle.
Control of error is a Montessori term which means that the activity is self-correcting, so that the adult is not correcting the child.
Tip: We also found a leaf out in nature that looks like the same shape as the leaf puzzle. You could use a real leaf as a control of error and talk about the different leaf parts while doing the leaf puzzle.
Fun idea: You could also label the parts of a leaf with a painted leaf print! This is a great activity for a child a little bit older than three.
If you’re looking for another felt puzzle idea, check out my blog post:
Try This Beautiful Parts Of A Butterfly DIY Puzzle + 1 Craft
7. Leaf cutting strips
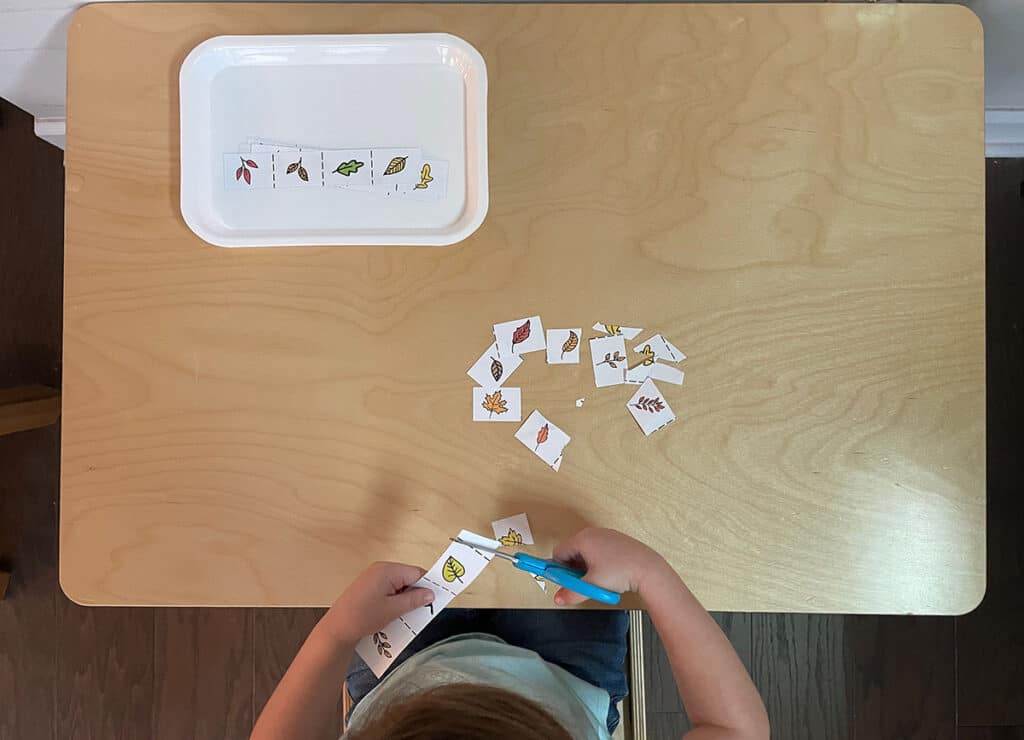
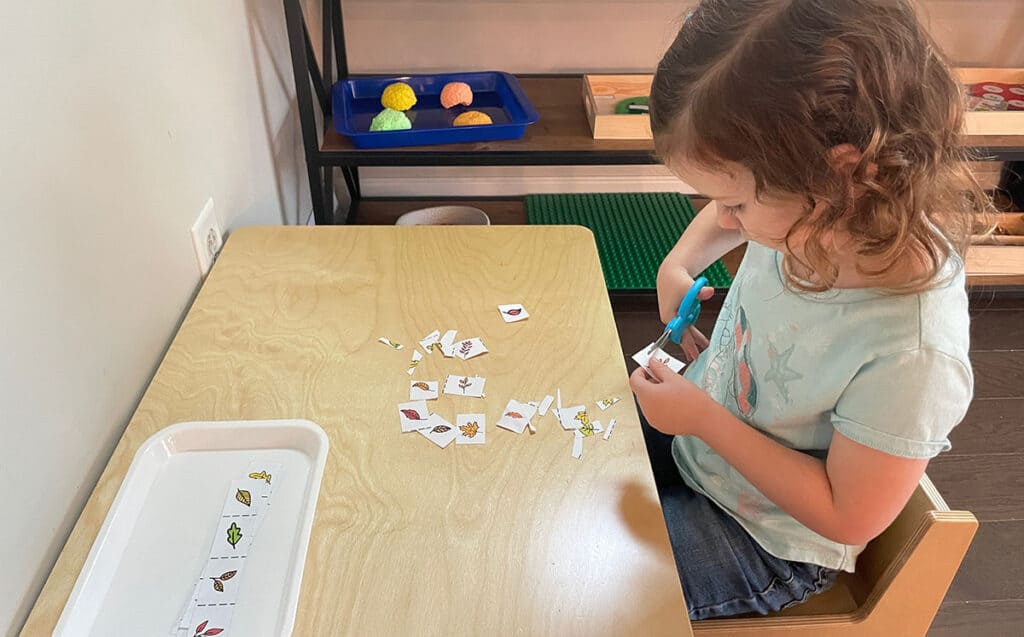
Leaf cutting strips: Last but not least, your child can practice cutting paper with scissors with a fall leaf theme. After getting practice with cutting real leaves with scissors, next try cutting paper.
The cutting strips Annie is cutting in the photos above have basic vertical lines for snipping the paper strips. There are also more challenging cutting strips with diagonal lines, shapes, wavy lines, and “fallen leaf” path cutting strips!
When your child is done cutting the strips, she can glue the little leaf and fall pictures to make patterns or a collage.
I created this cutting strips printable for Fall, which you can download below!
Note: I previously created cutting strips for Spring and for Summer, if you’d like to check out those blog posts, as well. You can get access to all of my printables by signing up for the Resource Library, below.
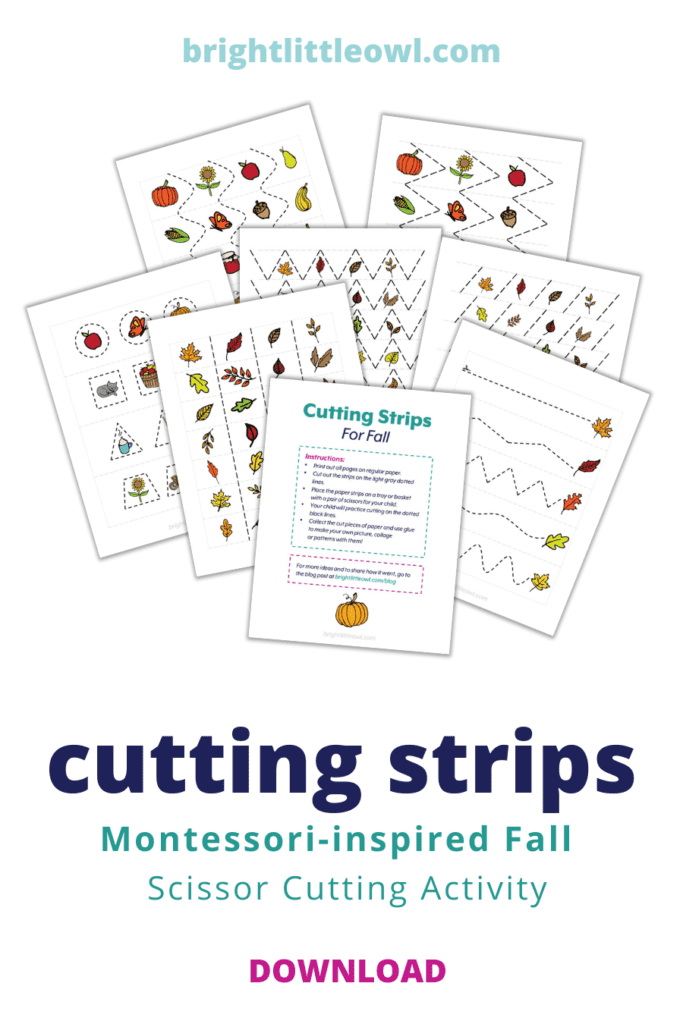
Note: to download the cutting strips printable, scroll to the bottom of this post and sign up to get access to the Resource Library.
Concluding Thoughts
These are only a few ideas to get you started. In addition to these ideas, you could also match and sort leaves, use leaves in a counting or math work, or match a leaf to a corresponding tree picture. For example, match a Maple leaf to a picture of a Maple tree.
My hope is to inspire you to lean on your creativity to create works that bring joy and wonder to your child. Remember to first go outside and explore real trees and real leaves out in nature! Soak up all of that fresh new school year feeling and get inspired!
Please leave a comment below and let me know how these leaf activities worked for you and your child. What was your creative spin on these activities?
And another quick tip: To keep your leaves staying fresh in between activities, put the leaves in a large plastic baggie with a folded wet paper towel and keep it in the fridge!

Pingback: A Really Cool Apple Stamping Gift
Pingback: 7 Montessori Fall Activities that are Fun and Easy to Set Up
Have you seen the art collages built outside with leaves, pine needles and pebbles as the art medium. There’s a fantastic book to show kiddos the amazing art created from just naturally found leaves. Portraits, landscapes, fantasy…
Yes, it’s so beautiful! I’ve done outdoor mandala art made with sand, rocks, sticks, flowers, and leaves. I used to do this with the kids when I was a Montessori teacher.
love all these fun ideas to use with young ones and especially love the parts of a leaf project..
This is a great way to paint with different types of materials. How unique and original!
These are all really cute ideas and are great for little ones to do in the fall! Passing this on to my sister!
I always get cool activity ideas for kids from your articles. Kids not only enjoy such type of activities but also learn much from them
Leaf rubbing is one of my favorite things to do with my son during the fall!
These are all great ideas! Saving this for later!
I tried the leaf tracing, rubbing and painting activities with my kids. They had so much fun.
These are all such great activities.
I remember making leaf rubbings with crayons when I was a kid! I love all of these ideas – creative yet super easy to make. Thanks for the tip on how to make leaves stay fresh – I didn’t know that!
These are such great ideas! I love the one where you tape the leaves down and paint, then it’s just their silouhettes that show. Super cool!
Oh my goodness! My kids would absolutely love this activity!
Great ideas! My preschooler will def love the leaf rubbing and the leaf painting.
These are some really fun crafts. Definitely gonna do some of these with my kids.
Leaf rubbing is a favorite in our home. I haven’t gotten around leave cutting or painting. But, what I do know is my son will love doing these. He loves nature and everything to do with it! Can’t wait to try these with him.
Very cute ideas! Something to do with all the leaves in our yard. 😂 Going to try leaf painting and tracing with my daughter.
I absolutely love fall! This is my favorite time for fun crafts like this.
We tried leaf painting last year but it didn’t work out as well. I think we needed a different kind of paint. Might try again this year or attempt the crayon one!
We had to try a couple of times to get it right. Dampening the paper first, then printing, and using a small rolling pin really helped! It came out much nicer. Also, use a small paintbrush and use a thin layer of paint. If you put too much paint on the leaf it’s harder to see the details. We used tempera paint on watercolor paper but you could also try acrylic paint! Of course, painting leaves is so much fun for young children!